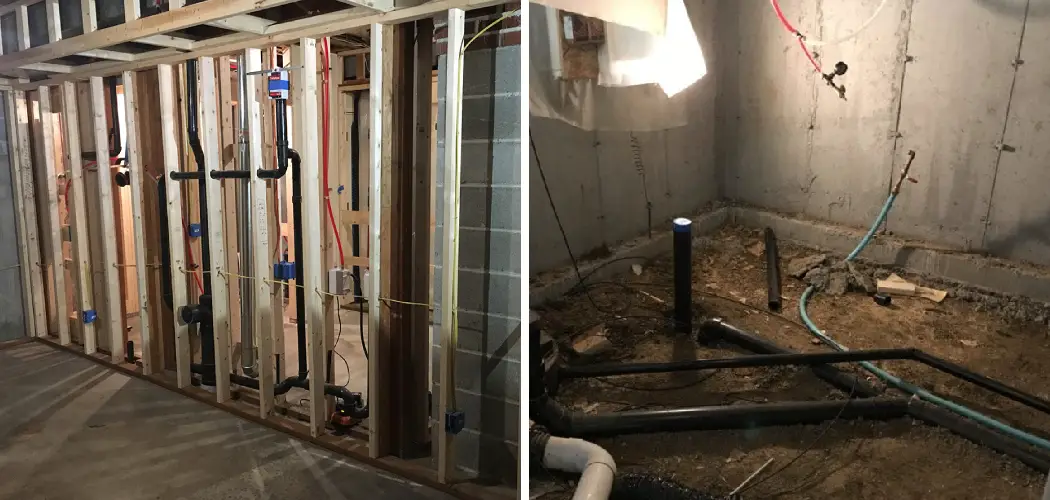
Adding a bathroom to your basement can be a great way to maximize your home’s available space. But before you start, there are a few things to consider, primarily the electrical wiring. Wiring a bathroom correctly isn’t difficult, but it does require a certain level of experience and knowledge to ensure it’s safe and up to code. In this blog post, we’ll walk you through the steps on how to wire a basement bathroom effectively, safely, and with confidence.
Can You Wire a Basement Bathroom?
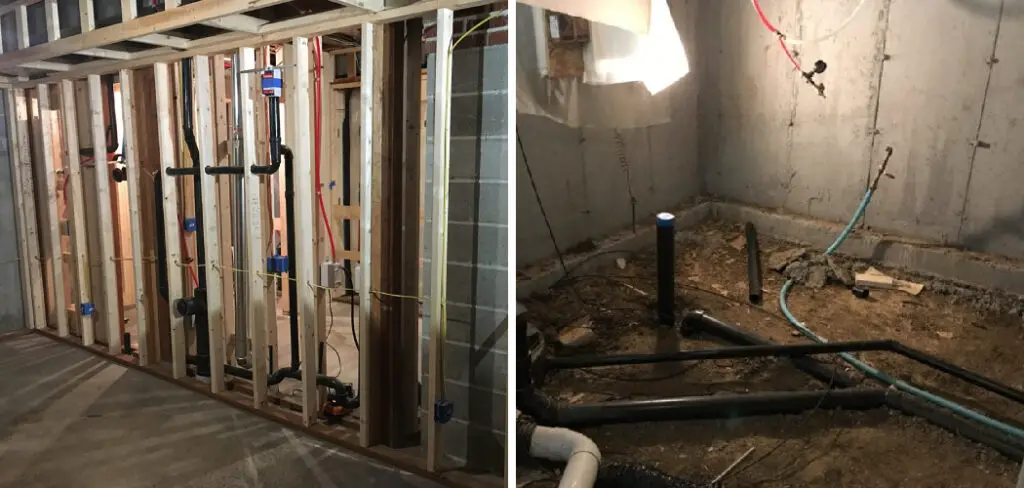
If you’re planning on remodeling your basement, adding a bathroom might be a must-have on your renovation list. The good news is, yes, you can wire a basement bathroom! However, knowing what you’re getting into is important before rolling up your sleeves. Depending on where your plumbing and electrical systems are located, getting all the necessary wiring done up to code can be a little tricky.
Hiring a licensed electrician can help ensure everything is properly installed and safe for use. Don’t let the wiring process scare you off, adding a bathroom in your basement can increase your home’s value and add convenience to your everyday life.
Why Should You Wire a Basement Bathroom?
Transforming your basement into a fully functional living space is an exciting project, but have you considered adding a bathroom to the plans? While it may seem like an unnecessary expense, wiring a bathroom in your basement can have numerous benefits. Not only does it add convenience and versatility to your living space, but it can also increase your home’s value.
A basement bathroom has the potential to turn your basement into a guest suite or rental space, providing additional income opportunities. Additionally, having a bathroom on every level of your home can make your daily routine more efficient and comfortable. So, if you’re looking to enhance your home’s functionality and versatility, consider wiring a basement bathroom.
How to Wire a Basement Bathroom – in 7 Easy Steps
Step 1. Determine the Electrical Requirements
Before you start wiring your basement bathroom, it’s important to figure out what kind of electrical requirements you need. For instance, you’ll need a dedicated circuit for the bathroom to power the outlets and lighting fixtures. You may also need to install a ground-fault circuit interrupter (GFCI) to protect against the risk of electric shock.

Work with a licensed electrician to determine the specific electrical needs of your bathroom. This will help you to make sure you’re getting the right materials and equipment for the job.
Step 2. Plan Your Wiring Layout
Once you have established your electrical requirements, it’s time to plan your wiring layout. Draw up a simple sketch of where you want your outlets, light switches, and lighting fixtures to go. This will help you to get your wiring in the right locations as you do the actual installation. You may want to consider positioning your outlets and light switches to the side of the door to optimize space and functionality.
Step 3. Run the Electrical Wires
With your wiring plan in place, it’s time to run the electrical wires. This may require cutting holes in your drywall, which an experienced electrician handles better. Use fish tape to guide your electrical wire from the electrical panel to the bathroom’s junction box.
Because the bathroom is a moist environment, it’s important to use moisture-resistant wire and conduit to avoid electrical hazards. Install conduit as necessary to keep the wires in enclosures and prevent unauthorized access or exposure.
Step 4. Install Your Electrical Components
Before installing any electrical components, it’s important to ensure that your wiring is up to code and inspected by a qualified electrician. Once approved, you can begin installing your outlets, light switches, and lighting fixtures.
Remember to follow the instructions that came with each electrical component when connecting wires and installing wall plates. Secure all outlets and lighting fixtures to the wall or ceiling to prevent them from moving, then test them to ensure they’re working correctly.
Step 5. Cover Your Wiring
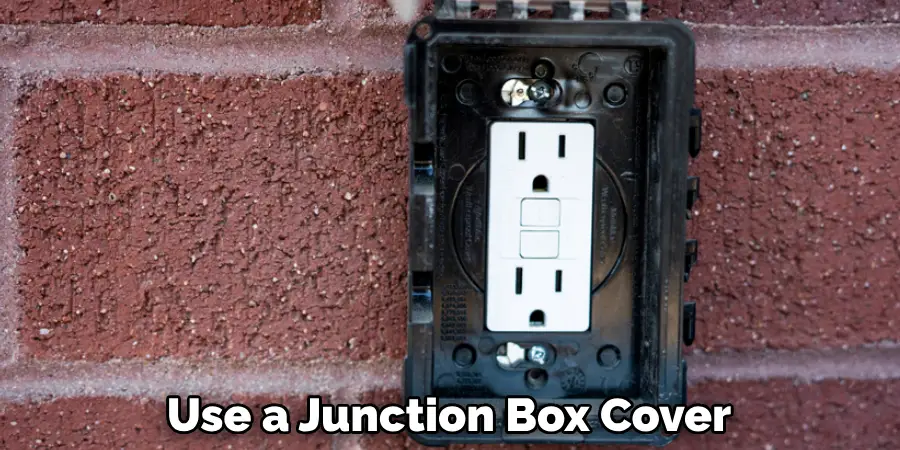
After the installation is complete, it’s time to cover your wiring. Use a junction box cover to protect any exposed wiring, and then place a cover plate on all electrical outlets and switches. Your wiring should be concealed within the walls to keep it safe from accidental damage and to maintain a neat appearance.
Step 6. Test All Electrical Components
Once you have covered your wiring, testing all electrical components is important. Turn on the power and make sure that each outlet, switch, and lighting fixture is working properly. If something isn’t working correctly, it’s best to leave this work to a qualified electrician who can diagnose and fix any problems with the wiring.
Step 7. Finalize Your Installation
The final step is to finalize your installation in preparation for use. Make sure all of your electrical components are securely mounted and covered, and then turn on the power again to test everything one last time. Once satisfied, you can now confidently enjoy your newly wired basement bathroom!
That’s it! You’ve now learned how to wire a basement bathroom. Following these steps can help you create a safe and functional space that will provide years of convenience and enjoyment. Just remember to always consult with a qualified electrician if you are unsure about any part of the process or want assistance in completing the job safely and correctly. Good luck!
5 Considerations Things When You Need to Wire a Basement Bathroom
1. Location of the Bathroom
When wiring a basement bathroom, one of the first things to consider is the location of the bathroom. The bathroom should be located in a convenient spot that is easily accessible from the rest of the basement. It is also important to make sure that the bathroom is located near a water source, such as a sink or a washing machine.
2. Size of the Bathroom
Another thing to consider when hiring a basement bathroom is the size of the bathroom. The size of the bathroom will determine how much work will need to be done in order to wire it. If the bathroom is small, then it may only require a few electrical outlets and light fixtures. However, if the bathroom is large, it may require several outlets, light fixtures, and additional wiring for plumbing fixtures.
3. Type of Wiring Needed
Once the location and size of the bathroom have been determined, the next thing to consider is the type of wiring needed. There are two main types of wiring that can be used for a basement bathroom: direct-burial wiring and non-metallic sheathed cable (NM cable). Direct-burial wiring is more expensive than NM cable, but it is also more durable and resistant to moisture. NM cable is less expensive but not as durable and may be damaged by moisture over time.
4. Number of Outlets Needed
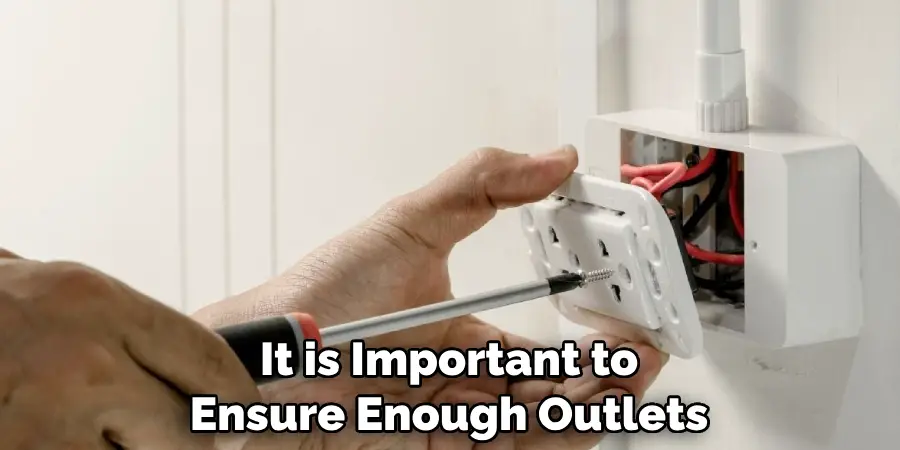
Another consideration when hiring a basement bathroom is the number of outlets that will be needed. The number of outlets will depend on the number of electrical appliances that will be used in the bathroom, such as a hair dryer or curling iron. It is important to ensure enough outlets to accommodate all of the appliances that will be used in the bathroom.
5. Lighting Needs
The final thing to consider when wiring a basement bathroom is lighting needs. There are several different types of lighting that can be used in a bathroom, such as recessed lighting, track lighting, or pendant lighting. Choosing lighting that will provide adequate illumination for all areas of the bathroom is important. Additionally, it is important to make sure that the lighting fixtures are properly installed and wired to meet electrical codes.
By considering these five things, you can ensure that your basement bathroom is correctly wired and ready for use in no time! With careful planning and consideration, wiring a basement bathroom doesn’t have to be daunting. With the right knowledge and materials, you can have your basement bathroom wired in no time! Good luck, and enjoy your new space!
Benefits of Wire a Basement Bathroom
Are you considering adding a bathroom to your basement? Plenty of benefits come with this improvement, especially if you take the time to wire it properly. A wired bathroom means you can easily install lighting, electrical outlets, and other electronic devices that make your space more convenient and functional. This can also make it a safer place to be by reducing the risk of electrical hazards and potential water damage.
Whether you’re looking for a way to entertain guests, increase your home’s value, or simply upgrade your living space, wiring your basement bathroom is a great way to achieve your goals. With the right tools and guidance, you can transform your basement into a fully-equipped, comfortable living space that you and your family can enjoy for years to come.
Some Common Mistakes People Make When Trying to Wire a Basement Bathroom
When it comes to wiring a basement bathroom, it’s important to take the time to plan out each step of the process carefully. Unfortunately, many people make common mistakes, leading to dangerous electrical issues. One of the most common errors is failing to properly ground the wiring, which can result in electrical shocks and fires.
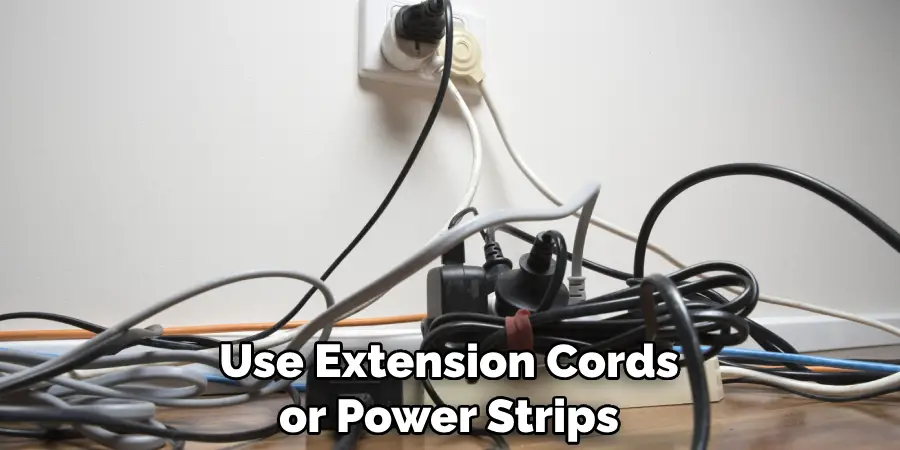
Additionally, some people may try to use extension cords or power strips instead of installing dedicated outlets, which can overload circuits and increase the risk of electrical fires. To avoid these and other mistakes, it’s important to consult with a licensed electrician and follow all local codes and regulations. This way, you can ensure that your basement bathroom is wired safely and effectively for years to come.
Conclusion
Wiring a basement bathroom is a bit more complex than a standard electrical installation due to the moisture risks involved. That’s why it’s critical to make sure the job is done to code and by a licensed electrician. However, with the right knowledge and approach, it’s a task that can be accomplished with ease. Follow these steps to ensure that the wiring in your basement bathroom is safe, functional, and long-lasting. Thanks for reading our post about how to wire a basement bathroom.

