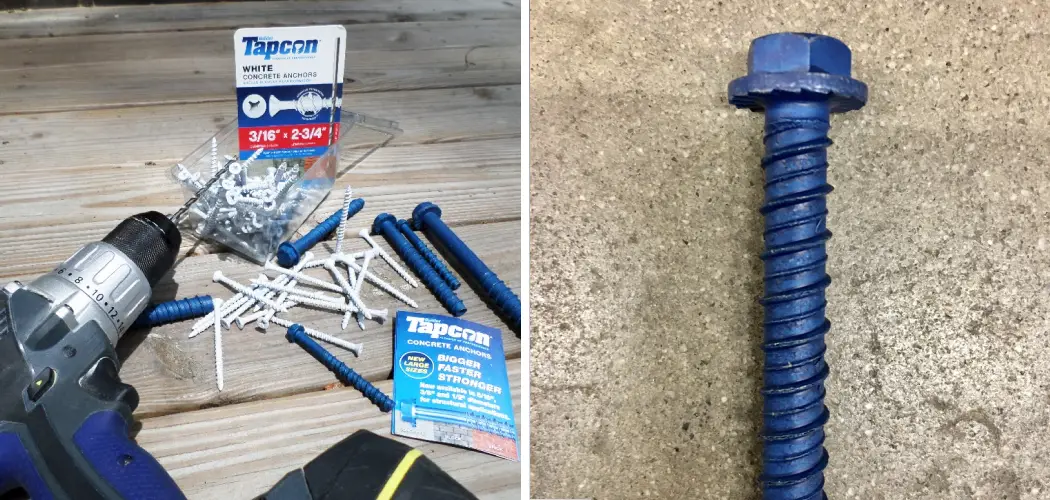
Are you looking for a secure anchor point in concrete floors? If so, Tapcon screws are an ideal option. Specifically designed for use in hard masonry surfaces like cement flooring or cinder block walls, Tapcon screws offer a reliable solution when it comes time to anchor objects safely onto hard surfaces. Tapcon screws may be the perfect solution as they provide an easy, fast, and cost-effective way to attach fixtures like shelves or handles onto concrete surfaces.

Whether you have experience utilizing this type of screw or are completely new to the process – there are several tips that will help ensure the best results when using Tapcons in concrete floors. This blog post will provide practical information on how to use tapcon screws in concrete floor projects and what to consider when choosing a product that best fits your needs.
Keep reading to discover more of the advantages of using tapcon screws and find helpful tips on how you can properly utilize them for various applications.
What Are Tapcon Screws?
Tapcon screws are self-tapping concrete anchor screws that are designed to provide a secure anchor point in masonry surfaces like concrete or brick. They have a unique thread pattern and sharp cutting edges which allow it to be driven straight into the surface without needing any pre-drilling.
Tapcon screws come in various head styles and sizes, making them suitable for a wide range of applications. The most common types are the Phillips flat head and hex head styles, although there are also specialty styles available too.
Can You Use Tapcon Screws in Concrete Floor?
Yes, Tapcon screws can be used in concrete floors. These screws are specifically designed to anchor into the concrete floor which makes them ideal for applications where you need a sturdy and secure anchor point. When working with a concrete floor, it is important to note that these screws must be driven straight down into the surface of the concrete – not at an angle. This will ensure that the screw is properly secured.
What to Consider When Using Tapcon Screws in Concrete Floor?
1. Size
When utilizing tapcon screws in concrete floor projects, there are several things to consider before getting started. First and foremost, it is important to select the right size of screw for your specific application. Tapcons come in a variety of sizes which will affect the overall strength and hold of the screw. It is important to select a size that will provide enough support for your application without exceeding the recommended load capacity.

2. Head Type
Another factor to consider before beginning your project is the type of head you will need for your application. Tapcons are available in several different head styles, including Phillips flat head, hex head, and more. Depending on the type of object you are attaching to the concrete floor, certain head styles may offer better strength and support.
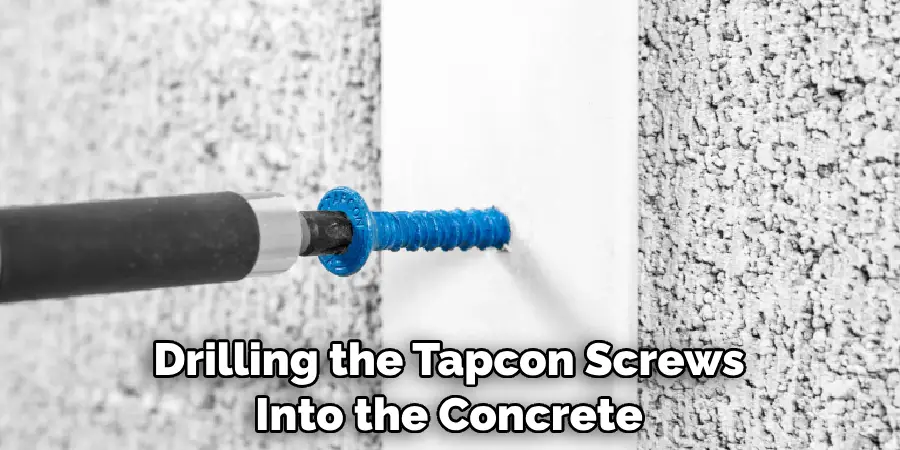
3. Drilling / Pre-Drilling
When working with hard masonry surfaces like concrete, it is important to pre-drill a pilot hole before attempting to drive in the tapcon screws. This will help to ensure that the screws are properly secured and will help reduce the risk of any potential damage to the surface. It is also important to make sure that you are using a drill that is specifically designed for masonry surfaces in order to achieve maximum results.
Utilizing tapcon screws in concrete floor projects can offer a secure anchor point with minimal effort. With proper preparation and the right tools, this type of secure attachment can provide an effective solution for a wide range of applications.
Required Items
To use Tapcon screws in a concrete floor, you need the following items:
- A power drill
- Tapcon screws
- A masonry bit
- Hammer
- Safety goggles
10 Instructions on How to Use Tapcon Screws in Concrete Floor
1. Protective Wear
Put on your safety goggles before beginning the project. It is an essential safety precaution in order to protect your eyes from any flying debris that could be caused by drilling the tapcon screws into the concrete floor. Also, wear gloves to protect your hands from any potential splinters or sharp edges.
2. Positioning the Tapcon Screws
Position the Tapcon screws in an area on the concrete floor that is free of obstacles. Mark their positions with a pencil so that you will be able to precisely place them once you begin drilling.
3. Setting Up Your Drill
Attach the masonry bit to your drill and make sure that it is securely fastened. Also, ensure that your drill is adjusted to the correct power setting for drilling through concrete floors. While setting up your drill, you should also set the clutch to a low setting. This will ensure that you do not over-tighten the Tapcon screws and cause them to strip out.
4. Drilling the Pilot Holes
Using your power drill, begin drilling pilot holes into the concrete floor at each of the locations where you marked for the Tapcon screws. Drill the holes to a depth of one inch. The holes should be wide enough to accommodate the Tapcon screws but not too wide.
5. Hammering
Once you have drilled all of the pilot holes, place the Tapcon screws into each one and tap them down with a hammer until they are flush with the surface of the concrete floor. This will ensure that they are securely fastened in place.
6. Tightening the Tapcon Screws
Place your power drill on a low setting and use it to tightly secure each Tapcon screw in place. Make sure that you do not over-tighten the screws, as this can cause them to strip out.
7. Finishing Up
Once all of the Tapcon screws have been securely fastened into the concrete floor, you can remove any excess debris that has been created by drilling and hammering. Finishing up the project may also include cleaning up any dust and dirt that has been created by drilling the Tapcon screws into place.

8. Checking for Secure Fastening
Once you have finished with the project, it is important to check each of the Tapcon screws to make sure that they are securely fastened in place. You can do this by applying pressure to the area around each screw and checking to see if it is firmly in place.
9. Removing Tapcons
To remove a Tapcon screw, use your power drill to loosen it before prying it out with a flathead screwdriver. You may need to repeat this process several times before all of the screws have been removed.
10. Cleaning Up
Once you have finished with the project, it is important to clean up any debris and dirt that has been created. This can be done by vacuuming or wiping down the area.
Following these instructions will help ensure a successful installation of Tapcon screws in a concrete floor. As long as you take the time to properly set up your power drill and securely fasten each of the Tapcon screws, your project should be successful.
5 Benefits of Using Tapcon Screws in Concrete Floor
Tapcon screws provide a secure hold and durable connection in concrete floors. They offer numerous benefits, such as:
1. Tapcon screws feature an easy-to-thread design that allows for quick and efficient installation with minimal effort. Additionally, these screws come pre-drilled, so no drilling is required prior to installation.
2. They provide a strong and reliable connection that can withstand extreme weather conditions, as well as the constant wear and tear associated with flooring. The high-tensile strength of Tapcon screws ensures that your concrete floors are secure for years to come.
3. They also provide superior corrosion resistance, making them perfect for use in areas exposed to moisture and humidity, such as bathrooms or outdoor patios.
4. Tapcon screws are easy to remove when needed, making them a great choice for applications that may need frequent disassembly and reassembly. It will minimize the amount of time and effort needed for any future repairs or renovations.
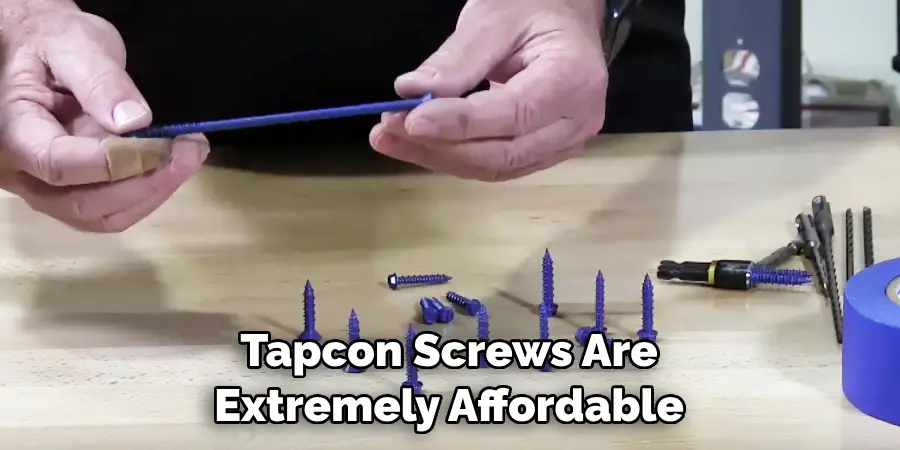
5. Finally, Tapcon screws are extremely affordable, making them an attractive option for anyone looking to save on installation costs. Costing less than traditional fasteners, Tapcon screws are a great choice for any DIYer or professional.
By taking advantage of the numerous benefits offered by Tapcon screws, you can ensure that your concrete floors remain secure and durable for years to come.
Conclusion
As you can see, installing tapcon screws in concrete floors isn’t that difficult if you follow the right steps. With all of these tips and helpful advice, you should have no problem starting with a successful DYI project. Given the strength and durability of tapcon screws, they are ideal when it comes to needing to secure items to a concrete floor. To get started on your project, make sure you have all of the necessary tools and materials laid out before you begin.
With the proper planning and measurement of your space, you can determine what size tapcon screws and drills bit would work best for your surfaces, when fastening components to concrete flooring, using tapcon screws is always an effective solution – provided that they are installed correctly according to manufacturer guidelines. So now that you know how to use tapcon screws in concrete floors, go try out your new skills on your next DYI project!