Drywall is an essential part of any construction project, and ensuring that it’s installed correctly is crucial. One particularly challenging part of drywall installation is around windows. Whether you’re a professional or a DIY-er, taping and mudding around windows is not a task you want to mess up. The good news is that you can achieve a smooth and seamless finish around your windows with the right tools and techniques.
In this blog post, we’ll share some tips and tricks on how to tape and mud drywall around windows like a pro.
Can You Tape and Mud Drywall Around the Windows?
Working with drywall can be tricky, particularly regarding areas around windows. One question that often arises is whether it’s possible to tape and mud drywall around windows. The good news is that it is entirely possible to do so, and with a little patience and attention to detail, you can achieve a seamless finish.
However, it’s crucial to take extra care when working around window openings, as their irregular shapes and varying surfaces require some added finesse. By following some essential steps, such as measuring carefully and using the right tools for the job, you can ensure your drywall work looks professional and polished. So, don’t let working around windows scare you – with the right approach, you can confidently tackle any drywall project.
Why Should You Tape and Mud Drywall Around Windows?
It’s important to pay special attention to the areas around windows in drywall installation. Taping and mudding around windows creates a clean and seamless finish and helps protect against unwanted drafts and moisture buildup.
Without proper sealing, gaps between the drywall and window frame can lead to energy loss and potential water damage over time. By taking the extra time to tape and mud these areas properly, you’ll improve the overall appearance of your space and make it more energy-efficient and durable. So next time you tackle a drywall project, don’t forget the importance of properly sealing the windows!
How to Tape and Mud Drywall Around Windows: Tips and Tricks
1. Preparation is key
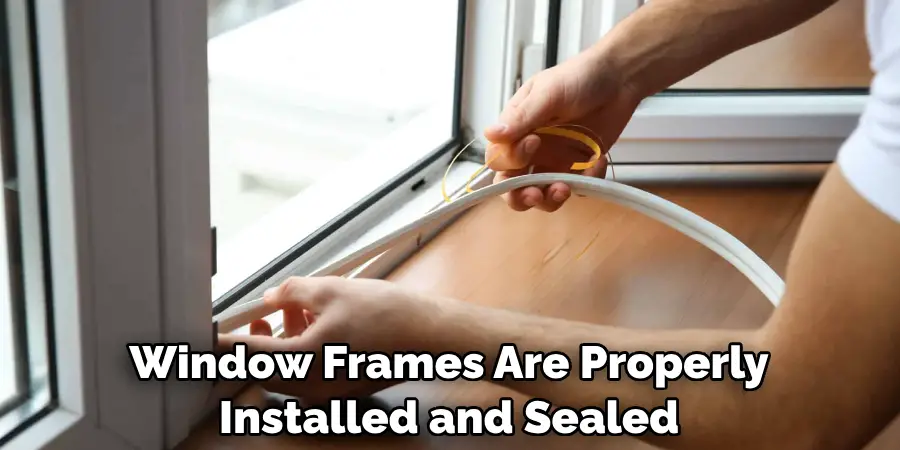
Before you start taping and mudding, you need to make sure that your window frames are properly installed and sealed. Ensure that the window is securely attached to the studs and there are no gaps between the frame and the wall. You can also apply caulk or foam insulation to seal any gaps. Next, use appropriate sandpaper to smooth out any rough spots or bumps on the drywall surface around the window. Finally, make sure to remove any dust or debris from the area.
2. Measure and Cut
When cutting your drywall sheets, make sure to measure and mark the opening for your window and cut it out carefully. You can use a drywall saw or a rotary tool with a drywall bit to make the cuts. The goal is to get a precise fit around the window frame, leaving no gaps or overlaps.
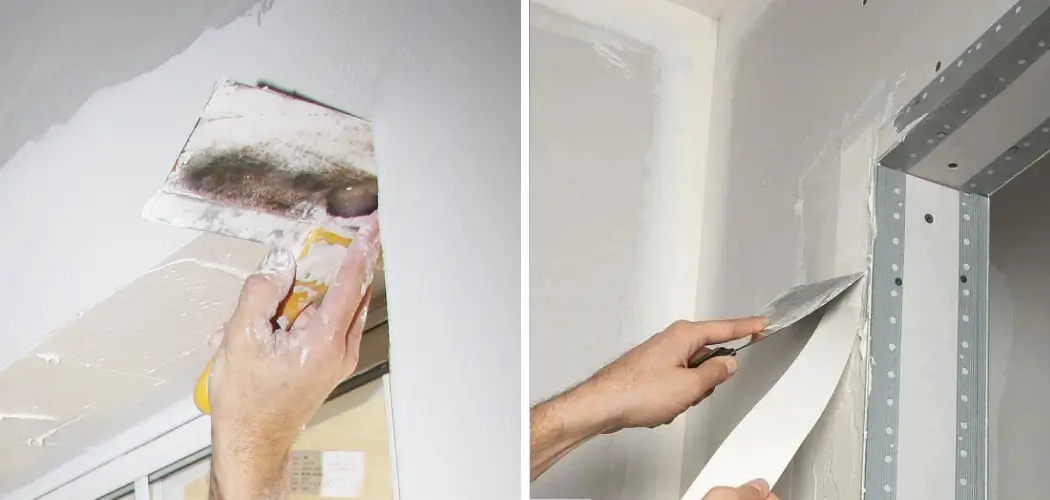
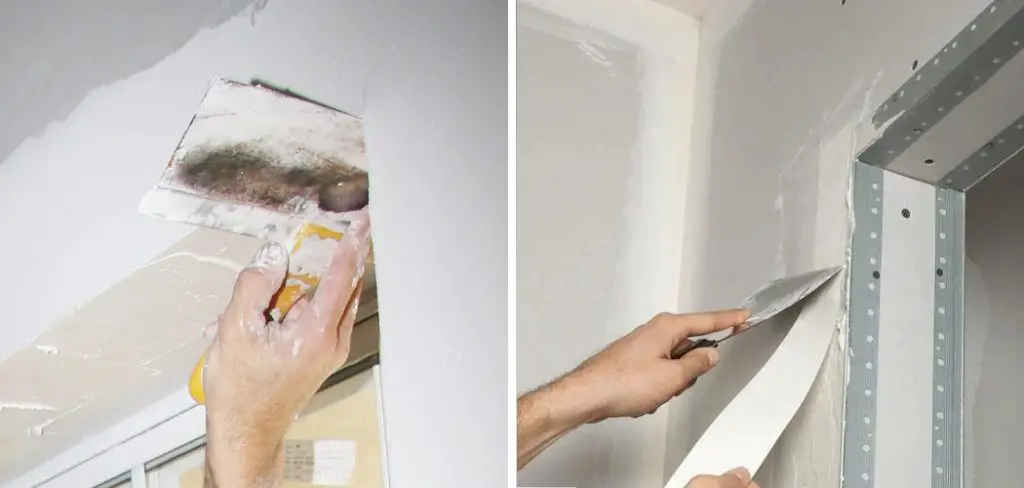
3. Install the Tape
Next, apply the drywall tape to the seams around the window. Use a wide knife to put the tape into the joint compound, removing any air bubbles. Remember to work in sections to avoid leaving any lines or bubbles in the tape. You can also use self-adhesive mesh tape for a stronger hold.
4. Mud the Joints
Once the tape is secure, it’s time to apply the joint compound. Use a 6-inch knife to spread a thin compound layer over the tape, followed by a second coat with a wider knife. Make sure to feather the edges of the mud with each coat to create a smooth transition between the tape and the drywall.
5. Sand and Finish
After the mud has dried, you can sand it lightly to create a smooth finish. Use fine-grit sandpaper and a sanding block to avoid damaging the drywall surface. Repeat the process of applying mud and sanding until you achieve a smooth and seamless finish.
6. Prime and Paint
Before painting, be sure to apply a coat of primer to the drywall. This will help ensure that your paint color remains true and vibrant. Once you’ve finished priming, you can paint the walls around the window using a brush or roller.
7. Clean Up
Finally, make sure to clean up any excess mud or dust in the area. Use a damp cloth to wipe down the drywall surface and remove any debris. With these tips, you should have no problem taping and mudding drywall around windows.
That’s it! You’ve now learned the basics of how to tape and mud drywall around windows. With a little practice, you’ll be able to master this skill quickly.
5 Considerations Things When You Need to Tape and Mud Drywall Around Windows
1. The Size of The Window
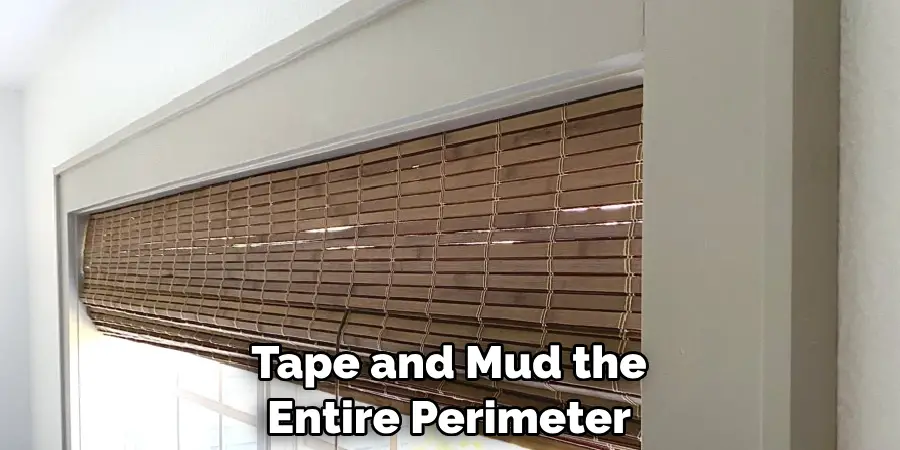
When taping and mudding drywall around windows, one of the first things you must consider is the window size. If the window is small, you may be able to get away with taping and mudding just the edges. However, if the window is large, you will likely need to tape and mud the entire perimeter.
2. The Type of Window
The window type will also affect how you tape and mud it. For example, if you are working with a casement window, you must be careful not to tape over the hinges. With a double-hung window, on the other hand, you will need to be careful not to tape over the tracks.
3. The Trim Around the Window
Another consideration is the trim around the window. If there is no trim, you must be careful not to damage the drywall when cutting it to fit around the window. If there is trim, you will need to take care not to cover it up when taping and mudding.
4. The Type of Drywall
There are two types of drywall: paper-faced and fiberglass-faced. Paper-faced drywall is easier to work with because it requires less sanding. However, it can be more difficult to find in stores. Fiberglass-faced drywall is more difficult to work with but is less likely to show imperfections after it’s painted.
5. Your Budget
Finally, you need to consider your budget when taping and mudding drywall around windows. If you are working with a limited budget, you may want to consider using pre-taped drywall corners. These corners are slightly more expensive than regular drywall tape, but they will save you time and effort in the long run.
Taping and mudding drywall around windows can be daunting, but if you are prepared and take the time to consider all the factors involved, it doesn’t have to be overwhelming. You can successfully tape and mud your windows with professional-looking results with the right materials and tools.
5 Benefits of Tape and Mud Drywall Around Windows
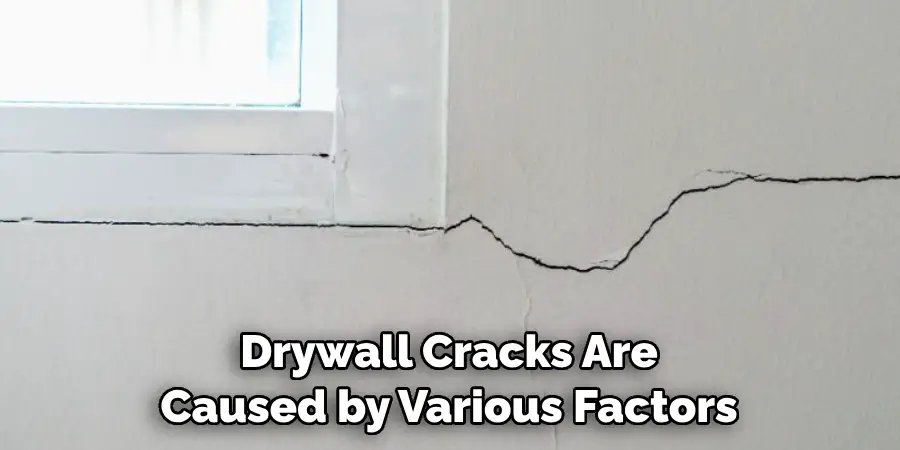
1. Prevents Cracks
One of the primary benefits of using tape and mud drywall around windows is that it prevents cracks. Drywall cracks are caused by various factors, including temperature changes, settling of the house, and vibrations. Using tape and mud to secure the drywall around windows can help prevent these cracks from forming.
2. Increases Insulation
Another benefit of using tape and mud drywall around windows is increasing insulation. When the drywall is properly sealed with tape and mud, it creates an airtight barrier that helps keep heat in winter and summer. This can help to reduce your energy bills and make your home more comfortable year-round.
3. Reduces Noise Pollution
In addition to increasing insulation, sealing drywall with tape and mud also helps to reduce noise pollution. If you live in a busy area or have thin walls, sealing the drywall around your windows can help muffle outside noise and create a more peaceful environment.
4. Prevents Mold Growth
Another benefit of using tape and mud drywall around windows is preventing mold growth. Mold thrives in damp, dark environments, so by creating a barrier between the outside air and the drywall, you can help to prevent mold from growing.
5. Improves Aesthetics
Finally, using tape and mud drywall around windows can also improve the aesthetics of your home. Cracks in drywall can be unsightly, so by sealing them with tape and mud, you can create a smoother, more polished look.
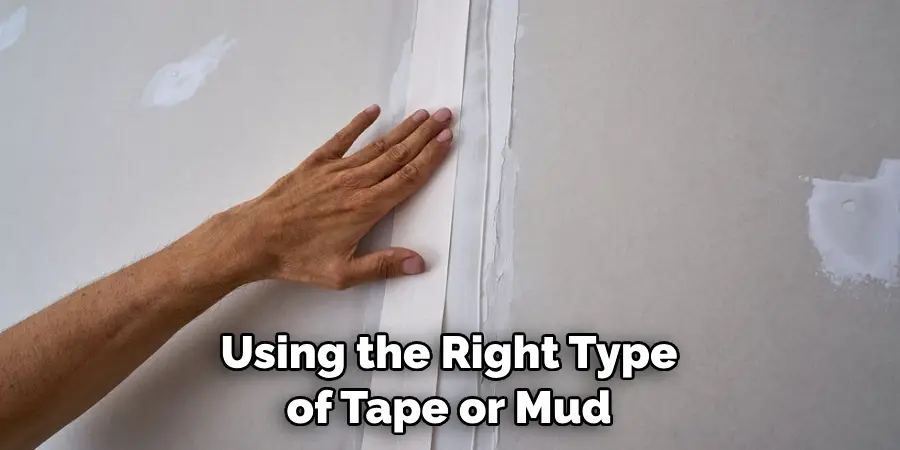
Some Common Mistakes People Make When Trying to Tape and Mud Drywall Around Windows
When it comes to taping and mudding drywall around windows, mistakes are all too common. One of the most frequent blunders is applying too much mud, making the surface uneven and hard to sand. Another mistake is not fully cleaning the area around the window before taping and mudding. This can lead to dust and debris getting trapped under the tape, causing it to come loose.
And finally, not using the right type of tape or mud can also result in a less-than-perfect finish. It’s important to use mesh tape for corners and paper tape for flat surfaces. Likewise, using the correct consistency of mud for each layer is crucial for a seamless result. So, take your time, pay attention to detail, and avoid these common mistakes to ensure a professional-looking finish on your drywall project.
Conclusion
Taping and mudding drywall around windows requires patience, practice, and attention to detail. With the right preparation, measurement, and techniques, you can achieve a professional-looking finish that will last for years to come. Take your time, work in sections, and don’t be afraid to ask for help if needed. Happy taping and mudding! Thanks for reading our post about how to tape and mud drywall around windows.