
Do you have a stone wall around your property that is letting in water? You must know how to stop water coming through stone walls. Are you looking for ways to keep the water out? You’re not alone – it’s a common problem, and one which causes plenty of stress.
Fortunately, some steps can be taken to prevent water from passing through these walls and damaging the structure of your home or business. In this blog post, we’re going to look at some tips and techniques on how to stop water from coming through stone walls once and for all. Read on to find out what you need to do!
Tools You Will Need
To keep water from passing through your stone wall, you will need the following tools:
- A hammer or chisel.
- Mortar and a trowel.
- Brick ties or masonry anchors.
- Polyurethane sealant.
- A waterproofing membrane such as tar paper.
5 Steps Guide on How to Stop Water Coming Through Stone Walls
Step 1: Inspect Your Stone Wall
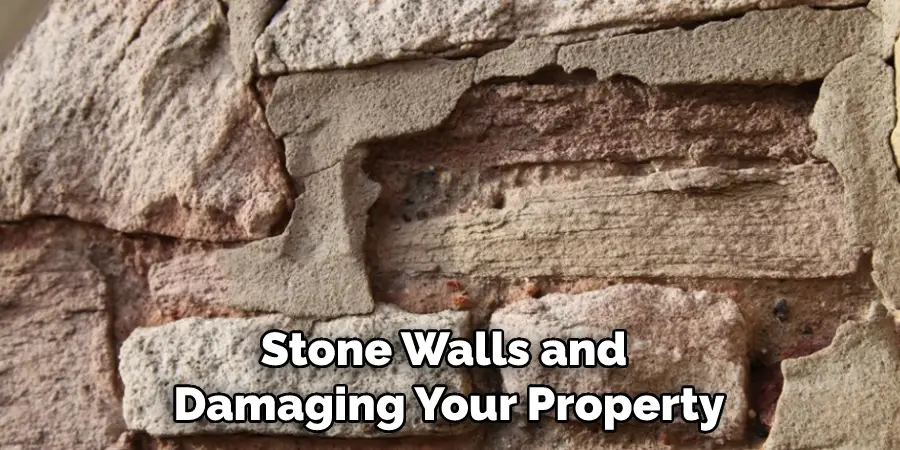
Inspecting your stone wall is a crucial part of ensuring it’s in proper condition. If water is leaking through, chances are there is something wrong with the mortar or structure of the wall. Water will naturally seek any fault or small hole and gradually damage that section of the stone wall.
Therefore, regular maintenance can prevent these costly repairs down the line. Inspecting the stone wall should involve looking for particular signs or indicators such as damaged caulk, visible signs of dampness on the surface, loose stones within the wall’s structure, and gaps in between mortar joints.
If you find any of these issues, immediate action needs to be taken to avoid greater damage to your wall. Furthermore, cleaning with a pressure washer and properly sealing all joints with insulation materials can also add extra protection against water-related damage.
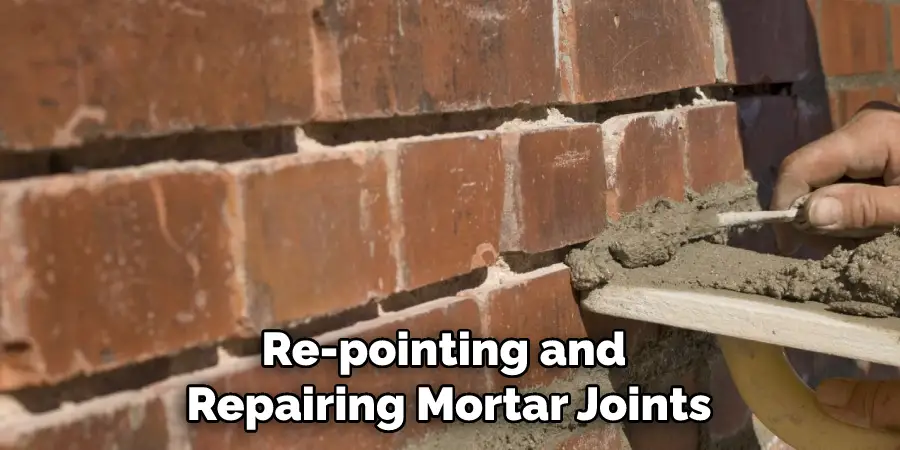
Step 2: Re-Point and Repair Mortar Joints
Keeping water from coming through your stone walls is imperative for the preservation of your home or business. Re-pointing and repairing mortar joints is a cost-effective way to stop water infiltration, as sealing the outside surface of the walls is only a temporary solution that fails in extreme weather.
The process consists of removing and replacing any cracked, severely deteriorated, or spaced-out mortar with new mortar that matches the properties of the original material. Additionally, a few coats of sealant can further ensure the integrity of your walls against moisture. Consulting an experienced mason will help you determine what type of repair your structure needs for optimal results.
Step 3: Install Brick Ties or Masonry Anchors
If you have noticed moisture seeping through your exterior stone walls, it’s likely time to consider installing brick ties or masonry anchors. The process is relatively easy and can help prevent further water damage to your home. Brick ties are made of metal, and they reach across the joints between the bricks to keep them secure and individually sealed to stop water from getting in.
Masonry anchors are like large screws that get embedded in mortar and provide a mechanical connection between two stones which ensures that each has adequate support and helps hold moisture out from between them. Installing either of these will also add value to your home, as it is an effective solution for improving the stability of your stone walls.
Step 4: Apply a Polyurethane Sealant
Applying a polyurethane sealant is an effective way of stopping water from coming through stone walls. It is important to choose the right kind of sealant for the particular type of stone being sealed as some stones may be too porous to be effectively sealed with polyurethane.
It is also best to prepare the surface by cleaning off any dirt, debris, and oils that could potentially interfere with the sealant’s effectiveness. Once the surface is properly prepared, it is a good idea to use a primer on the stone before applying two or three coats of a quality polyurethane sealant – allowing each coat some time to dry until the entire surface has been covered.
Lastly, check regularly over time to make sure that your sealant job continues to be effective in stopping water from coming through your stone walls!
Step 5: Install a Waterproofing Membrane
Waterproofing stone walls isn’t just a question of aesthetics; it’s essential to preserve the integrity of your structure. Fortunately, it’s possible to keep moisture out with the installation of a waterproof membrane which works by creating a protective seal between the wall and water-based liquids.
The process involves treating the surface of the wall with an impregnation material before installing the membrane itself, thus providing a highly effective invisible barrier that repels water. This form of protection is very cost-effective, easy to install, and highly durable, making it a sensible solution for deflecting liquid from your stone walls.
By following these steps, you can effectively keep water from passing through your stone walls and damaging your property. Doing so will give you peace of mind knowing that your home or business is safe from unwanted moisture. Please don’t hesitate to contact us today. We’d be more than happy to answer any questions you may have and help you get the job done right!
Tips to Stop Water Coming Through Stone Walls
- Inspect the stone wall for cracks or gaps. If you find any cracks or gaps, use a masonry sealer to fill them in. This will help to prevent water from seeping through the wall.
- Apply a waterproofing membrane to the stone wall. Waterproofing membranes are available at most home improvement stores. They can be applied with a brush or roller and will help to keep water from seeping through the stone wall.
- Install gutters and downspouts around the perimeter of the stone wall. Gutters and downspouts will help to collect rainwater and direct it away from the stone wall, preventing it from seeping through.
- Grade the ground around the stone wall so that it slopes away from the wall. Grading the ground so that it slopes away from the wall will help to prevent water from pooling around the base of the wall and seeping through.
- Cover the stone wall with a tarp during heavy rains. This will help to keep water from saturating the stone wall and causing it to leak.
- Repair any leaks in the roof or gutters as soon as possible. Leaks in the roof or gutters can allow water to run off and pool around the base of the stone wall, causing it to leak.
- Check the drainage around the foundation of the house regularly. If there is poor drainage around the foundation of the house, water can seep through cracks in the foundation and into the basement, which can then cause leaks in the stone walls.
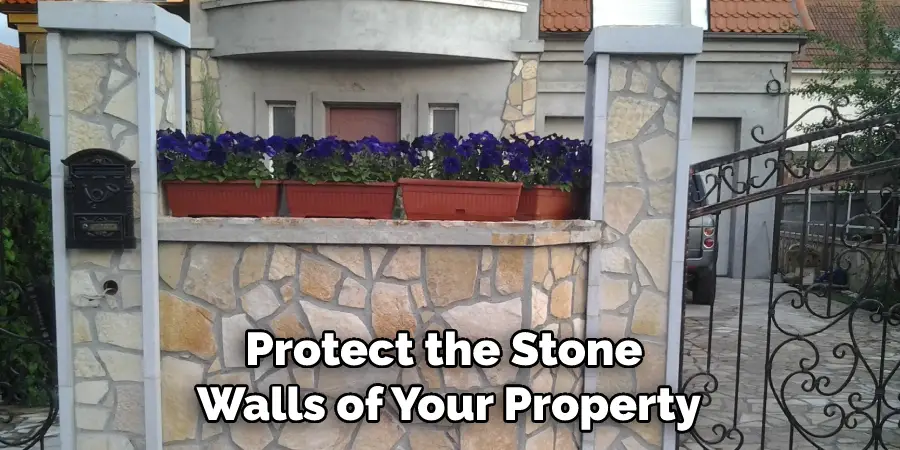
How to Seal and Protect Your Stone Walls from Water Damage?
Taking precautions to protect the stone walls of your property will help them look beautiful and last a long time. Concrete sealers are an ideal way to preserve both the longevity and appearance of your stone walls. Applying the sealer will not only give the wall added protection against water damage but also add a beautiful sheen to it.
The sealant should be applied as soon as you can after installation or repair and should be reapplied every 2-4 years, depending on the severity of exposure or wear and tear that occurs over time. You’ll need to purchase some sealer specifically designed for stone or masonry, then apply it with a brush, roller, or even a sprayer for best results.
If you stay proactive about protecting your stone walls from water damage, you’ll have a long-lasting striking feature that looks great for many years to come without much effort on your part!
How to Grade the Ground Around Your Stone Wall for Optimal Drainage?
The importance of grading the ground around your stone wall for optimal drainage cannot be emphasized enough. This will help prevent water from pooling up and putting unnecessary pressure on the wall. To ensure proper grading, use a rope and stake to create a slope that is at least six inches away from the base of your wall, going outward in all directions.
After making sure the desired slope is created, add soil or gravel of different sizes near the base until the desired grade is achieved. Additionally, covering the area with landscaping cloth helps enrich soil health and keep weeds away while allowing water to pass through. Finally, adding small rocks on top of the cloth always ensures drainage while also providing minor aesthetic qualities.
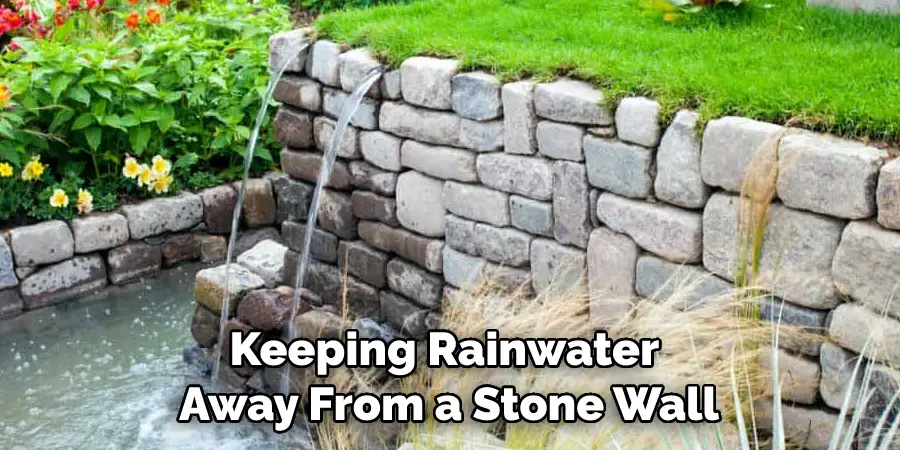
How to Keep Rainwater Away from Your Stone Wall with Gutters and Downspouts?
Keeping rainwater away from a stone wall is essential for maintaining its structural integrity. Fortunately, installing gutters and downspouts can help protect your stone walls from damage. Gutters are typically made of aluminum or vinyl and installed along the roof’s edge.
The collected water then travels through a downspout connected to the gutter which helps disperse it away from the wall. When properly installed, it should direct the water so that it flows far enough away from the base of the stone wall to prevent flooding and staining.
Although gutters can greatly reduce damage due to rainwater, it’s important to regularly check that they are in good condition and clear out any debris over time. This will ensure that your stone wall stays in top shape for years to come.
Conclusion
There are a few things you can do to prevent water damage to your stone walls. You should carefully determine how to stop water coming through stone walls. You should start by sealing the wall with a waterproofing sealer.
This will help to keep moisture out and protect your investment. By following these simple tips, you can rest easy knowing that your home is protected from water damage.