Having water leaks in your basement can be an incredibly frustrating experience for homeowners, leading to damage that creates a whole host of problems like mold and mildew buildup. It’s important to understand why these leaks occur so you can take action as soon as possible to stop them from getting worse.

In this article, we will discuss the reasons why water may be leaking into your basement and provide step-by-step instructions on how to seal water leak in basement wall easily and effectively.
Tools and Materials You Will Need to Seal Water Leak in Basement Wall
- Tape measure
- Hammer
- Chisel
- Caulk gun and caulk
- Patching plaster
- Plywood boards or other patching material
- Laundry detergent
- Waterproof sealant
- Putty knife
Step by Step Guidelines on How to Seal Water Leak in Basement Wall
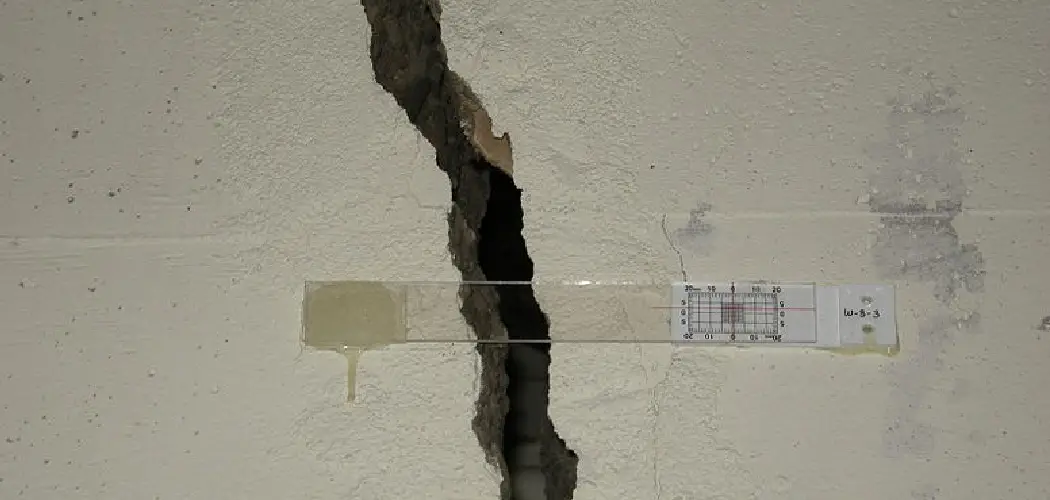
Step 1: Identify the Source
Begin by assessing the area of your basement wall from which the water is leaking. Carefully inspect the area and note any cracks or other points that may be causing the leak. Identifying the source of the leak will help you determine the steps you need to take in order to seal it effectively. This is key to preventing further water damage.
Step 2: Clean and Prepare the Surface
Once you have identified the source, prepare the surface by cleaning it with detergent and warm water. Make sure that you thoroughly dry off any moisture from the area before proceeding. Preparing the surface properly will help ensure that your patch adheres to the wall. While preparing the wall, use a putty knife to scrape away any loose or crumbling plaster that could interfere with your repair.
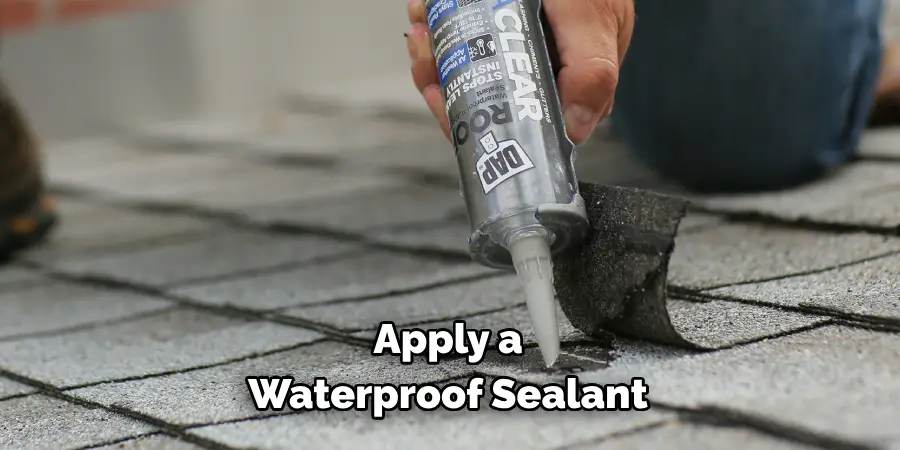
Step 3: Apply a Waterproof Sealant
Apply a waterproof sealant along the base of the wall and around any cracks or holes. Fill in any gaps with caulking or plaster, depending on their size of them. Be sure to cover all areas where water could potentially enter. Once you are done, allow at least 24 hours for the sealant to dry completely before moving on to the next step.
Step 4: Apply a Patch
Once the waterproof sealant has dried, you can apply a patch over it to reinforce it and ensure that water does not get through. Measure out the area of your wall where you need to place the patch and cut the plywood boards or other material to the appropriate size. Secure it in place with a hammer and chisel, making sure that it is even on all sides.
Step 5: Apply a Final Patch
Once you have secured your first layer of patching material, apply an additional waterproof sealant over it. Allow the area to dry completely before applying a second layer of patching material. Make sure that all cracks and holes are properly sealed with the sealant before finishing off the patchwork.
By following these steps, you can easily and effectively seal water leaks in the basement wall. Doing so will help prevent further damage to your home and protect it from future leaks. Remember to check for any signs of leaks regularly and repair them as soon as possible. With the right tools and materials, you can easily keep your basement walls well-protected from water damage. Good luck!
Additional Tips and Tricks to Seal Water Leaks in Basement Walls
1. Make sure to use a heavy-duty epoxy sealant when sealing your wall joints, and make sure it is made specifically for basement walls. If you are using a mortar mix, be sure that it is made of concrete or cement walls.
2. It’s important to ensure that the area around the leak is completely dry before starting to seal it. Applying a sealant to a wet area can cause the sealant to fail and could potentially make the leak worse.
3. If you are looking for an easy fix, try using foam insulation strips or caulk around the outside of the wall where water is leaking in. This will provide some temporary protection until more permanent solutions can be put in place.
4. If you have an exposed wall, make sure to check it regularly for any signs of water leaks and seal them quickly when you find them. Additionally, if the walls are insulated, make sure that the insulation is sealed properly as well.
5. Finally, be sure to check the gutters and downspouts on your home to make sure that water is not running down the walls of your basement. If the gutters and downspouts are clogged or damaged, water can run off onto your walls and cause leaks.
Following these tips will help ensure that you keep your basement dry and safe, as well as prevent future water leaks in your home. While sealing a water leak in your basement wall may seem like a daunting task, it doesn’t have to be if you are prepared and take the necessary precautions. Just remember, prevention is key! Good luck with your project!
Precautions Need to Follow for Sealing Water Leak in Basement Wall
1. Make sure you have all of the necessary safety equipment before starting. This includes wearing gloves, safety glasses, and a respirator or dust mask to protect against hazardous particles.
2. Check for any electrical wiring before beginning your repair work. If you find any wiring, turn off the power at the circuit breaker box before proceeding with your project.
3. Prepare the area to be sealed by chipping away any loose mortar or other debris from the surface of the wall. This will make it easier to apply a patch and sealant.
4. Choose a high-quality waterproof sealant for your project, and check that it is suitable for use on concrete or masonry walls. Carefully read all instructions included with the product before use.
5. Apply a generous amount of sealant to the area, being sure to evenly spread it along all edges of the patch and using enough to create a watertight bond. Use a putty knife or trowel to smooth away any excess sealant.

6. Allow the sealant to dry completely before testing the patch for any water leakage. If you have followed all of the steps properly, your repair should be complete and the water leak should be sealed!
7. Once the patch is dry, inspect it periodically to ensure that it is still in good condition and that there are no signs of any water leakage or damage. Taking these preventive measures will help you maintain a safe and dry basement wall for many years to come!
Following these precautions is essential in order to properly and safely seal a water leak in basement walls. Be sure to use all safety equipment listed, prepare the wall for sealing correctly, choose a high-quality waterproof sealant, apply it evenly and generously, allow drying time before testing the patch, and inspect periodically for any signs of damage or leakage.
Frequently Asked Questions
How Long Will It Take to Seal a Water Leak in My Basement Wall?
The length of time needed to fix the problem depends on the severity of the leak. Minor leaks should be fixed relatively quickly, while more extensive ones may require several steps and can take longer. Additionally, other factors such as weather conditions and access to materials can affect the total repair time.
What Are the Different Ways I Can Seal a Water Leak in My Basement Wall?
There are several methods that can be used to seal a water leak in your basement wall, including caulking, using an epoxy injection system, installing a waterproofing membrane, and applying a concrete patch. Each method has its advantages and disadvantages and should be chosen based on the severity of the leak.
Will Sealing a Water Leak in My Basement Wall Prevent Future Problems?
The sealing method you choose should provide protection against future water leaks, but it is important to keep an eye on your basement walls for any signs of damage or leakage. It can also help to check the area around the seal for any leaks, as well as make sure that downspouts and gutters are clear of debris. Regular maintenance can help to prevent further water damage in your basement.
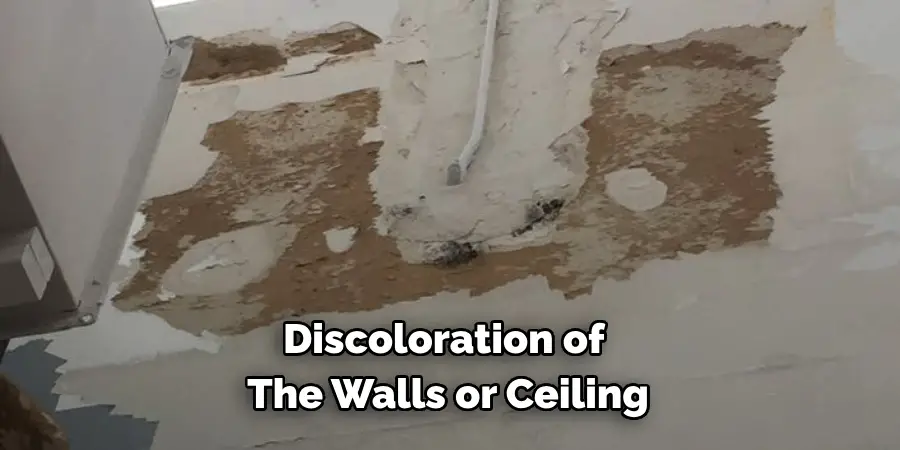
What Are Some Common Signs of a Water Leak in My Basement Wall?
Some common signs that you may have a water leak in your basement wall include damp patches on the walls, discoloration of the walls or ceiling, a musty smell in the area, and an increased level of humidity. If you notice any of these signs, it is important to have them checked out by a professional as soon as possible to prevent further damage.
Conclusion
After reading and applying the steps outlined in this blog post, you should now have a much better understanding of how to seal water leak in basement wall. By employing the strategies mentioned, you can effectively waterproof your basement and prevent future water damage from occurring.
Remember to check your wall for signs of moisture regularly and to call a qualified professional if you are unable to take care of any issues yourself. Taking control of this situation is critical in keeping your home safe and dry! Start tackling those water leaks today and you will be on your way to peace of mind knowing that your home is protected.