If you have a basement, then you know that the walls can often be exposed to moisture and humidity. This can often cause the concrete to crumble and crack. While this may not seem like a big deal, left unchecked, the damage can worsen over time. This blog post will show you how to repair basement walls crumbling using a few simple steps. We will also provide some tips on preventing this from happening in the future. Keep reading for more information!
What Causes Basement Walls to Crumble?
Before we get into the nitty-gritty of repair, let’s first take a look at what causes basement walls to crumble. A few factors can contribute to this problem, but the most common one is moisture. When water seeps into the concrete, it can cause it to expand and crack. This is why you often see cracks in basement walls during the rainy season.
Another factor that can cause your basement walls to crumble is poor drainage. If the soil around your home is not properly graded, then water can pool around the foundation. This can cause the concrete to crack and crumble over time.
Improper drainage is often the culprit behind homes that have basement flooding problems. Additionally, if you have gutters that are not properly installed or maintained, then they can also cause water to pool around your home’s foundation. Finally, if leaks are in your home’s plumbing, that water can also seep into the concrete and cause it to crack.
Some Effective Ways How to Repair Basement Walls Crumbling
1. Use a Concrete Patching Compound
If you have small cracks in your basement walls, then you can use a concrete patching compound to fill them in. This is a quick and easy fix that can be done yourself. First, clean out the cracks with a wire brush. Next, mix the patching compound according to the manufacturer’s instructions.
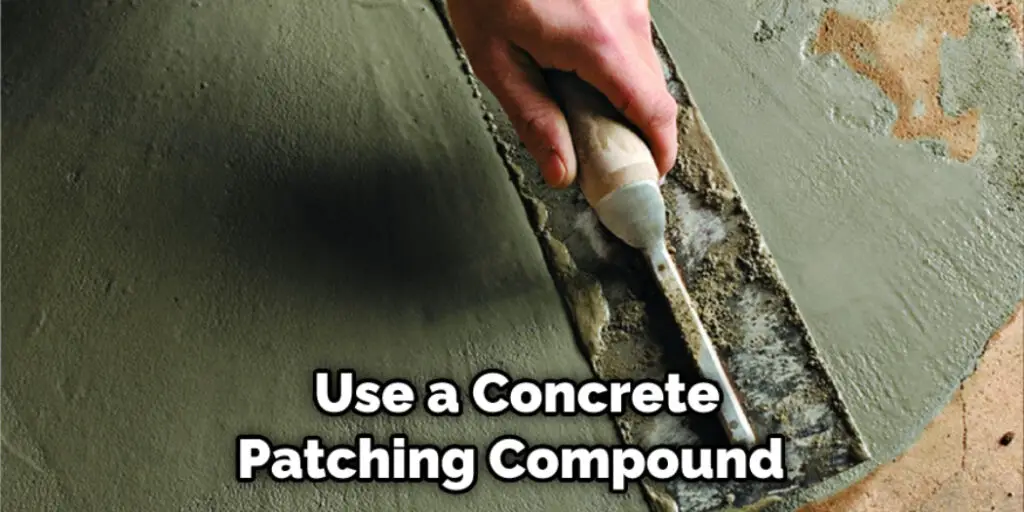
Then, use a putty knife to apply the compound to the cracks. Finally, allow it to dry according to the manufacturer’s instructions. You may need to use a trowel to apply the compound if you have large cracks. Avoid overfilling the cracks, as this can cause them to widen.
2. Clean the Affected Area
If you have larger cracks in your basement walls, you must clean out the affected area first. This can be done with a wire brush or a power washer. First, remove any loose debris from the cracks. Next, use the wire brush or power washer to clean out the cracks. Be sure to remove all dirt, debris, and loose concrete. Otherwise, the repairs will not be as effective. If you have a power washer, use it on a low setting to avoid damaging the concrete. Avoid using a high-pressure washer, as this can further cause the concrete to crumble.
3. Apply a Concrete Sealer
After you have cleaned out the cracks, you will need to apply a concrete sealer. This will help fill in voids and prevent water from seeping in and causing further damage. First, mix the sealer according to the manufacturer’s instructions. Next, use a brush or roller to apply the sealer to the cracks. Be sure to follow the manufacturer’s instructions on how long you need to let the sealer dry. If you are using a brush, apply the sealer in long, even strokes. If you are using a roller, apply the sealer in short, even strokes.
4. Inject Epoxy Into the Cracks
If you have large cracks in your basement walls, you may need to inject epoxy into the cracks. This is a more involved repair that should be done by a professional. First, the affected area must be cleaned out and dried. Next, epoxy is injected into the cracks. The epoxy will fill in the cracks and prevent water from seeping in. Once the epoxy has been injected, it must cure for 24 hours. After it has cured, the area can be painted or covered with drywall.
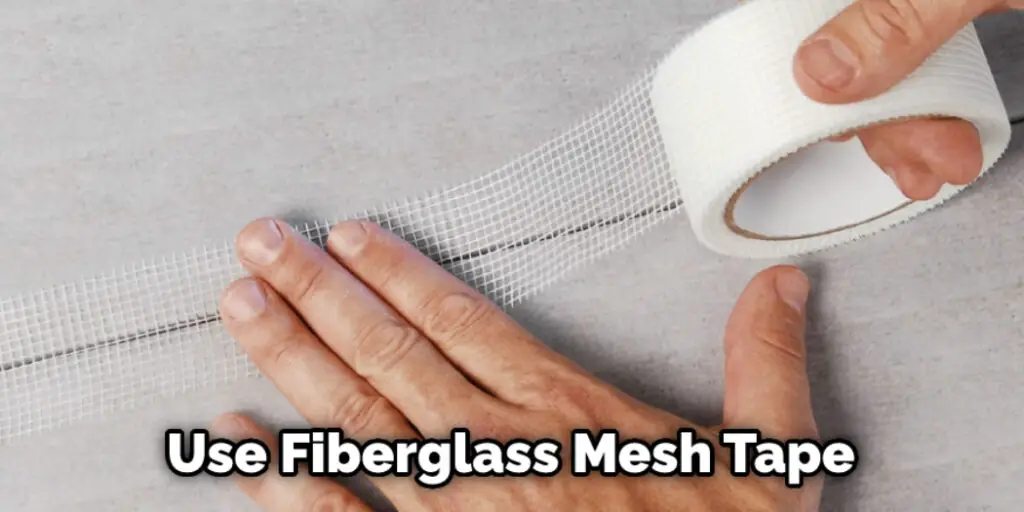
5. Use Fiberglass Mesh Tape
If you have cracks in your drywall, you can use fiberglass mesh tape to repair them. This is a quick and easy fix that anyone can do. First, clean out the cracks with a wire brush. Next, apply the mesh tape to the cracks. Be sure to smooth it out so that there are no wrinkles.
Finally, apply a joint compound to the cracks. Allow the joint compound to dry according to the manufacturer’s instructions. Then, sand the area smoothly. If necessary, apply a second coat of joint compound. Avoid using duct tape, as it will not adhere to the concrete and will not provide a lasting repair.
6. Apply a Concrete Overlay
You may need to apply a concrete overlay if you have large cracks in your concrete. This will help smooth the surface and give you a new surface to work with. You can find concrete overlays at your local hardware store. First, clean the surface of your concrete and then apply the overlay. Let it dry for 24 hours before painting or staining. If you have small cracks, you can use a concrete repair kit to fill them in.
7. Install Drainage Systems
If water seeps into your basement, you may need to install a drainage system. This will help redirect water away from your foundation and prevent further damage. There are several types of drainage systems, so be sure to consult a professional before choosing one.
The most common type of drainage system is a French drain. This system consists of a perforated pipe installed around your foundation’s perimeter. The pipe is then covered with gravel. The gravel helps redirect water away from your foundation and into the pipe. Avoid using concrete to cover the pipe; it can crack and allow water to seep in.
8. Repair Damaged Gutters
Water can seep into your basement if your gutters are not draining properly. Be sure to clean your gutters regularly and repair any damage. You can do this by installing gutter guards or by hiring a professional to clean your gutters. First, clean out your gutters with a garden hose. Next, inspect them for any damage. If you find any damage, use a patch kit to repair it. If the damage is extensive, you may need to replace the gutters.

9. Install a Sump Pump
If your basement floods, you may need to install a sump pump. This will help pump water out of your basement and prevent further damage. Sump pumps are available at most hardware stores. First, dig a hole in your basement floor. Next, install the sump pump in the hole. Be sure to follow the manufacturer’s instructions. Finally, connect a hose to the pump and route it to the outside.
10. Hire a Professional
If you are uncomfortable performing any of the above repairs, you can always hire a professional. Basement waterproofing contractors are available to help you repair your basement. Be sure to get multiple estimates and choose a contractor that you feel comfortable with. Try to avoid hiring the first contractor that you speak to. Get references from each contractor and check them before making a decision. It would be best if you also asked each contractor for a written estimate. Be sure to get everything in writing before work begins.
Tips and Warnings on How to Repair Basement Walls Crumbling
Tips:
- Be sure to wear the proper clothing and equipment when working with concrete.
- Mix the concrete well before applying it to the cracks.
- Use a trowel or putty knife to apply the concrete mixture to the cracks.
- Smooth the repaired area’s surface with a wet sponge.
- Allow the repair to dry completely before walking on it or applying any type of finish.
Warnings:
- Be sure to work in a well-ventilated area when using concrete.
- Wear gloves and a dust mask to avoid inhaling concrete dust.
- Avoid getting concrete on your skin or clothes. If you do, wash it off immediately.
- Do not apply concrete to cracks that are wider than 1/4 inch.
- Do not try to repair large, deep cracks in your basement walls. These should be repaired by a professional.

How Much Does It Cost to Repair Basement Walls Crumbling?
The cost of repairing basement walls crumbling will vary depending on the severity of the damage. Minor repairs, such as filling small cracks, can be done by a homeowner and will cost around $100. More extensive repairs, such as installing a drainage system, will need to be performed by a professional and will cost around $1,500. If your basement walls are severely damaged, you may need to have them replaced. This will cost around $10,000.
Conclusion
So there you have it, a complete guide on how to repair basement walls crumbling. Follow the tips and warnings outlined in this article to avoid any injuries. With a little bit of time and effort, you can have your basement walls repaired in no time. We hope you found this article helpful. If you have any questions, please feel free to comment below. Thanks for reading!
You Can Also Check It Out to Install a Pellet Stove in a Basement