At some point, you may need to remove an air vent cover from a wall. Perhaps you’re moving and need to take it with you, or maybe you’re replacing it with a new one. Whatever the reason, it’s not as difficult as you might think. So here’s a step-by-step guide on how to remove air vent cover from wall.
Can You Remove the Air Vent Cover from The Wall?
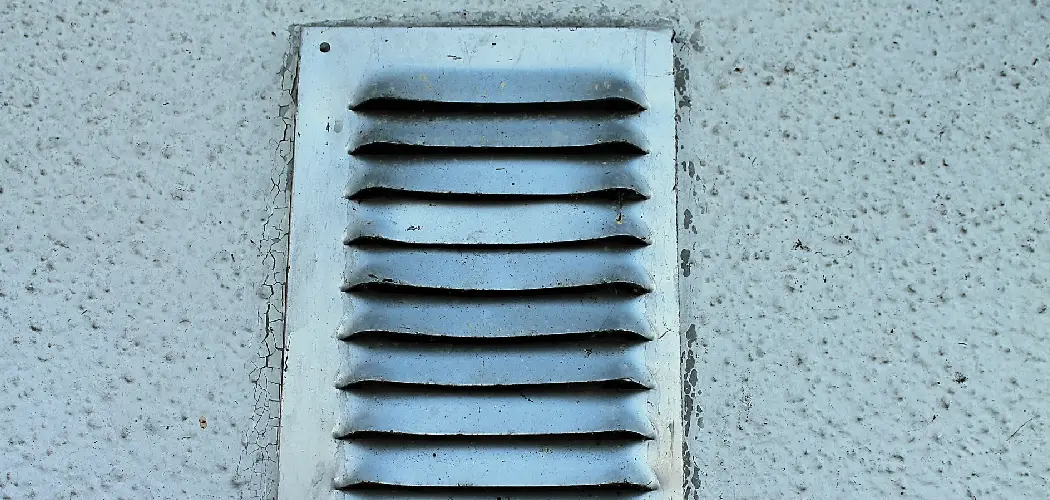
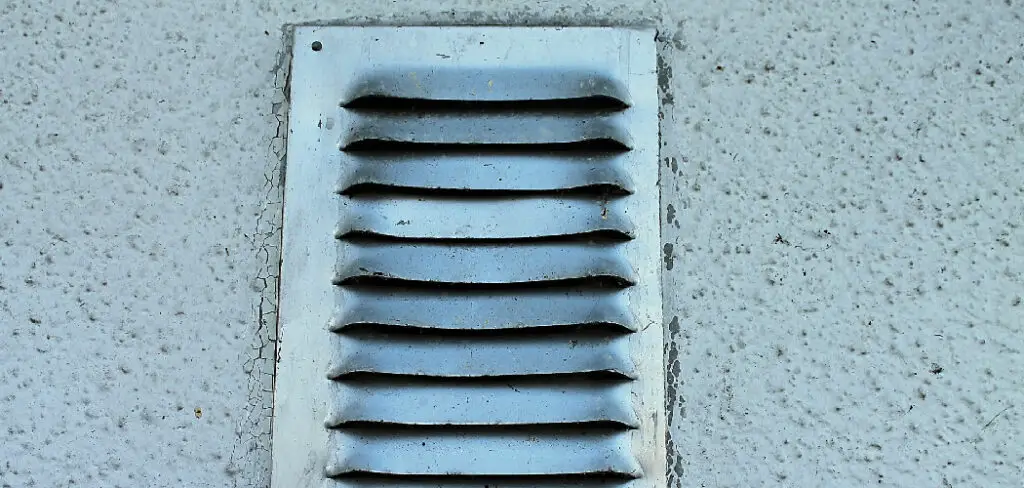
In order to remove the air vent cover from the wall, you will first need to locate the screws that are holding it in place. Once you have found the screws, use a screwdriver to remove them. Be careful not to lose the screws, as they may be difficult to replace.
With the screws removed, you should be able to pull the vent cover off of the wall simply. However, if the cover is stubborn, you may need to use a putty knife or other tool to help pry it loose. Once you have successfully removed the vent cover, you can then proceed to clean or replace it as needed.
Why Should You Remove the Air Vent Cover from The Wall?
Many people believe that the air vents in their homes are purely decorative, and so they leave the covers on year-round. However, there are several reasons why it is actually beneficial to remove the air vent cover from the wall.
First, it helps to improve air circulation. When the cover is left on, it can block some of the airflows, making it harder for heat to circulate throughout the room. Second, removing the cover makes it easier to clean the vent. Over time, dust and dirt can build up on the vents, making them less effective and causing them to blow dirt and dust around your home.
By taking off the cover and giving the vents a good cleaning, you can help improve their efficiency and keep your home free of dust. Third, removing air vent covers can actually save you money. When heat can circulate more freely, it takes less energy to maintain a comfortable temperature in your home.
This can mean lower heating bills in the winter, and in the summer, it can lead to lower cooling costs. So next time you’re dusting your home, take a moment to remove those air vent covers and enjoy the benefits of better air circulation.
Tools You’ll Need
- A screwdriver (flathead or Phillips, depending on the type of screw holding the cover in place)
- A drill (optional)
- A vacuum cleaner (optional)
How to Remove Air Vent Covers for Cleaning: Step-by-Step Guide
Step 1: Turn Off the Power
The first step is to turn off the power to the air vent. This can usually be done by flipping a switch on the wall near the vent. If there is no switch, you will need to find the circuit breaker for the room and flip it to the “off” position.
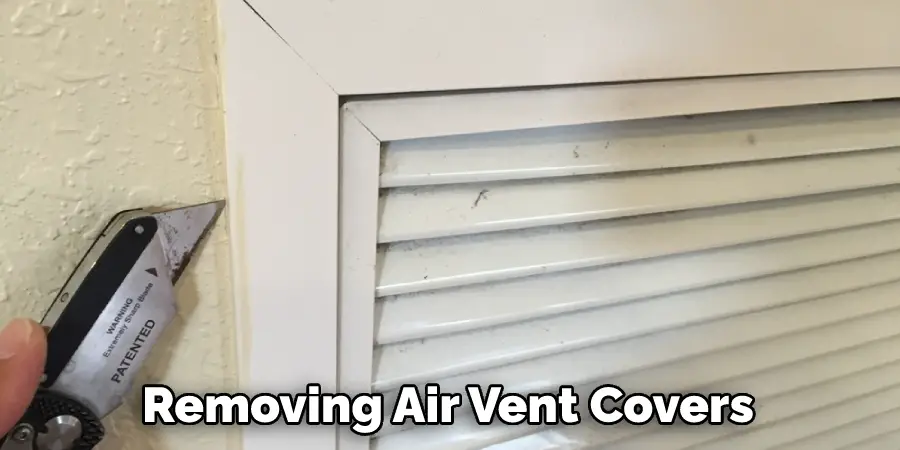
Step 2: Remove the Screws
Once the power is off, you can begin to remove the screws that hold the air vent cover in place. In most cases, there will be four screws in each corner of the cover. Use a screwdriver or drill to remove these screws and set them aside.
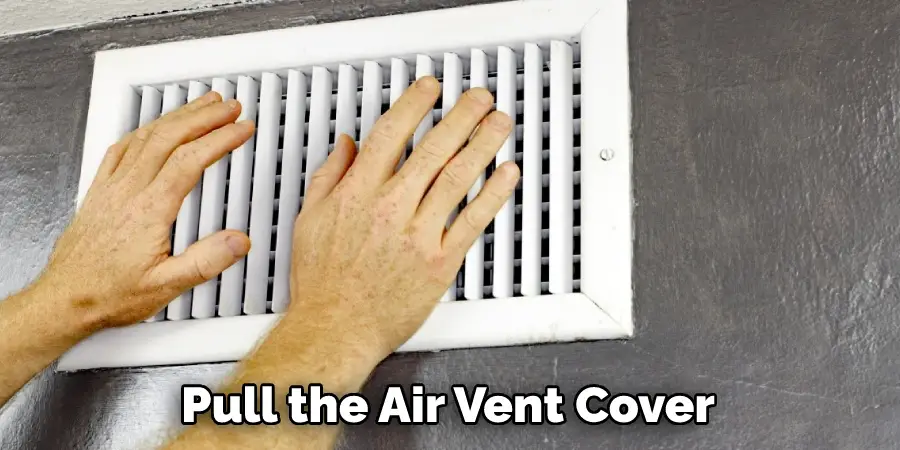
Step 3: Pull the Air Vent Cover
With the screws removed, you should be able to pull the air vent cover off of the wall gently. You may need to use a putty knife or other flat object to pry it loose if it is stuck.
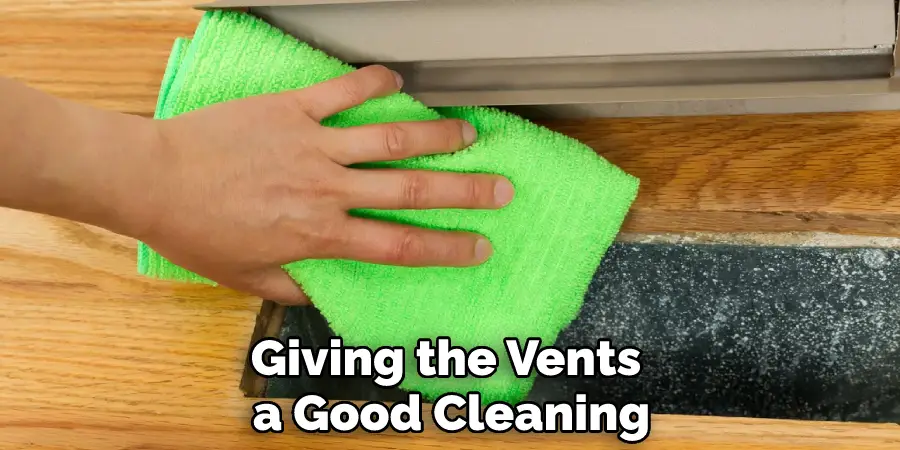
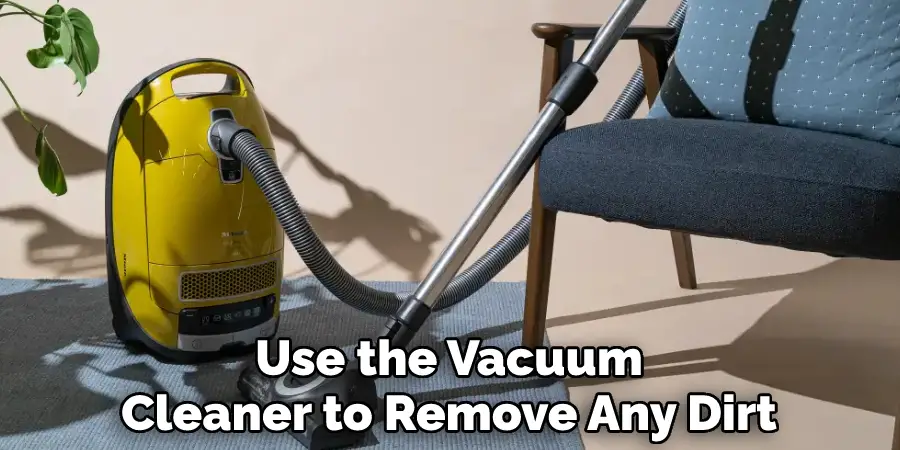
Step 4: Clean the Area
Once the air vent cover is removed, you must clean it and the area around the vent opening. A vacuum can be used to remove any dust or debris from both surfaces.
Step 5: Remove the Paint or Any Residue
If there is any paint or other residue on either the air vent cover or the wall, you will need to remove this before proceeding. This can usually be done with a scraper or putty knife.
Step 6: Install the New Air Vent Cover
Once everything is clean and dry, you can begin to install your new air vent cover. Start by aligning it with the opening in the wall and then securing it in place with screws.
Step 7: Turn the Power Back On
Once your new air vent cover is installed, you can turn the power back on and test it out. Make sure that all of the screws are securely in place and that the cover is completely flush against the wall before turning it on.
And there you have it: how to remove air vent cover from wall easily and safely. With this information, you should be able to remove, clean, or replace your air vent cover in no time.
You Can Check It Out to Ventilate a Basement Without Windows
Tips for Removing Air Vent Covers Without Damaging the Wall
One of the most frustrating things about removing air vent covers is that they often seem stuck on tight. In reality, most air vent covers are only held in place with a few small screws. However, removing these screws can be difficult, as they are often located in hard-to-reach places.
The best way to remove air vent covers is to start gently prying up one side with a putty knife. Once the cover is pried up slightly, insert a screwdriver behind the cover and twist to loosen the screws. With the screws loosened, you should be able to remove the cover easily.
If you find that the screws are difficult to reach, you may need to use a wire coat hanger or another long object to help you remove them. Just be careful not to damage the wall as you pry off the cover. With a little patience, you should be able to remove your air vent covers without damaging your walls.
What Are the Consequences of Not Removing an Air Vent Cover from A Wall?
One of the most important parts of a home is the ventilation system. It helps to regulate the temperature and keep the air flowing. Without proper ventilation, a home can become stuffy and uncomfortable. Additionally, poor ventilation can lead to mold growth and other problems.
One of the key components of a good ventilation system is the air vent cover. These covers help to direct the airflow and prevent outside contaminants from coming in. However, if an air vent cover is not removed during cleaning or repairs, it can cause serious problems.
For instance, the cover can become detached from the wall, leading to gaps in the ventilation system. Additionally, if dirt and dust build-up on the cover, it can restrict airflow and cause problems with the HVAC system. As a result, it’s important to ensure that air vent covers are removed when they need to be cleaned or replaced.
How to Get Rid of Mold in Your Air Vents
Most people know that mold is a type of fungus that can cause serious health problems. However, what many people don’t realize is that mold can also cause damage to your home. If left unchecked, mold can grow quickly and spread through your air vents, putting your family at risk. Luckily, you can take a few simple steps to get rid of mold in your air vents.
First, it’s important to identify the source of the problem. For example, if you have a leaky roof or plumbing, water can collect in your air vents and provide a perfect breeding ground for mold. Once you’ve identified the source of the problem, you can take steps to fix it. Next, you’ll need to clean all of the affected areas thoroughly.
A mixture of bleach and water will kill most mold spores, but you may need to use a stronger cleaner for stubborn mold. Finally, it’s important to keep the area dry and well-ventilated to prevent future mold growth. By following these simple steps, you can rid your air vents of mold and keep your family safe.
How to Clean the Area Around the Hole Left by Removing an Airvent Cover From A Wall
In order to clean the area around the hole left by removing an air vent cover from a wall, you will need the following materials: a vacuum cleaner with attachments, a dust cloth, a mild detergent, and a clean towel. You will also need to have access to a sink and running water.
First, use the vacuum cleaner to remove any dirt, dust, or debris from the area around the hole. Next, wet the dust cloth with warm water and mild detergent, and use it to wipe down the area.
Be sure to rinse the cloth frequently to avoid spreading dirt and grime. Finally, dry the area with a clean towel. This will help to prevent mold or mildew from developing in a moist environment.
Conclusion
Removing an air vent cover from a wall is a pretty straightforward process that anyone can do with just a few tools. Simply remove the screws (or pry off any adhesive tape), then gently pull on the cover until it comes off the wall.
When you’re finished with whatever task you need to do, simply reverse these steps to put the cover back in place. Thanks for reading our post about how to remove air vent cover from wall.