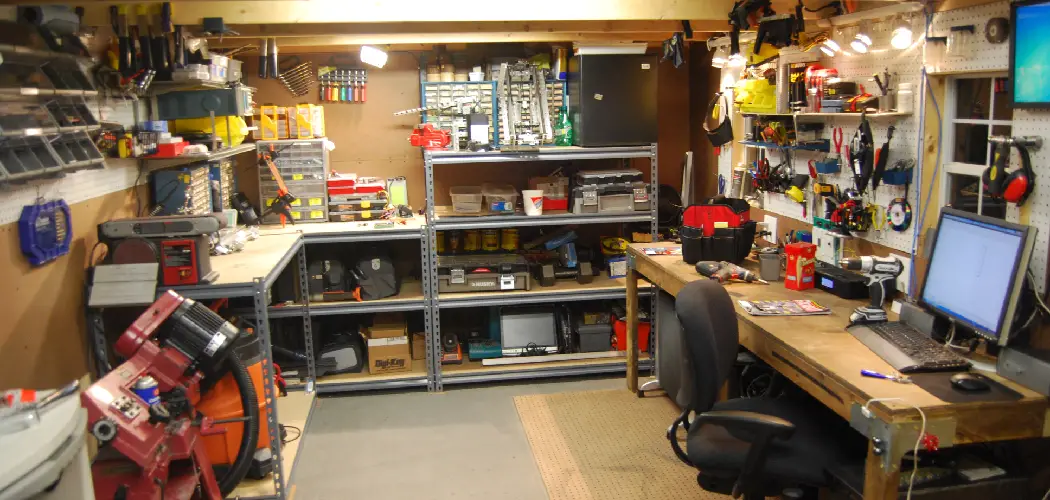
Are you an avid DIYer looking for tips on how to spruce up your basement workshop? Do you need help with organizing it into a functional space? Basement workshops can be chaotic and disorganized, which makes finding the right tools and materials harder. But don’t worry!
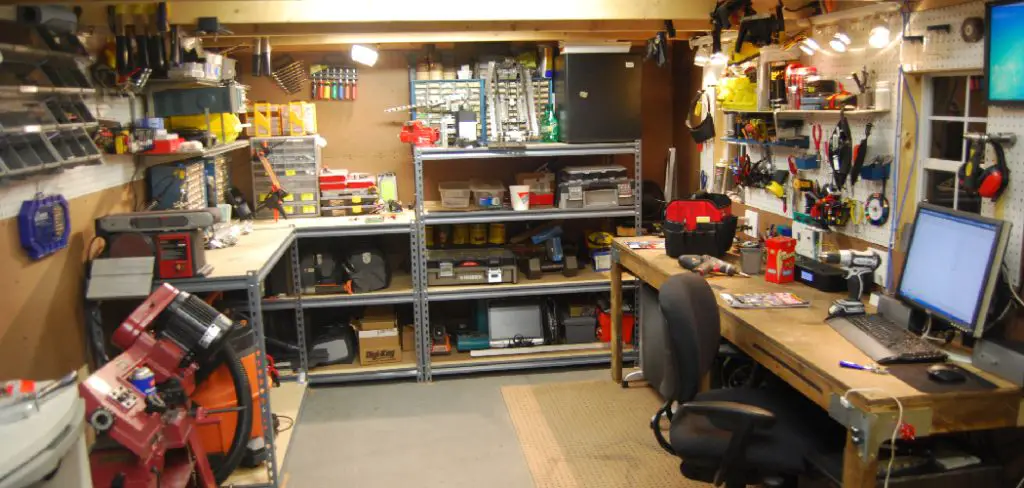
We have the perfect guide on how to organize basement workshop that’ll teach you the best strategies for transforming your basement workshop from cluttered chaos into organized bliss! With our practical tips & tricks, you’ll be able to find what you need in no time and make efficient use of every inch of space available. Read on for our top suggestions on how to organize a basement workshop like a pro!
Why Do You Need to Organize Workshop?
Organizing your workshop will help you save valuable time and money. Having an organized space makes it easier to find the right tools, materials, and supplies you need in order to complete projects faster. It also makes it simpler for you to clean up after working on a project so that everything is put back where it belongs. Plus, having an organized workspace can reduce stress levels and help you stay focused on your work.
Needed Materials
Given below are some of the materials that are essential for organizing your basement workshop:
- Toolbox
- Shelving Units
- Hooks and Nails
- Labels and Stickers
- Storage Bins
- Rubbish Bin
- Floor Mats
- Workbench
- Magnetic Strips
11 Step-by-step Guides on How to Organize Basement Workshop
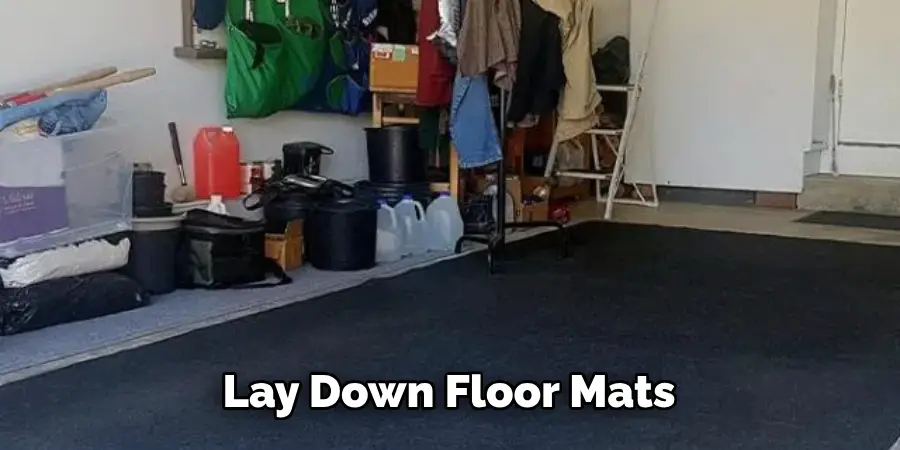
Step 1: Lay down Floor Mats
The first step in organizing your basement workshop is to lay down floor mats. This will help protect the floors from dirt, paint spills, and other debris while you work on projects. Make sure that the mats have anti-slip properties so that you stay safe and comfortable. Otherwise, you may end up slipping or tripping.
Step 2: Install Shelving Units
Shelving units are essential for creating an organized workspace. Consider the size of your workshop and install shelving units that will fit into it. This will allow you to store items like tools, materials, and supplies in an orderly manner. Plus, this makes it easier for you to find what you need quickly.
Step 3: Create a Workbench
A workbench is an essential tool for any workshop. It allows you to have a designated space for working on projects in an organized manner. Make sure that the bench has enough workspace so that you can complete your project without feeling cramped or uncomfortable. Also, make sure that you have a comfortable chair or stool so that you don’t strain your back.
Step 4: Hang Hooks and Nails
Hooks and nails are great for creating extra storage space in your basement workshop. For example, you can hang paint cans, tools, ladders, etc. from the ceiling to free up space on the shelves and workbench. Also, make sure to label each hook with adhesive labels or stickers so that you can easily find what you need.
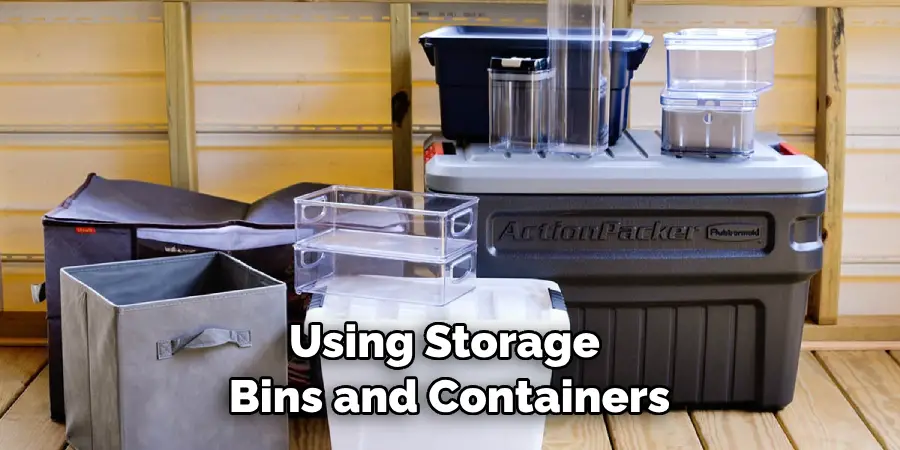
Step 5: Use Storage Bins and Containers
Another great way to organize your basement workshop is by using storage bins and containers. This will help keep items like screws, nails, and other small pieces organized in an orderly manner. Plus, it also makes it easier for you to find what you need quickly. It’s also a great way to keep tools and materials from getting lost or misplaced.
Step 6: Place a Rubbish Bin
Having a rubbish bin in your basement workshop will make cleaning up a breeze. Make sure that the bin is large enough to fit all of the debris from your projects so that you don’t have to continuously empty it out. Plus, having a designated bin for rubbish will also help keep the floors clean and tidy.
Step 7: Utilize Magnetic Strips
Magnetic strips are an excellent way to store tools in your basement workshop. You can attach them to the walls or any other surfaces in order to store tools like screwdrivers, wrenches, and other metal objects. Plus, these strips can help keep your workspace clean and organized so that you know where every tool is located.
Step 8: Label Everything
Labeling everything in your basement workshop will make it easier for you to find the right tools and materials quickly. You can use adhesive labels or stickers for this purpose. This will also make it easier to keep track of what you have in your workshop so that you don’t buy duplicates.
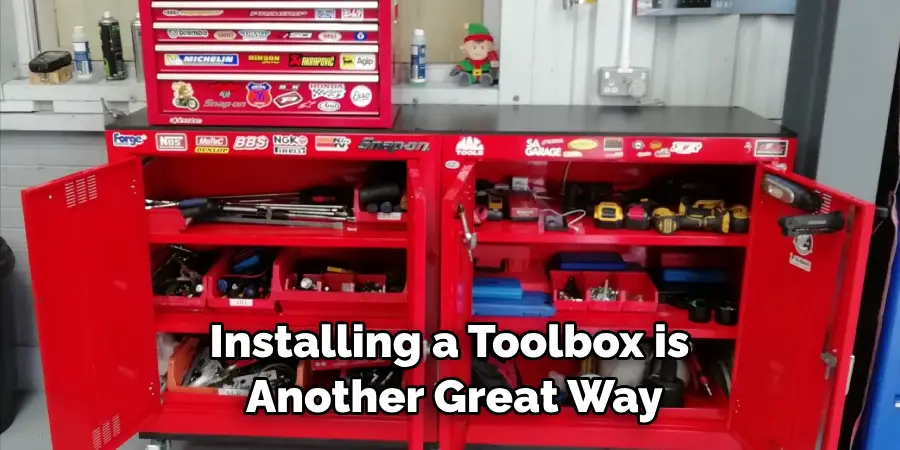
Step 9: Install a Toolbox
Installing a toolbox is another great way to organize your basement workshop. Having a designated space for all of your tools will ensure that they stay in one place and are easy to find. Plus, it will also help you avoid losing any tools in the future. If you’re looking to save space, opt for a smaller toolbox that can be hung from the ceiling or wall.
Step 10: Make Use of Wall Space
Wall space is often overlooked when it comes to organizing a basement workshop. However, this space can be used effectively for storing items like power cords, extension cords, or even tools. Consider installing shelves, hooks, and other storage solutions in order to make the most out of every inch of space available.
Step 11: Clean Up Regularly
Finally, the last step in organizing your basement workshop is to clean it up regularly. This will help prevent clutter from building up and making it harder for you to find what you need. Aim for a quick clean-up once a week and you’ll be sure to keep your basement workshop organized and efficient!
Organizing your basement workshop doesn’t have to be overwhelming or time-consuming. With our easy tips and tricks on how to organize basement workshop, you can turn any cluttered chaos into an organized paradise in no time at all! Don’t wait any longer to get started on organizing your workshop and make the most out of your space.
Bonus Tips
- Invest in Good Quality Tools and Supplies That Are Made to Last. This Will Help Save You Time, Money, and Frustration in the Long Run.
- Use Dust Covers or Tarps to Protect Items From Dust Which Can Damage Them Over Time.
- Consider Investing in a Vacuum Cleaner To Give Your Workshop Floor an Extra Level of Cleanliness.
- Have Fun and Get Creative With the Layout of Your Basement Workshop. There’s No Right or Wrong Way to Set It Up – Just Make Sure That Everything Is Easily Accessible and Aesthetically Pleasing.
- Always Have a First Aid Kit Handy In Case of an Emergency. This Will Help Make Sure That You’re Prepared For Any Possible Accidents.
- Lastly, Don’t Forget To Enjoy Yourself While Working On Your Projects! Take Time Out To Be Proud Of Yourself and Celebrate The Little Wins Along the Way.
Frequently Asked Questions
Q: How Long Does It Take to Organize a Basement Workshop?
A: The amount of time it takes to organize a basement workshop depends on the size and complexity of your workspace. However, with the right tips and tricks, you can get it done quickly and efficiently!
Q: What Are Some Good Organizational Tips for Basement Workshops?
A: Some good organizational tips for basement workshops include installing shelving units, creating a workbench, hanging hooks and nails, using storage bins and containers, placing a rubbish bin, utilizing magnetic strips, labeling everything, investing in a toolbox, making use of wall space, and cleaning up regularly. Following these simple steps will ensure that your basement workshop is organized and efficient!
Q: How Can I Make My Basement Workshop More Efficient?
A: Making your basement workshop more efficient can be done by investing in quality tools and supplies, using dust covers or tarps to protect items from dust, investing in a vacuum cleaner, getting creative with the layout of your workshop, having a first aid kit handy at all times, and taking time to enjoy yourself while working. Following these tips will help make sure that you can get your projects done quickly and efficiently!

Q: Do I Need to Be a Professional Carpenter To Organize My Basement Workshop?
A: Absolutely not! You don’t need to be a professional carpenter in order to organize your basement workshop. With the right tips and tricks, you can turn any cluttered chaos into an organized paradise in no time at all! All it takes is some basic know-how and a bit of dedication. So don’t wait any longer to get started on organizing your workshop and make the most out of your space!
Conclusion
While organizing a basement workshop may seem like a daunting task, by following the recommended steps on how to organize basement workshop, you will soon have the perfect place to complete carpentry projects or craft items. Start off by decluttering the space and rearranging furniture as required, then choose the right storage solutions that fit your needs.
Finally, create a practical layout for easy access so all of your possessions are stored with efficient use of space. With smart organization tips, it’s easy to design a functional basement workshop that adds value to your property and encourages creativity in the family.
Whether you opt for innovative designs or time-tested strategies, there’s no limit to what you can accomplish with a clutter-free and well-planned workspace. So don’t hesitate to turn your ideas into reality—all it takes is some advance planning and strategic utilization of space!

