Installing a subfloor on concrete is a crucial step in creating a comfortable and durable flooring surface. Whether you’re looking to install hardwood, laminate, or carpet, a subfloor provides an essential layer of insulation, moisture protection, and stability.
In this article, we will guide you through the process of installing a subfloor on concrete, covering everything from preparing the concrete surface to securing the subflooring material. You’ll learn about the necessary tools and materials, as well as the step-by-step instructions on how to install subfloor on concrete.

By following these guidelines, you’ll be able to create a solid foundation for your flooring, enhance insulation, and minimize the risks associated with moisture and unevenness. So let’s dive in and discover how to install a subfloor on concrete, transforming your space into a comfortable and inviting environment.
The Benefits of Installing a Subfloor
Installing a subfloor is an important step in any concrete flooring project. A subfloor provides a level surface for your new floor material, such as tile, laminate or hardwood. It will also help to insulate the space and add stability to the structure of your home. Installing a subfloor on concrete can be done easily with some basic supplies and tools, making it an affordable and effective way to improve your home’s look and feel.
Besides providing a strong foundation for your new flooring material, installing a subfloor has other benefits that make it an ideal choice when tackling concrete floors. Subfloors provide insulation from cold temperatures coming up through the slab, as well as sound-proofing capabilities which help to keep noise levels low.
Installing a subfloor will also increase the overall energy efficiency of your home, decreasing heating costs during winter months. Subfloors can also reduce cracking and staining on your concrete floors, as well as making them easier to clean and maintain in the long run. Ultimately installing a subfloor is an economical way to improve the stability and comfort of your home!
The Types of Subfloor Materials
Before you can install a subfloor on concrete, it is important to choose the right type of subfloor material. Plywood and OSB (oriented strand board) are the most common types used for interior applications. Plywood is made from thin layers of wood veneer that are glued together in alternating directions which gives it excellent strength and stability.
OSB is made from strands of wood compressed together with a wax or resin adhesive, creating a strong and durable board. Depending on your project, either plywood or OSB may be suitable as long as they meet local building codes.
Once you have chosen your desired type of subfloor material, the next step is to prepare the area for installation. Make sure any existing dirt, dust, and debris is removed from the concrete before laying out your subfloor panels. All panels should be laid in the same direction to ensure proper adhesion between them.
Take care to measure and cut each piece of wood accurately so that they fit snugly together with no gaps or overlaps. Last but not least, make sure you have all the necessary tools and supplies on hand such as a saw, drill, screws, and adhesive before beginning the installation process.

10 Ways How to Install Subfloor on Concrete
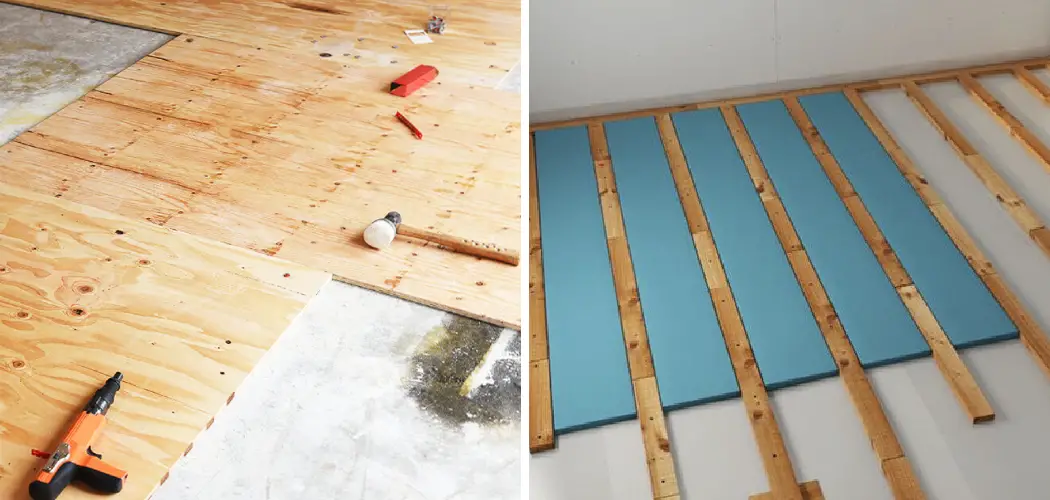
1. Prepare the Concrete Surface:
Before installing a subfloor on concrete, it is crucial to prepare the surface properly. Start by thoroughly cleaning the concrete to remove any dust, dirt, or debris. Sweep or vacuum the floor and use a mild detergent to clean any stubborn stains. Additionally, inspect the concrete for any cracks or uneven areas.
If you find cracks, fill them with a concrete patching compound, following the manufacturer’s instructions. Smooth out any rough spots or high points using a concrete grinder or sander. It is essential to create a clean and level surface to ensure a successful subfloor installation.
2. Check for Moisture:
Concrete is porous and can absorb moisture from the ground or surrounding environment. Before installing a subfloor, it is crucial to check the moisture levels in the concrete. Tape a sheet of plastic, such as 2’x2′ polyethylene sheeting, to the concrete floor using duct tape, sealing all the edges.
Leave it in place for 24 to 48 hours and then check for any condensation on the underside of the plastic or signs of dampness on the concrete surface. If there is moisture present, it may be necessary to address the moisture issue before proceeding with the subfloor installation. This can involve using a dehumidifier, applying a moisture barrier, or improving the drainage around the foundation.
3. Install a Moisture Barrier:
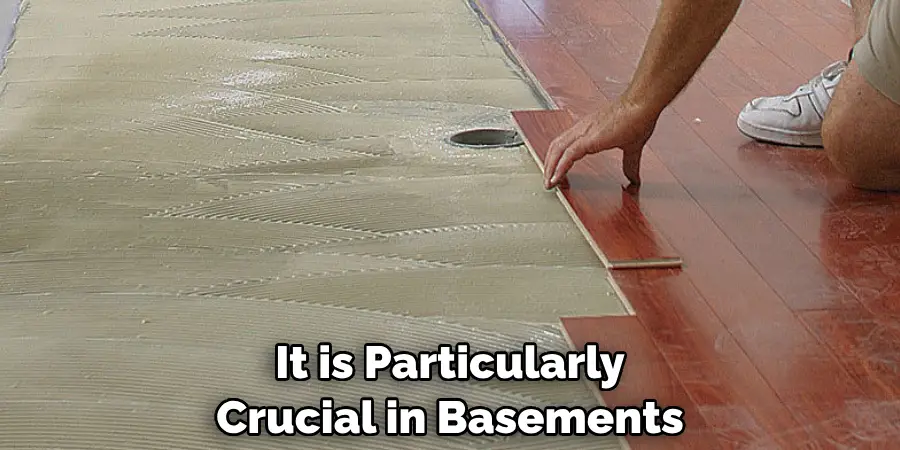
To protect the subfloor from moisture, it is important to install a moisture barrier. Lay a sheet of 6-mil polyethylene plastic over the entire concrete surface, overlapping the seams by several inches. Secure the plastic to the floor using moisture-resistant tape, ensuring a continuous barrier.
The moisture barrier acts as a protective layer, preventing moisture from seeping into the subfloor and causing damage to the flooring materials. It is particularly crucial in basements or areas with high humidity levels.
4. Measure and Cut the Subflooring Material:
Once the concrete surface is prepared and the moisture barrier is in place, it’s time to measure and cut the subflooring material. Measure the dimensions of the room accurately, taking into account any irregularities or angles in the layout.
Transfer the measurements onto the subflooring material, which is commonly plywood or oriented strand board (OSB). Use a circular saw or jigsaw to cut the subflooring panels to the appropriate size, ensuring precise and clean cuts. It is essential to have the right measurements to ensure a proper fit and minimize waste.
5. Lay the First Row of Subflooring:
Start the subfloor installation by laying the first row of subflooring along one wall, leaving a ¼-inch gap between the panels and the wall. This gap allows for expansion and contraction of the subflooring material due to changes in temperature and humidity.
Use concrete screws or adhesive to secure the panels to the concrete, following the manufacturer’s instructions. If using screws, pre-drill holes in the subflooring panels to prevent splitting. Ensure that the panels are aligned and level as you proceed with the installation.
6. Continue Installing Subflooring Rows:
Once the first row is in place, continue installing the subflooring panels row by row, staggering the seams between panels. Staggering the seams provides strength and stability to the subfloor. It prevents long, continuous seams that can weaken the subflooring structure. Leave a 1/8-inch gap between the panels to allow for expansion. Secure each panel to the concrete using concrete screws or adhesive, ensuring a secure and even installation.
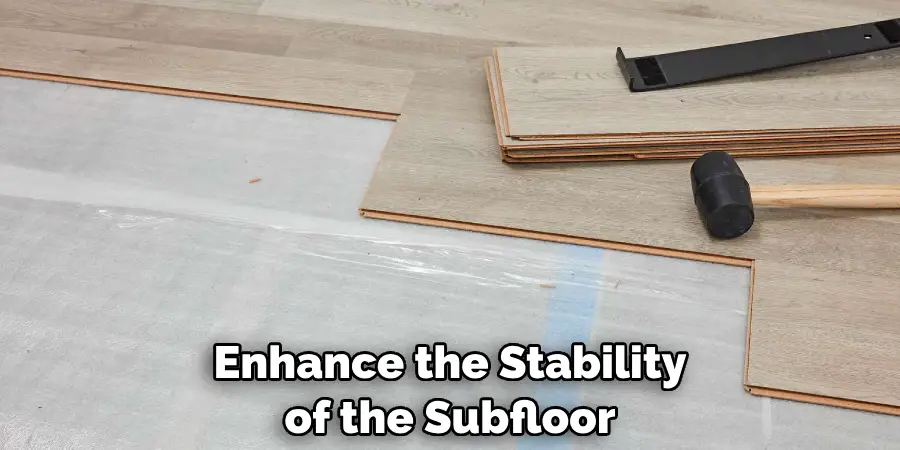
7. Use Construction Adhesive:
To enhance the stability of the subfloor, it is recommended to apply construction adhesive to the back of each subflooring panel before laying it on the concrete. Apply a continuous bead of adhesive along the edges and across the center of the panel. This adhesive helps bond the subflooring panel to the concrete surface, reducing the likelihood of squeaks or shifting over time. Follow the manufacturer’s instructions regarding the type and application of the adhesive.
8. Attach Panels with Fasteners:
In addition to adhesive, use concrete fasteners to further secure the subflooring panels to the concrete. Concrete nails or screws can be used to attach the panels at regular intervals, following the manufacturer’s recommendations for spacing.
Make sure to use fasteners specifically designed for concrete applications. Drive the fasteners through the subflooring panels and into the concrete, ensuring a tight connection. This additional fastening method adds strength and stability to the subfloor, preventing movement or shifting over time.
9. Fill Gaps and Seams:
Once all the subflooring panels are installed, it is important to fill any gaps or seams between the panels. This step ensures a smooth and even surface for the subsequent flooring installation. Use a floor-leveling compound or wood filler to fill in any gaps or seams.
Follow the manufacturer’s instructions for mixing and applying the compound or filler. Smooth out the surface with a trowel or putty knife, ensuring that the filled areas are level with the rest of the subfloor. Allow the compound or filler to dry and cure completely before proceeding with the flooring installation.
10. Install a Finish Floor:
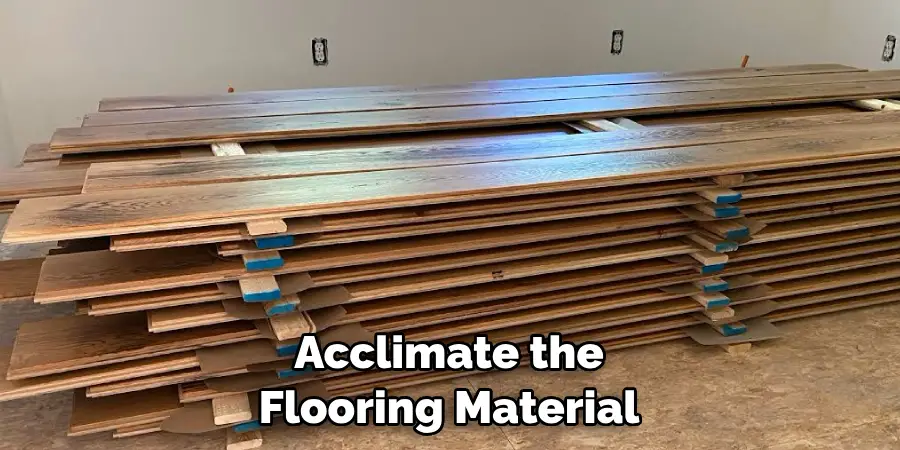
Once the subfloor is in place and any gaps or seams are filled, you can proceed with the installation of the desired finish flooring. The type of finish flooring will depend on your preferences and the specific requirements of the space. Whether it’s hardwood, laminate, tile, or carpet, follow the manufacturer’s instructions for the installation of the finish flooring.
Take care to acclimate the flooring material to the room’s temperature and humidity conditions before installation, and follow the recommended installation methods and guidelines to ensure a successful and long-lasting floor.
Conclusion
Installing a sub floor on concrete is an involved process, but with the right preparation and tools it can be done without calling in a contractor. It is also important to take the necessary precautions to ensure that the installation is being done correctly and safely. With a few know-how steps, you can confidently install your own subfloor in your home on concrete. Take some extra time to measure twice and cut once, as this will give you peace of mind and save money in the end.
If you are prepared already for the job at hand, having read all of these instructions thoroughly, go ahead and get started on learning how to install subfloor on concrete today! After following this guide step by step, reevaluate your work and move forward accordingly. Proven DIY success will be sure reward for taking this project on yourself!