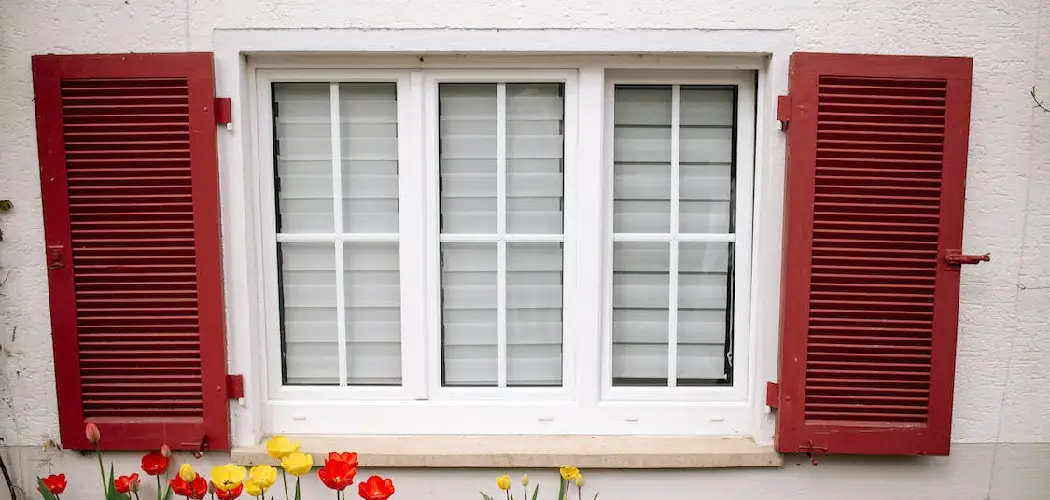
Are you frustrated with the appearance of your windows and want to improve their look without spending a fortune? PVC trim is an easy, cost-effective way to spruce up any window area. Whether you’re looking for clean lines or decorative accents, PVC trim can get the job done without breaking the bank.
In this blog post, we’ll discuss some essential tips on how to install PVC trim around windows so that they remain secure while also improving their visual appeal. Keep reading if you’re ready to give your window areas a stylish makeover!
Tools and Materials You Will Need to Install PVC Trim Around Windows
- PVC trim and corner blocks (matching color to window frames)
- Miter saw/table saw
- Drill/driver with a variety of drill bits
- Hammer
- Level
- Stud finder
- Construction adhesive
- Nails or screws
- Caulk gun/caulk
- Utility knife
- Safety glasses and dust mask (for sawing)
- Measuring tape
- Pencil/marker for measurements
Step-by-Step Guidelines on How to Install PVC Trim Around Windows
Step 1: Measure and Cut the Trim
The first step to installing PVC trim around windows is to measure the length and width of the window opening. Use a measuring tape to determine the exact measurements, then use a pencil or marker to note them down for easy reference when you go to cut your pieces of trim.
Once you have all your measurements, you can begin cutting the pieces of trim to size. For accurate cuts, use a miter saw or table saw, and adjust both the angle and depth as needed for each cut. Be sure to wear safety glasses and a dust mask when sawing for your own protection.
Step 2: Install the Trim Around the Window Perimeter
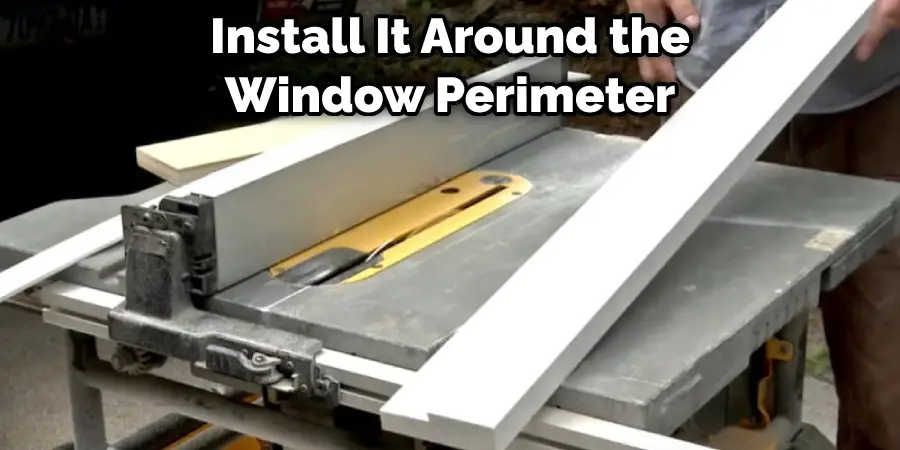
Once you have all your trim cut to size, it’s time to install it around the window perimeter. Start at one corner of the window and use an adhesive such as construction adhesive or PVC glue to secure the first piece of trim in place. Make sure that you press down firmly on the trim so that it adheres securely.
Next, use a drill/driver to attach the trim to the window frames using nails or screws. When you’re done, move on to the next side of the window and repeat the process until all four sides are complete and secure. Finally, use a level to check that everything is even and balanced.
Step 3: Install the Corner Blocks
Once you have installed all of your trim pieces, it’s time to add corner blocks. These decorative accents can add an extra touch of style and sophistication to any window area. To install them, use construction adhesive or PVC glue to adhere the corner blocks in place at each corner of the window. Again, make sure you press down firmly so that the blocks are secure.
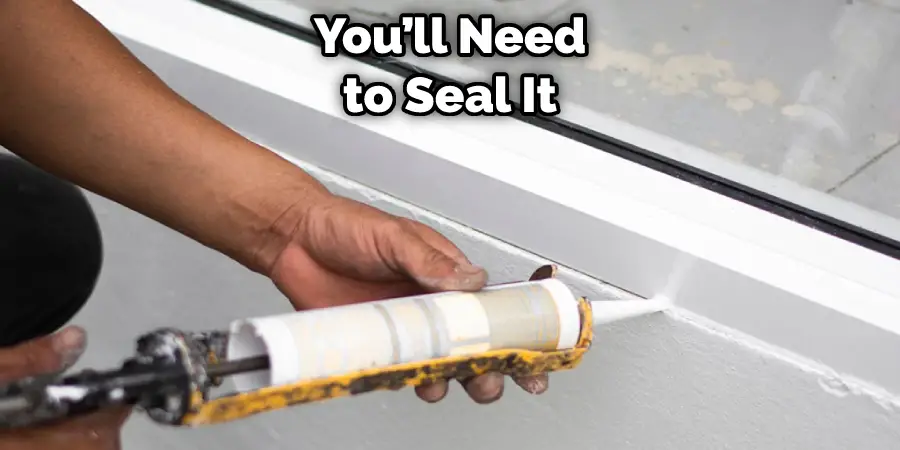
Step 4: Caulk the Perimeter
The last step to installing PVC trim around windows is to caulk the perimeter. This will help seal any gaps or cracks between the window frames and trim, ensuring that your installation remains watertight and secure over time. You can use either exterior or interior caulk for this step, depending on the type of window you have.
Once you have applied the caulk, use a utility knife to trim away any excess that may be sticking out from the edges. Allow plenty of time for it to dry before touching or using it so that your installation remains secure and watertight over time.
And there you have it – with these steps, you can now install PVC trim around windows like a pro! Be sure to take your time and measure twice when cutting the pieces, as this will ensure that everything fits together properly in the end. Good luck!
Additional Tips and Tricks to Install PVC Trim Around Windows
- Use a jigsaw to carefully cut the trim around any window corners or other shapes where needed. Make sure to measure twice and cut once in order to get the perfect fit.
- Apply an adhesive, such as construction adhesive, liberally on all surfaces before securing the pvc trim with nails or screws to ensure a secure fit.
- Use a caulking gun to apply a bead of caulk along the inside seams between the trim and window casing for a watertight seal that will prevent moisture from seeping through.
- To provide an extra layer of protection, apply clear silicone caulk around all exterior joints and edges. This will help to guard against water infiltration and keep the trim looking great for years to come.
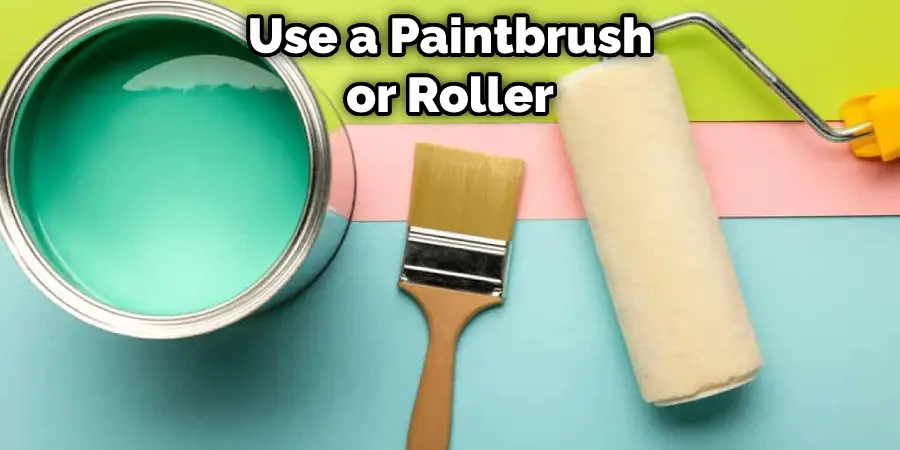
- To complete the job, use a paintbrush or roller to apply a coat of exterior-grade paint onto the PVC trim. For best results, use a paint designed especially for PVC surfaces that will provide maximum adhesion and resistance to fading and discoloration.
Follow these simple tips and tricks for installing PVC trim around windows, and you can enjoy the finished look that will last for years to come. With proper installation techniques, you’ll be sure of a watertight seal and a beautiful exterior finish.
Things You Should Consider While Installing PVC Trim Around Windows
1. Measure the Window Opening:
It is crucial to measure the window opening before purchasing any trim or accessories for installation. Make sure that you check both width and height dimensions, as well as account for any obstructions. This will help you purchase the correct amount of trim.
2. Choose the Right Trim:
Selecting the right type of PVC trim for your project is essential for a successful installation. You should consider both aesthetic and performance needs before settling on a choice. Consider factors such as thickness, width, accessories, and color when selecting PVC trim for your windows.
3. Prepare the Area Around the Window:
Before installing any PVC trim, make sure that you have prepared the area around the window. This includes removing any debris, old paint, or caulk, and cleaning the surface thoroughly. Proper preparation of your work area is important for a successful installation of PVC trim around windows.
4. Install the Trim:
Once you’ve prepared the area and purchased the right trim, you’re ready to begin the installation. Make sure that you use a level or plumb line when installing PVC trim around windows in order to ensure a straight and even installation. Also, be sure to double-check for any obstructions or other issues before finalizing the installation.
5. Seal and Paint the Trim:
Once the trim is installed, you’ll need to seal it in order to protect it from moisture and dirt. You can use a high-quality paintable caulk for this step. After sealing, it’s recommended that you apply two coats of exterior paint to the trim in order to further protect it from the elements.
These are some of the things that should be considered when installing PVC trim around windows. By following these tips and taking the necessary precautions, you can ensure a successful installation for your project.
Frequently Asked Questions
Can PVC Trim Be Painted?
Yes, PVC trim can be painted after it is installed, although you should use a paint formulated specifically for plastic or vinyl surfaces to ensure the best adhesion and coverage. You will also need to apply several coats of primer before applying any paint.
Do I Need To Use Caulk Around Windows Installed With PVC Trim?
Yes, you should use high-quality silicone caulk to seal the gaps between the window and the trim. This will help prevent water from leaking into your home. Make sure to apply the caulk after painting for the best results.
What Nails Should I Use To Install PVC Trim?
Most manufacturers recommend using stainless steel nails with PVC trim since they are resistant to corrosion and will provide the best holding power. You should also use a hammer or nail gun to ensure that the nails are installed tightly.
Can PVC Trim Be Used Around Exterior Windows?
Yes, PVC trim can be used around exterior windows as long as you use high-quality caulk to seal the seams and nails that are resistant to corrosion. Make sure to apply several coats of primer before painting for the best results.
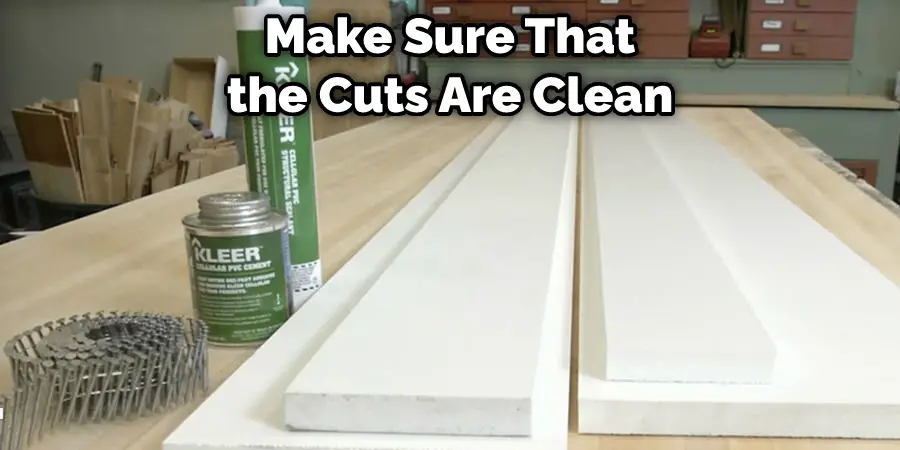
Can PVC Trim Be Cut With A Standard Saw?
Yes, PVC trim can be cut with a standard saw such as a circular saw or jigsaw. However, you should use the correct blade for cutting PVC and take care to make sure that the cuts are clean and even. To get the best results, you may want to consider using a miter saw for accuracy.
Conclusion
Installing pvc trim around windows is a great cost-effective investment that can help to improve the look of your windows while also reducing household energy costs. If you follow the steps we’ve outlined, you should have no problem with how to install PVC trim around windows.
We wish you luck with completing this task and suggest that, if any questions arise during the installation process, you consult with a professional contractor or materials expert who can provide additional guidance as needed.
Remember—always invest in quality material products to ensure long-term satisfaction! With just a few tools and some patience, successfully installing PVC trim takes only a day and can make your windows look years younger. Ultimately, PVC trim around windows is one of the most reliable ways of creating an updated appearance in your house, increasing energy efficiency and privacy all at once.