
Are you thinking of installing heat tape on your PEX pipes? Heat tape is an essential tool to ensure that your plumbing system doesn’t freeze during cold weather. But it can be a tricky process to install, so you need to make sure you get it right the first time around. Thankfully, there are some simple steps you can follow in order to properly install heat tape on your PEX pipe and protect yourself from any potential future damage caused by freezing temperatures. In this post, we will provide instructions for how to effectively install heat tape on PEX piping for optimal performance.
Whether you’re a DIY enthusiast looking for a winter-proofing project or a professional plumber, installing heat tape on your Pex pipe is an essential task. Heat tape also known as self-regulating heating cables helps keep pipes from freezing in cold temperatures and prevent possible leaks. Installing the right type of heat tape is important, not to mention that it must be done correctly failure to do so could lead to serious damage! So read more to know about how to install heat tape on Pex pipe safely and effectively.
Benefits of Installing Heat Tape on PEX Pipe
There are many benefits of installing heat tape on Pex pipe, including:
1. Reducing the Risk of Water Damage
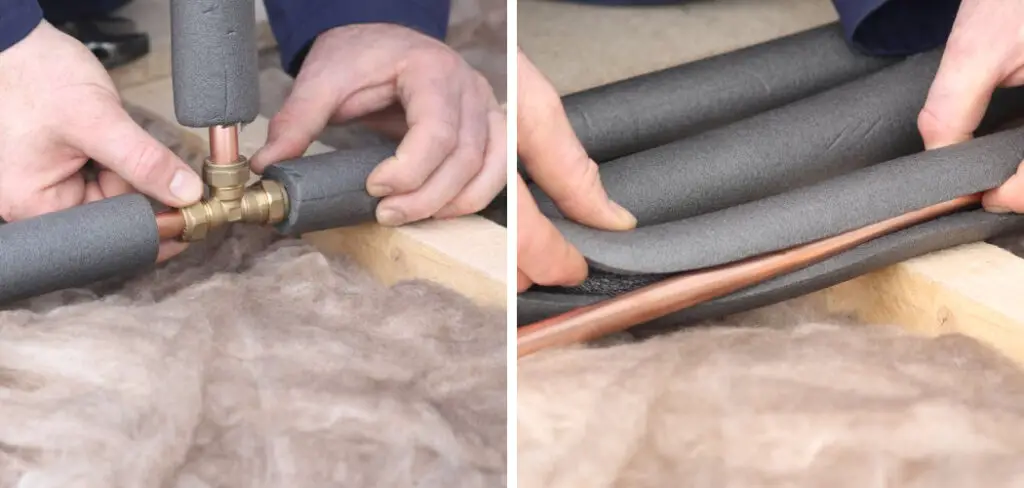
Installing heat tape on Pex pipes can help prevent water damage by ensuring that your pipes are always properly insulated. It can also help prevent freezing and bursting, which can cause serious damage to your home or property.
2. Saving Energy and Money
By insulating your pipes with heat tape, you can reduce energy costs and help lower your overall utility bills. This is because heat tape will keep the water in your pipes warmer for longer periods of time, allowing it to slowly move through the system rather than using up a lot of energy to quickly heat it.
3. Preventing Clogs and Leaks
Heat tape can also help prevent clogs and leaks by ensuring that your pipes are always properly sealed. This will reduce the risk of water damage caused by small cracks or gaps in your pipes, and can help keep your water flowing smoothly.
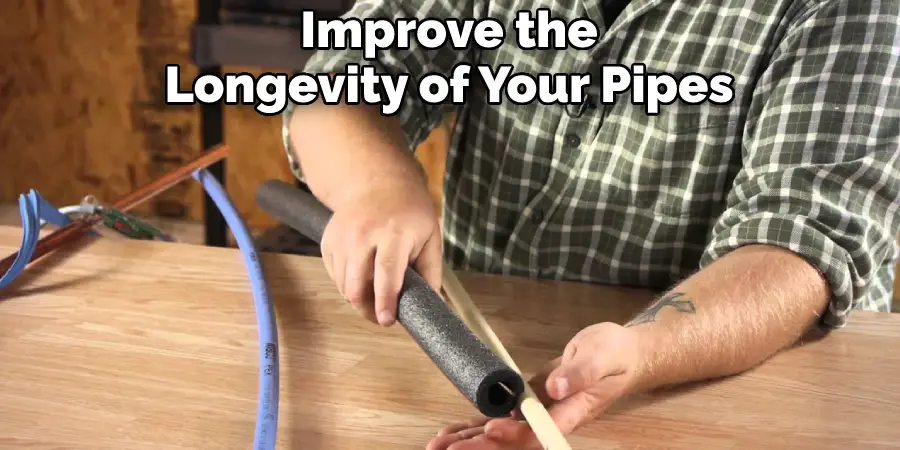
Overall, installing heat tape on Pex pipes is a great way to protect your home or property from water damage, save energy and money, and prevent clogs and leaks. If you are looking for an effective way to improve the longevity of your pipes, it is definitely worth considering investing in heat tape today.
How to Install Heat Tape on PEX Pipe in 7 Easy Steps
Step 1: Remove the Old Heat Tape
The very first step is to remove any existing heat tape from your pex pipe. This may require you to cut the old tape away using a utility knife or other sharp tool. But you have to be careful not to damage the pipe in the process.
Step 2: Measure and Cut the Heat Tape
Once you’ve removed the old heat tape, measure out your new heat tape so that it extends about 4-5 inches past each end of the pex pipe. Then use a pair of scissors or a utility knife to cut the heat tape to the appropriate size.
Step 3: Attach the Heat Tape to the Pipe
Once you’ve cut your heat tape to length, use a pair of pliers or tin snips to attach it securely around the pex pipe. Start at one end of the pipe and wrap it around until you reach the other end, making sure that it’s pressed tightly against the pipe.
Step 4: Plug in the Heat Tape
Once your heat tape is secured around the pex pipe, you’ll need to plug it into an electrical outlet or power strip. This will start heating up the pipe and helping to prevent freezing as well as keep your water flowing smoothly through your pipes during cold weather.
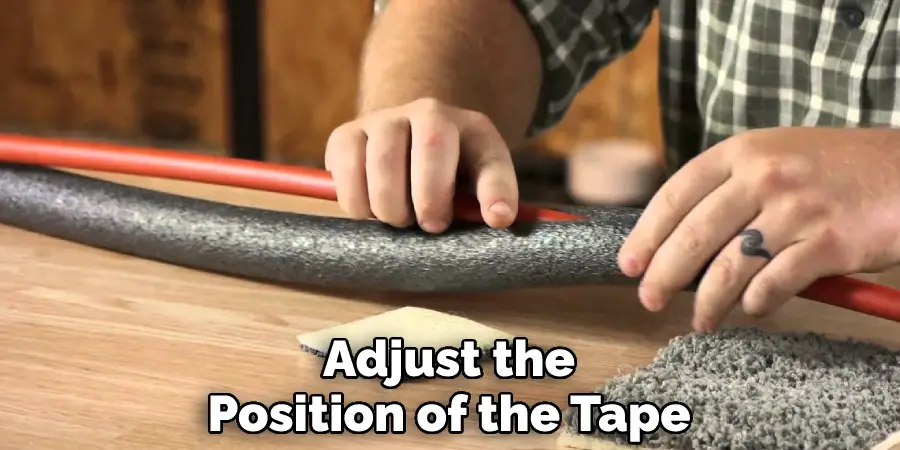
Step 5: Check the Heat Tape periodically
Once you’ve installed your heat tape, it’s important to check on it periodically to make sure that it’s still working properly. You may need to adjust the position of the tape or tighten any loose connections so that heat can be evenly distributed along the length of the pipe.
Step 6: Keep an Eye on Conditions Outside
In addition to keeping a close watch on your heat tape, it’s also important to monitor the weather conditions outside. Make sure that you’re staying up-to-date on any potential threats of freezing temperatures or bad weather so that you can take appropriate action if necessary.
Step 7: Call a Professional if Necessary
If you’re not confident in your ability to properly install and maintain heat tape on your pex pipe, or if the process seems too complicated, it’s always a good idea to call in a professional for help. A plumber can ensure that your heat tape is installed correctly, safely, and effectively so that you can continue to enjoy the benefits of running water in your home year-round.
If you’re looking for a simple and effective way to keep your pex pipe from freezing during cold weather, installing heat tape is a great option. With just a few basic tools and supplies and some careful attention to detail, you can protect your pipes and prevent costly damage to your home. So follow these simple steps and start enjoying the benefits of a properly heated pex pipe today!
Some Additional Tips to Install Heat Tape on PEX Pipe
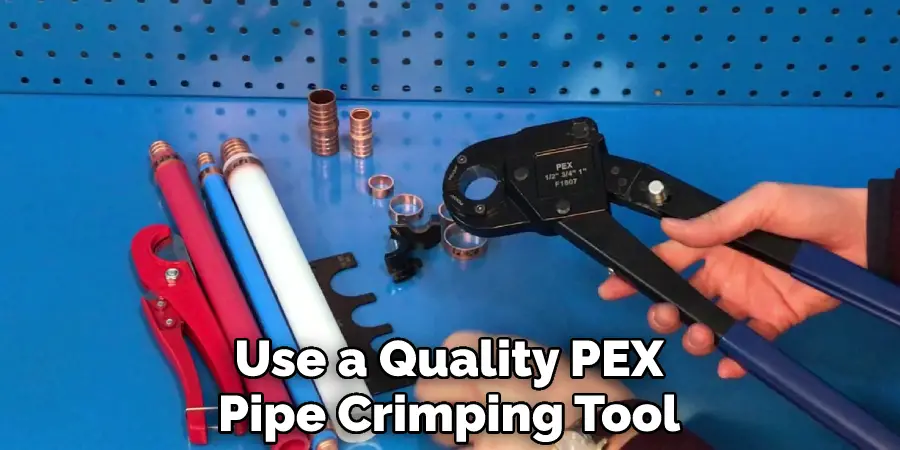
1. Use a PEX Pipe Crimping Tool
To get a good, tight seal around the pex pipe when installing heat tape, it is important to use a quality Pex Pipe Crimping Tool. This will ensure that no air or water can leak through the joints when you are wrapping the pipe with heat tape.
2. Use High-Quality Heat Tape
For best results, be sure to use high-quality heat tape that has been specifically designed for use with pex pipe. Not all heat tapes are created equal, so it is important to choose one that is up to the challenge of effectively heating your pex pipes.
3. Inspect the PEX Pipe Before Applying Heat Tape
Before you begin wrapping your pex pipe with heat tape, carefully inspect it for any cracks or damage. If the pex pipe is damaged in any way, you will need to replace it before wrapping it with heat tape. Make sure that the pipe is clean and dry before applying any heat source.
4. Start Wrapping at the End of the Pipe
When installing heat tape on pex pipe, be sure to start at the end of the pipe and wrap it evenly in a clockwise or counterclockwise direction. This will help ensure that the heat tape stays securely in place, so you can rest assured that your pipes will be well-heated.
5. Use Splices When Necessary
If there are any breaks in the heat tape that would make it difficult to wrap all the way around the pex pipe, it is important to use a splice to connect two pieces of heat tape together. When using a splice, be sure to carefully follow the manufacturer’s instructions so that you get a reliable and secure seal.
6. Test Your PEX Pipe Regularly
Once your heat tape has been installed, it is important to test your pex pipe regularly to ensure that it is heating up properly. You can do this by running hot water through the pipe and checking for any leaks or other signs of damage.
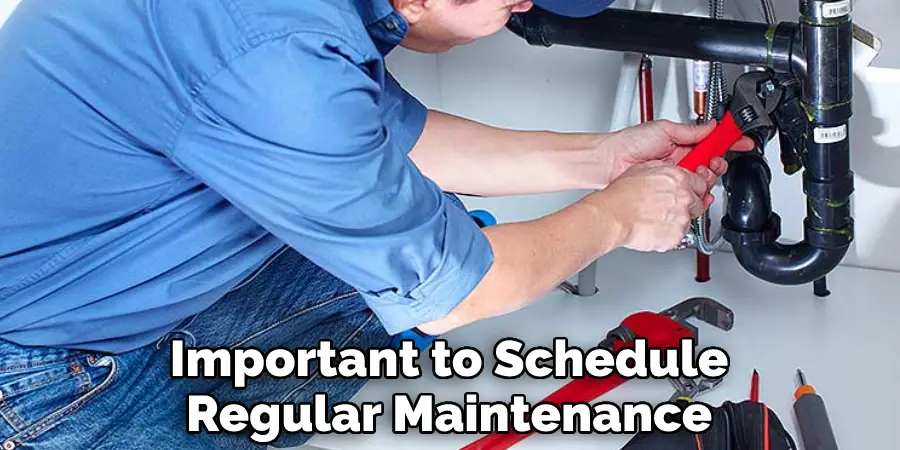
7. Schedule Regular Maintenance and Repair Checks
In order to keep your pex pipe working at its best, it is important to schedule regular maintenance checks and repair appointments with a professional plumber. This will ensure that any issues are caught early on before they can become more serious or cause damage to your pex pipe.
If you are looking for a reliable way to keep your pex pipes warm and well-heated during the winter months, installing heat tape on pex pipes is a great option. With these simple tips, you can get started right away and enjoy the peace of mind that comes with knowing that your pipes are protected from freezing or bursting in even the harshest winter conditions.
Conclusion
That’s it! You now know how to install heat tape on pex pipe. This job is easy enough to do yourself, and by following these simple steps you can save money on installation costs. Be sure to read the manufacturer’s instructions carefully and always follow local building codes. With a little bit of care and attention, your heat tape will last for many winters to come.
The process of installing heat tape on PEX pipe is relatively simple and only requires a few materials. By following the steps outlined in this blog post, you can ensure that your pipes are properly protected from freezing temperatures. As always, be sure to consult with a professional if you have any questions or concerns about installing heat tape on your PEX pipe.
You Can Check It Out to Keep Pipes From Freezing in Crawl Space