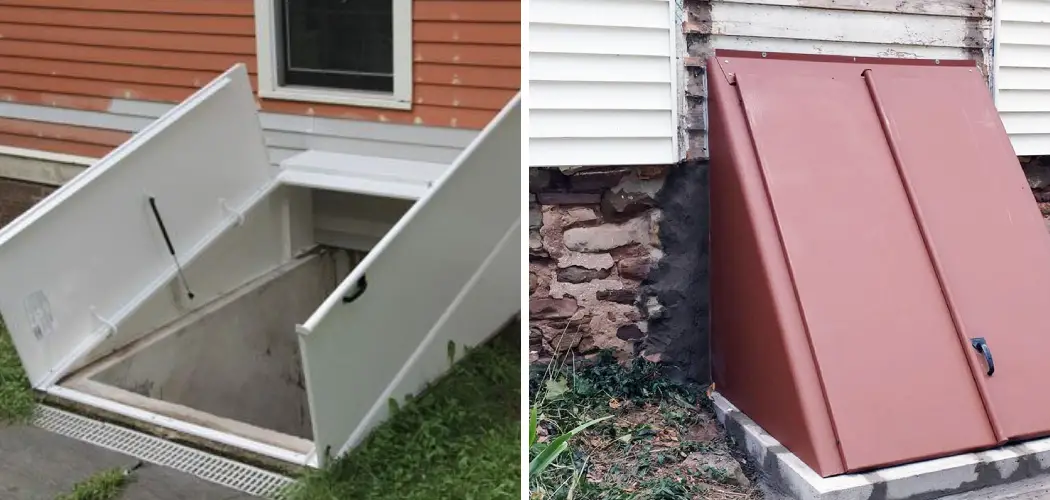
Do you have a basement that needs improvement? Are you looking to add Bilco Doors, but don’t know where to start? It is important to know how to install bilco doors. Installing Bilco Doors can be an invaluable way to upgrade your home by giving it additional entry points and natural lighting.
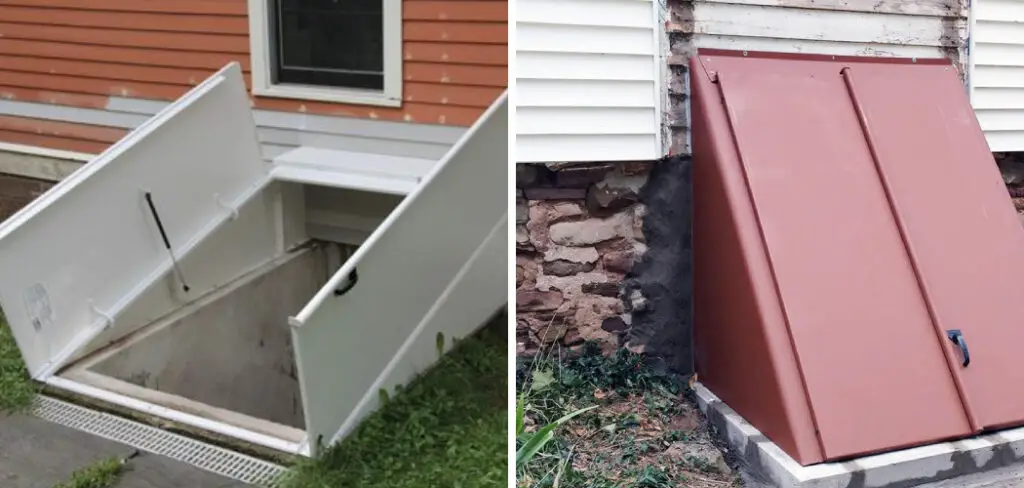
Whether you’re renovating or building, installing Bilco Doors doesn’t have to be overwhelming when following the instructions provided in this blog post. With proper planning, purchasing, and installation of your Bilco Doors, creating easier access into your basement with plenty of ventilation won’t seem so difficult after all!
Tools You Will Need
- A tape measure
- A level
- An electric drill
- Drill bits, lag screws, and masonry anchors or bolts
- Circular saw or handsaw
- Hammer and chisel (if needed)
- Bilco Doors of your choice
- Sealant or caulk to fill in any gaps
6 Steps on How to Install Bilco Doors
1. Measure the Size of the Opening
Measuring the size of the opening for your Bilco Doors is an important step before installing them. They should be about two inches smaller than the opening to ensure proper fit. For an accurate measurement, be sure to take into account any framing around the door when measuring its width and height.
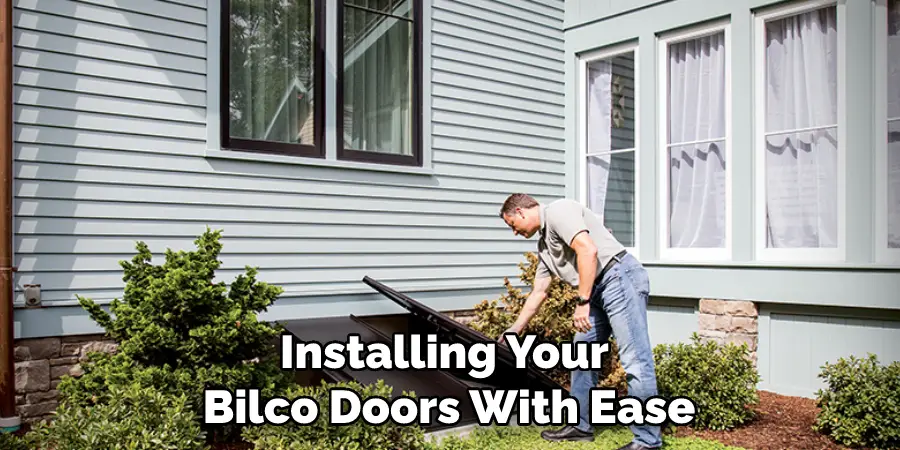
Additionally, you should measure from finished flooring surfaces, such as carpets or tiles, to get an accurate measurement. Aligning a level to the rough opening edges is also recommended to double-check that it’s square. Once you are confident you have the right measurements, you can go ahead with installing your Bilco Doors with ease.
2. Chisel to Level the Area
When installing Bilco Doors, it is essential to check the area with a level first to make sure that it is even and level. Installing the doors on an uneven surface can cause them to not fit correctly and could lead to damage to the door or surrounding structure.
If the surface cannot be made even using panels, a hammer and chisel can be used in some cases to level the area. Warning: If a hammer and chisel are necessary, ensure you know what you are doing as improper use of either tool could lead to potential injury or more damage to the structure itself.
3. Cut Out the Hole Using a Circular Saw
Successfully installing Bilco Doors requires taking the necessary precautions and measurements. Marking the door opening is a crucial step, as it will give you an idea of how you should go about cutting out the hole. To ensure accuracy, you can use a circular saw or handsaw to create the correct size.
If your Bilco Doors are meant to be set in masonry, then it’s essential to first drill holes in the surface before attempting to cut using a saw. Following these steps properly ensures that your Bilco Doors will be securely and safely installed into place.
4. Place the Bilco Doors
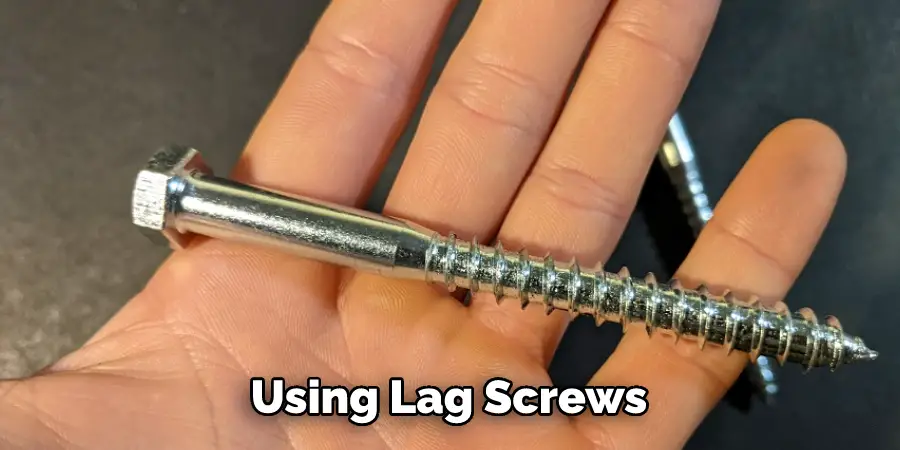
Installing Bilco doors can be an intimidating task, but with the right materials and preparation, it can be a straightforward job. You will need to carefully place the doors into the opening, then secure them using lag screws and masonry anchors or bolts.
It is important to align the doors properly during installation – pay close attention to their orientation and use a level to ensure they are level when mounting. Make sure all hardware is tightened securely for lasting performance over time. After installation of your Bilco doors, you’ll have a safe, reliable entrance to your basement or entryway!
5. Check for Proper Alignment
Before installing your Bilco Doors, make sure that everything is properly aligned. Using a level and some string can help to get the frame of your doors exactly the way you need it. Once the first door is taken care of, it’s time to attach fasteners to both sides.
Make sure that they are in place and tight so that your door won’t budge when opened and closed. If everything looks good after securing the fasteners, then your doors should be ready for installation!
6. Fill Any Gaps Between the Door and Unit
Installing Bilco Doors is an excellent way to keep your home secured and well-ventilated, but even the finest of doors can have flaws. Rain, snow, hail, and extreme temperature changes can cause small gaps between the unit and the opening that could allow moisture to make its way inside. To ensure a proper fit and the highest level of protection, it’s important to fill any spaces with caulk or sealant when you first install your Bilco Doors.
This simple step will make sure that you don’t experience any unpleasant surprises when you least expect them!
Once you’ve installed your Bilco Doors, you may also want to consider adding a ventilation fan or dehumidifier to help improve air quality and reduce moisture levels in your basement. Additionally, be sure to regularly check on the seals around the doors for signs of wear and tear so that they can be replaced when necessary. With proper installation and maintenance, your Bilco Doors will provide you with many years of reliable use.
Tips to Install Bilco Doors
- Purchase the door and hardware. Once you have chosen the right size and style door, you can purchase the door and hardware from a local retailer or online store. Be sure to purchase all of the necessary hardware, including screws, hinges, and weatherstripping.
- Prepare the opening for installation. Before installing the Bilco door, it is important to prepare the opening. This includes removing any debris or obstacles that may be in the way, as well as ensuring that the opening is square and level.
- Install the door frame. The first step in installing the Bilco door is to install the frame. This involves attaching the frame to the opening using screws or nails. Be sure to follow all instructions included with the frame kit.
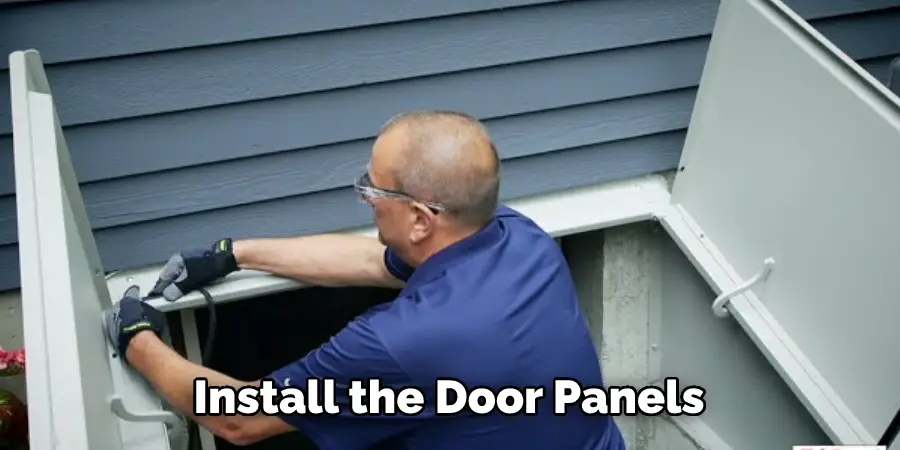
- Install the door panels. Once the frame is installed, you can then install the door panels. This involves attaching each panel to the frame using screws or nails. Be sure to follow all instructions included with the panel kit.
Where Should I Begin When Installing Bilco Doors?
Installing Bilco Doors is an easy process and with the right preparation, you can be done in no time. The first step is to determine the exact size of your doors and their frames or opening sizes. This will help you select the appropriate door size for your application. Once you have determined the size of your doors and frames, it’s time to begin the installation.
Next, you will need to start assembling the door components. Bilco Doors come with a variety of pieces that need to be put together in order for them to function correctly. Start by laying out all parts on a level surface; this will help you identify and organize each piece. After making sure that all the pieces are in order, begin assembling them using the provided instructions.
Once your frame is fully assembled and ready to be installed, attach it to the opening in your home or office. Secure it with galvanized steel screws for added strength and stability. Then, insert the door frames into the Bilco Doors, making sure to align all pieces correctly. You may need to use adhesive strips or sealants for extra support in areas with extreme weather conditions.
Finally, once the door frames are installed and aligned properly, attach the hardware components. Connecting the handles and latches should be done according to manufacturer instructions. After that, you’re ready to test the doors and make any necessary adjustments.
Installing Bilco Doors is a straightforward process that does not require any special tools or skills. However, if you have any questions about the installation process, it is best to consult with a professional for assistance. Good luck!
How to Ensure a Long-Lasting and Secure Installation of Bilco Doors?
Installing Bilco doors correctly is essential for a long-lasting and secure installation. It is important to prepare the opening before installing the door, as improper preparation can lead to avoidable problems. As part of this preparation, make sure that both the door and wall frames are properly leveled so that the primary motion of your Bilco door operates freely.
Additionally, it is important to install an adequate number of heavy-duty mounting fasteners into sturdy framing members with at least three inches of wood between fastener heads, which will help ensure a secure connection.
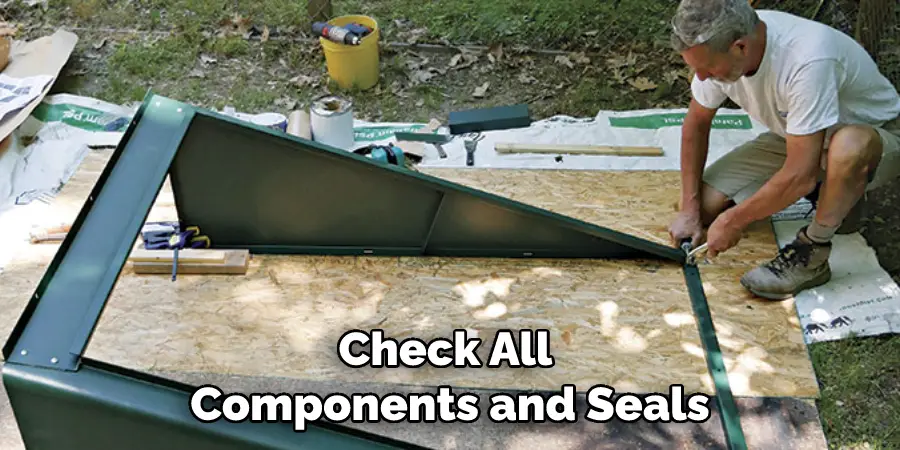
Finally, be sure to check all components and seals periodically to guarantee that they are operating correctly and don’t need replacing. If any of these basic steps are not followed it could lead to premature wearing out parts or worse yet, leaving your home vulnerable to outside intrusion.
Conclusion
Easy peasy. With these guidelines in hand, you’re now officially a Bilco door installer! You should carefully determine how to install bilco doors. Remember to take all the necessary safety precautions, such as wearing gloves and glasses, and to call customer service if you have any questions along the way.
Installing a Bilco door may seem like a daunting task, but following these simple steps will make it a breeze. Have you ever installed a Bilco door? What tips would you add?
You Can Check It Out to Open Crawl Space Vents