
It’s easy to take the warmth and comfort of indoor heating for granted—that is, until the power goes out or the furnace breaks down. For those times when central heating is not an option, a wood-burning stove can provide an effective and economical way to heat a home. And for do-it-yourselfers, installing a wood stove is a relatively simple project that can be completed in a weekend.
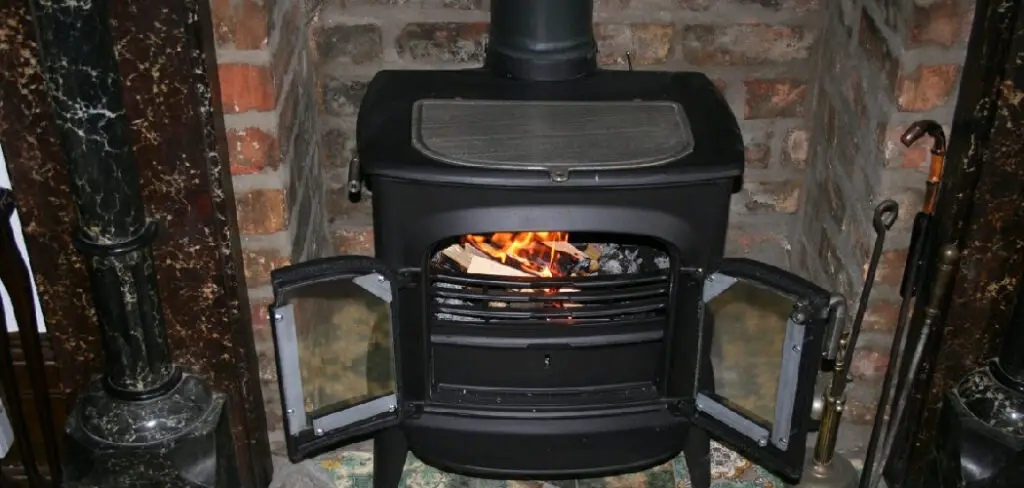
The most important thing to remember when installing a wood stove in a basement is to take precautions to prevent fire and smoke from damaging the structure of the house. By following these simple guidelines, you can enjoy the warmth of a wood fire without putting your home at risk. If you’re thinking of installing a wood burning stove in your basement, here are some tips on how to install a wood burning stove in a basement.
Tools and Materials
Installing a wood burning stove in your basement is a great way to heat your home. But before you get started, there are a few things you’ll need to gather. Here’s a list of the tools and materials you’ll need to install a wood burning stove in your basement:
- A tape measure
- A level
- A saw (if you’re cutting through any walls or floors)
- Cement boards (if you’re attaching the stove to a masonry wall)
- Insulation material (to seal any gaps around the stove)
- A chimney kit (including a chimney liner, if needed)
- A flue pipe (to connect the stove to the chimney)
- Wood (for fuel)
With these tools and materials, you’ll be able to install your wood burning stove quickly and easily. So gather everything up and get started on keeping your home warm this winter.
Processes for How to Install a Wood Burning Stove in a Basement
There are a few things to consider when installing a wood burning stove in your basement. Proper ventilation is key to ensuring the safety of your home and family, so be sure to consult with a professional before beginning any work. Lets get start:
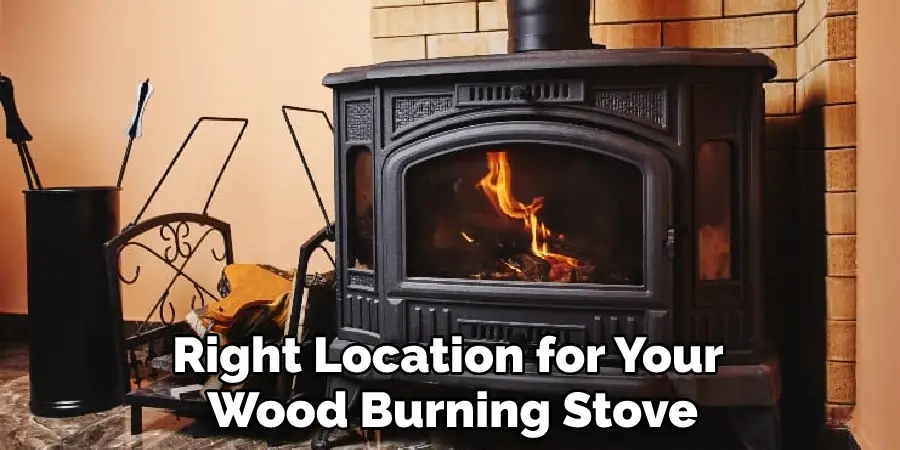
Step 1: Choose the Right Location
The first step is to choose the right location for your wood burning stove. You’ll need to consider both ventilation and access when making your decision.
Step 2: Prepare the Area
Once you’ve selected the perfect location, it’s time to prepare the area. This includes removing any flammable materials from the immediate vicinity, as well as ensuring that the area is properly ventilated.
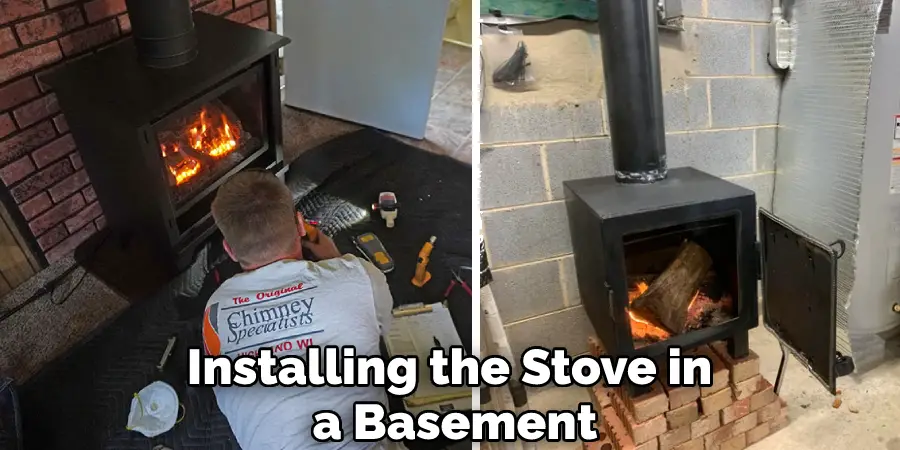
Step 3: Install the Stove
Now it’s time to install the wood burning stove itself. Be sure to follow the manufacturer’s instructions carefully, and take all necessary safety precautions.
Step 4: Use and Maintain Your Stove Safely
Once your wood burning stove is installed, it’s important to use and maintain it properly. This includes regularly cleaning the stove and chimney, as well as keeping flammable materials away from the stove. Be sure to follow all local fire codes, and always keep a watchful eye on your stove when in use. Regular maintenance will help to ensure its longevity.
Step 5: Enjoy Your New Stove
After all that hard work, you can now sit back and enjoy your new wood burning stove. Be sure to follow all safety guidelines to keep your home and family safe.
You Can Check It Out to Stop Wood Floors From Sweating
Safety Tips You Should Keep in Mind When Installing a Wood Burning Stove in Your Basement:
- Install the stove on a non-combustible surface, such as concrete, bricks, or slate.
- Make sure the stove is properly vented to the outside.
- Install a carbon monoxide detector in the same room as the stove.
- Keep flammable materials, such as newspapers and rags, at least three feet away from the stove.
- Inspect the stove regularly for signs of wear and tear, and have it serviced by a qualified technician at least once a year.
By following these simple tips, you can help ensure that your wood burning stove is safe and efficient.
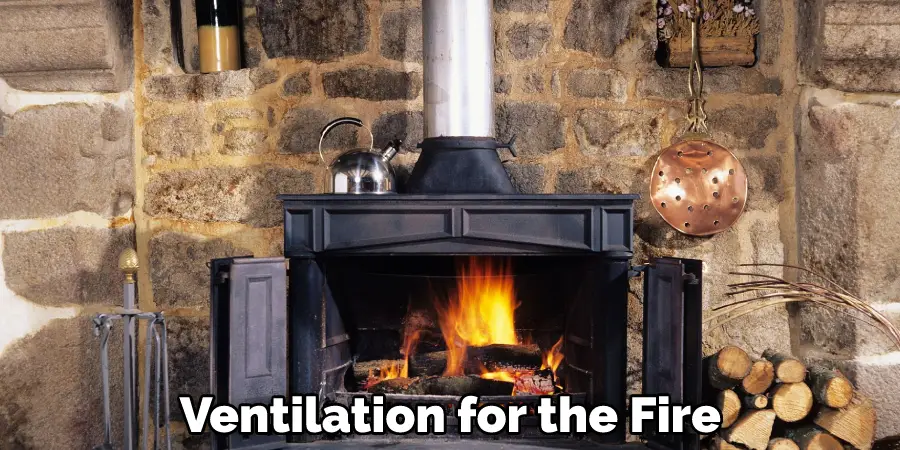
How Much Ventilation Does a Wood Burning Stove Need in Order to Operate Safely?
Before installing a wood burning stove in a basement, it is important to understand how much ventilation the stove will need in order to operate safely. The National Fire Protection Association recommends that wood burning stoves be vented to the outside through a chimney or stainless steel liner.
The chimney should be at least three feet tall and have a minimum of two square feet of unobstructed opening. In addition, the stove should be installed on a non-combustible surface, such as concrete, to prevent fires. By following these guidelines, you can ensure that your wood burning stove is safe to use.

What Are the Benefits of Having a Wood Burning Stove in My Basement?
It can be a cost effective way to heat the home. Wood is typically less expensive than other fuel sources, and a basement is typically cooler than the rest of the house, so a wood burning stove can help to lower heating costs. Additionally, a wood burning stove can add ambiance and warmth to a basement, making it more inviting and comfortable.
Finally, a wood burning stove can provide an emergency heat source in the event of a power outage. For all these reasons, installing a wood burning stove in a basement can be a great decision for any homeowner.
What Should I Do if I Have Any Problems With My Wood Burning Stove During or After Installation?
If you have any problems with your wood burning stove during or after installation, the first thing you should do is contact the retailer or manufacturer. They will be able to help you troubleshoot the issue and determine if there is a warranty that covers the repair or replacement of the stove.
If you purchased your wood burning stove from a trusted retailer, they may also be able to help you find a qualified technician to come to your home and fix the problem. Additionally, they can provide you with tips on how to maintain your wood burning stove so that you can avoid future problems.
How Can I Make Sure My Wood Burning Stove is Installed Correctly and Safely?
If you’re going to be installing the stove in a basement, it’s important to make sure the flue is properly ventilated. This means installing a chimney that goes up through the roof, rather than just venting out the side of the house.
You’ll want to make sure the stove is properly sealed and insulated. This will help to prevent heat loss and improve efficiency. It’s important to have your stove regularly inspected and serviced by a qualified professional to ensure it stays in good working condition.
What Should I Do if I Have Any Problems With My Wood Burning Stove During or After Installation?
If you’re thinking about installing a wood burning stove in your basement, there are a few things you should keep in mind to ensure a safe and successful installation. First, be sure to check your local building codes to see if there are any restrictions on installing a stove in a basement. You’ll also want to make sure the stove is properly vented to avoid any dangerous build-up of carbon monoxide.
Finally, it’s important to have your stove professionally installed by a qualified technician. If you do run into any problems with your wood burning stove after installation, the best thing to do is to contact the manufacturer or your local dealer for assistance. By taking these precautions, you can enjoy your wood burning stove safely and worry-free.
How Can I Get the Most Out of My Wood Burning Stove?
Installing a wood burning stove in your basement can help you get the most out of your wood supply. Basements are typically cooler than the rest of the house, which can help to evenly dry the wood and provide better ventilation for the fire.
In addition, basements typically have less traffic, which means there is less chance of disruptions to the burning process. If you do decide to install a wood burning stove in your basement, be sure to follow all local building codes and have the stove properly inspected before use. By taking these precautions, you can help ensure that your stove is safe and efficient.
Conclusion
Now that you know how to install a wood burning stove in a basement, you’ll be able to enjoy the warmth and comfort of your own home this winter. Just remember to take all the necessary precautions, such as getting a professional inspection and installing a carbon monoxide detector, to ensure your safety. With a little bit of planning and effort, you can have a cozy and inviting space to relax in all season long.
Although installing a wood burning stove in your basement may seem like a daunting task, it is actually quite simple. By following the steps outlined in this blog post, you will be able to have your new wood burning stove up and running in no time. Make sure to follow these tips and you’ll have your new wood burning stove up and running in no time.
You Can Check It Out To Install a Pellet Stove in a Basementf