Installing a suspended ceiling on concrete will give you an attractive, finished look in any room. Suspended ceilings provide thermal insulation, soundproofing, and fire protection to the area below them as well as giving a clean, modern aesthetic. Additionally, they are much easier to install than traditional drywall or plasterboard ceilings and can be completed in a fraction of the time.
Installing a suspended concrete ceiling effectively reduces sound transmission between floors, allowing you to enjoy your home in peace and quiet. Suspended ceilings are also great for hiding pipes, wires, ductwork, and other utilities running through the ceiling space. Installing a suspended ceiling on concrete can be done relatively easily with the right tools and materials. In this blog post, You will learn in detail how to install a suspended ceiling on concrete.
Materials You Will Need
- Wooden furring strips
- Screws
- Hangers and hanger wires
- Suspension wires
- Main beams
- Cross tees
- Wall molding or molding track
- Drop ceiling tiles
- Utility knife
- Masking tape
Step by Step Processes for How to Install a Suspended Ceiling on Concrete
Step 1: Inspect the Concrete Surface
Before installing the ceiling system, you should inspect the concrete surface for any signs of damage or unevenness. If there are any cracks, holes, or other irregularities in the concrete, you should patch them up before proceeding with the installation.
Step 2: Measure and Mark Your Ceiling Grid Lines
Once the concrete is ready to go, you should measure and mark the ceiling grid lines to make sure that they are even and level. This will ensure that your suspended ceiling is installed properly. After measurement, the next step is to install the suspended ceiling tracks into the concrete surface. If you’re using drywall screws, be sure to countersink them into the concrete.
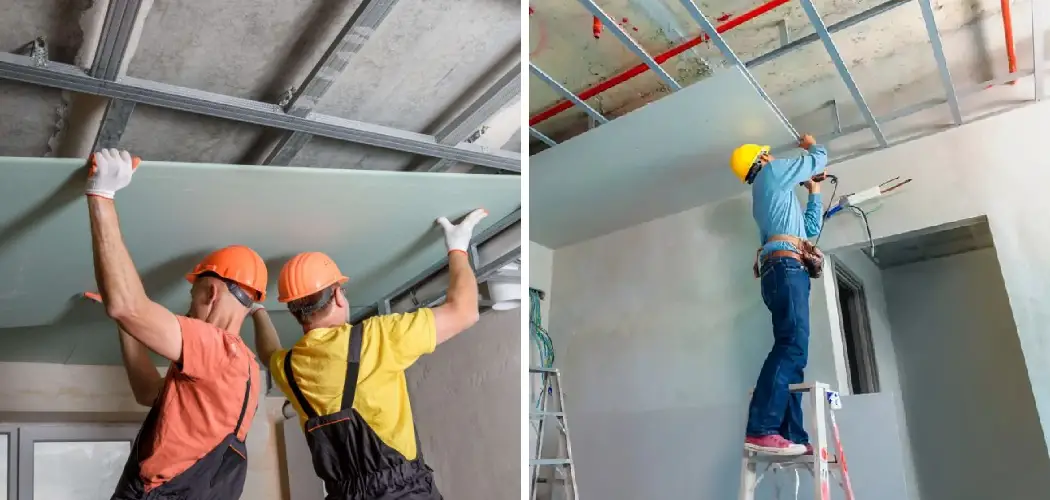
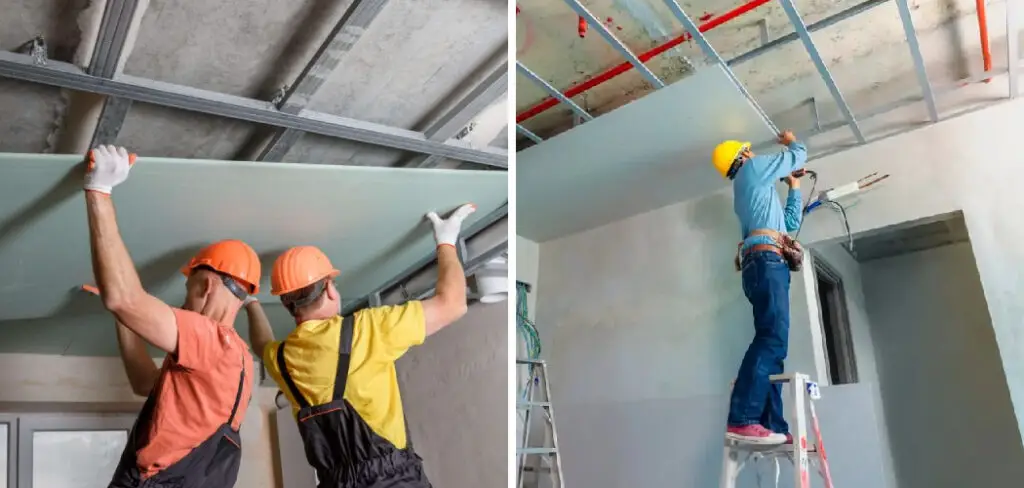
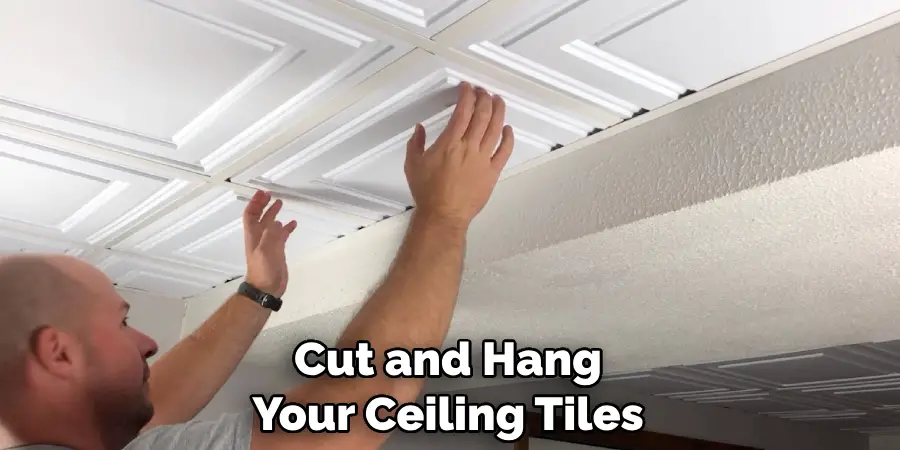
Step 3: Cut and Hang the Ceiling Tiles
Once you’ve installed the suspended ceiling tracks, it’s time to cut and hang your ceiling tiles. This should be relatively easy if you have pre-cut tiles, but if you need to make custom cuts, be sure to measure and cut the tiles carefully. After you’ve hung all of your ceiling tiles, it’s time to secure them with ceiling wire. This will keep your suspended ceiling system in place and give it additional support.
Step 4: Attach the Cables to the Ceiling Grid
Once you’ve hung and secured your ceiling tiles, it’s time to attach the cables to the ceiling grid. This will provide additional support for your suspended ceiling system and ensure that it remains stable. Depending on your ceiling system, you may need to install additional components such as lights, fans, or speakers. Be sure to follow the manufacturer’s instructions for each component you’re installing.
Step 5: Finish the Suspended Ceiling System
Once all of the components have been installed, it’s time to finish up your suspended ceiling system. This includes adding additional trim or moldings and ensuring everything is secure and properly aligned. Before you call it a job, perform a final inspection to make sure that everything has been installed correctly and securely. This is the time to fix anything that looks off or out of place.
You can proudly show off your new and improved space with a beautiful suspended ceiling system. By following these easy steps, you should now have a better understanding of installing a suspended ceiling on concrete.
Safety Precautions for How to Install a Suspended Ceiling on Concrete
- Wear protective gear to avoid injury from flying debris and dust particles. Make sure you use safety goggles, ear muffs, work gloves, and a face mask when applicable.
- Always read the instructions that come with the suspended ceiling before beginning to install it so you know how to do the job properly.
- Always use the right tools like a hammer drill, power saw, and level when installing. Make sure you are familiar with how to use each tool before beginning the job.
- Measure twice and cut once to prevent costly mistakes when cutting the grid pieces in order to fit them around obstacles such as wall outlets or light fixtures.
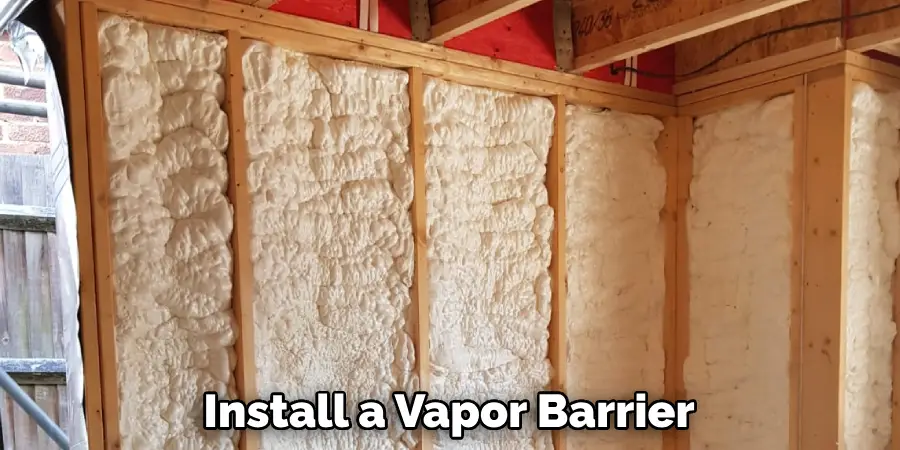
- Use a vapor barrier between the concrete and drop ceiling to prevent moisture from coming up into the suspended ceiling and damaging it in the future.
- Make sure you install wall moldings around the edges of the suspended ceiling before securing them to the walls in order to give your project an even, finished look.
- Keep the area well-ventilated by opening windows and using fans to prevent inhaling dust particles when drilling into concrete walls or floors.
Follow these safety precautions to ensure that your suspended ceiling installation on concrete is successful.
How Do You Secure the Track System and Other Components to the Concrete?
Once you have marked the location for your suspended ceiling track system, it’s time to secure it to the concrete. To do this, you’ll need special anchors designed for concrete use. Start by pre-drilling a hole in each anchor location, using a hammer drill and masonry bit slightly smaller than your anchor’s diameter.
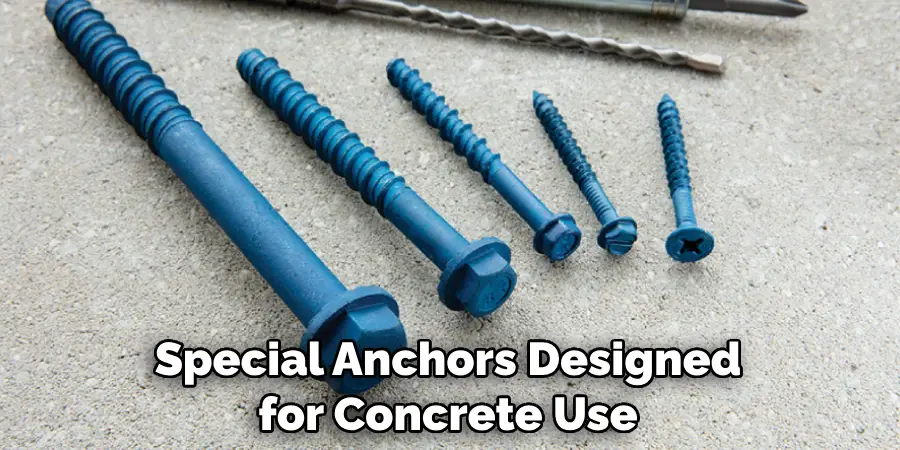
Next, use a hammer to tap each anchor into place, making sure they are flush with the wall or ceiling surface. Once all of your anchors are in place, use a screwdriver to secure them to the track system. Make sure that all screws and bolts are tight for extra stability and strength.
Finally, you can attach the other components of your suspended ceiling to the track system. Depending on the type of ceiling you’re installing, this could include joists, hangers, tiles, and grid covers. Ensure all items are securely attached with screws or bolts before completing the last steps, such as insulation or finishing touches.
What Are Some Common Mistakes to Avoid When Installing a Suspended Ceiling on Concrete?
When installing a suspended ceiling on concrete, it’s important to take extra care to ensure that the job is done properly. Ensure you understand the instructions and have all the necessary supplies before beginning any installation procedure. Common mistakes to avoid when installing a suspended ceiling on concrete include the following:
- Not Measuring Accurately: Before purchasing materials for a suspended ceiling on concrete, be sure to accurately measure the area so that you have enough supplies and don’t wind up with extras.
- Not Marking the Location of Studs: When hanging a suspended ceiling on concrete, ensure the locations of any underlying studs are marked out beforehand. This will prevent any damage or disruption to the installation.
- Not Using the Proper Tools: Make sure that you have the proper tools for the job, such as drills and levelers. Without them, your suspended ceiling may not hang correctly.
- Not Testing the Weight Capacity of the Concrete: When installing a suspended ceiling on concrete, it’s important to determine whether or not the concrete can handle the weight of your suspended ceiling. If it cannot, additional reinforcement may be necessary.
- Not Installing a Vapor Barrier: It’s important to install a vapor barrier between the existing surface and the new suspended ceiling in order to prevent moisture from entering and damaging the ceiling.
By planning your installation and taking the necessary precautions, you can ensure a successful suspended ceiling installation on concrete.
Are There Any Special Considerations When Installing a Suspended Ceiling on an Uneven Surface?
When installing a suspended ceiling on concrete, it is important to consider if the surface is even or uneven. If the concrete floor is sloped, installing a regular suspended ceiling may not be effective as it can create an uneven look in the room. In such cases, you must use furring strips to level out the surface and install the ceiling. Furring strips are thin pieces of wood or metal that are used to compensate for uneven surfaces.
To ensure that the furring strips are secured properly, use concrete screws and drill them into the floor at regular intervals. Once they’re securely fastened, you can start installing the suspended ceiling tiles. Start from the center and work your way out to make sure that all joints are even. Make sure to use a level to ensure accuracy while installing.
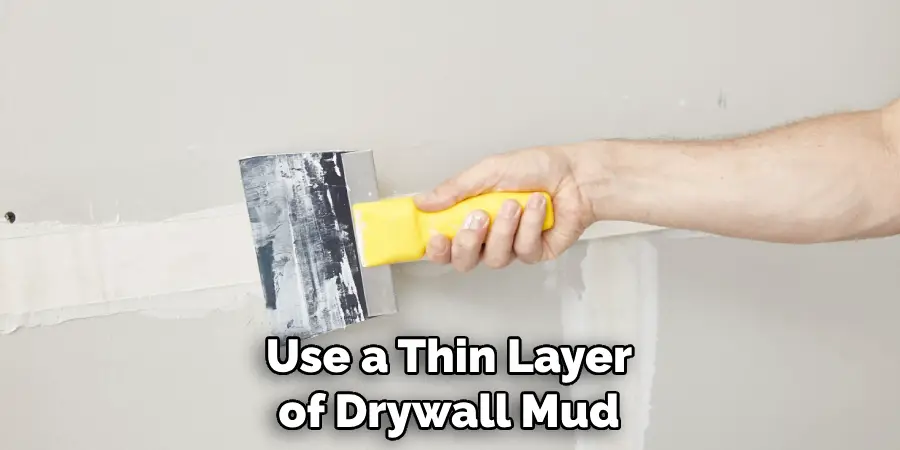
In some cases, you may need to use a thin layer of drywall mud on the furring strips before installing the ceiling tiles in order for them to adhere properly. If necessary, you can also use a vibrating tool to flatten out any bumps and ridges on the surface.
Conclusion
The main disadvantage of installing a suspended ceiling on concrete is the extra time and effort required to secure it properly. Since the material used to build a suspended ceiling must be securely attached to the underlying structure, additional tools like anchors, screws, and bolts may need to be used when installing it over concrete.
In conclusion, installing a suspended ceiling on concrete isn’t as difficult as it may seem. The process becomes much easier once you have the right tools and materials. It’s important to secure the walls with masonry anchors so your ceiling is held up properly. From there, you can attach the main beam, lay out your tiles, and trim any excess material for a clean finish.
I hope this article has been beneficial in learning how to install a suspended ceiling on concrete. Make Sure the precautionary measures are followed chronologically.