Installing a shower in the basement can seem like an intimidating, daunting task. It is important to know how to install a shower in the basement without breaking concrete. After all, if there’s concrete flooring involved you’ll likely need to break through it – but don’t worry!

It’s easier than you think and with the right tools and preparations, anyone can turn their basement into a functional bathroom space. This blog post will provide easy-to-follow instructions on how to install a shower in your basement without having to break any concrete along the way. So, grab your toolbox, and let’s get started!
Tools You Will Need
- Hammer
- Chisel
- Wood screws
- Drill
- Jigsaw / Circular Saw
- Pliers/Wrenches
- Framing Square
- Tape Measure
6 Steps on How to Install a Shower in the Basement Without Breaking Concrete
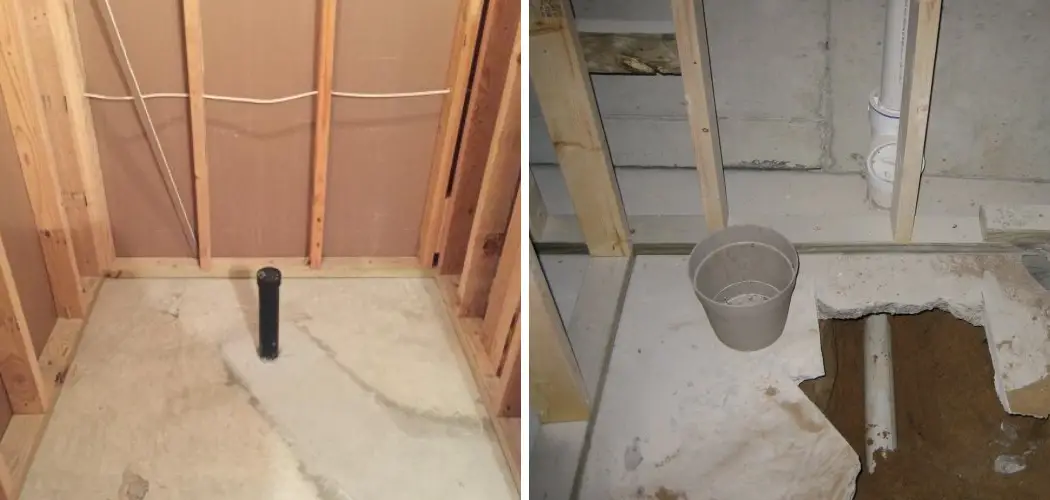
1. Measure the Area
Installing a new shower in a basement isn’t as difficult as it may initially seem. Start this exciting project by accurately measuring the area for the walls and doors. A tape measure or framing square will do the trick to help ensure the dimensions are accurate.
When you have your measurements all figured out, mark them on the concrete floor near where your shower will go with a marker or chalk. This provides a visual indicator to work off of and guide you through the next steps so you can get that dream shower up and running smoothly.
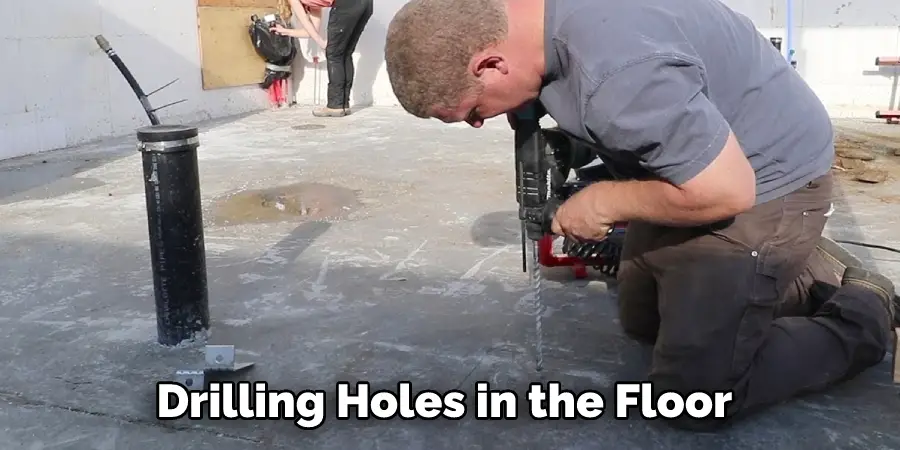
2. Create Access Points
To install a shower in your basement, you must create access points by drilling holes in the floor and wall. This can be done with an electric drill and a masonry bit made specifically for concrete. Make sure to measure and check twice before you start drilling, as each hole needs to fit the plumbing fixture in its entirety.
Additionally, it is advised to wear appropriate protective gear such as eyewear, gloves, and a hard hat while performing this task. Overall, equipping yourself with the right tools can help make it easier and safer to do so while getting the job done correctly.
3. Cut Out Any Excess Concrete
Installing a shower in a basement without breaking concrete requires attention to detail and, more specifically, precision when chiseling. Using a chisel and hammer, carefully cut away any excess concrete that is around the holes.
It’s important to be mindful of the surrounding surface area so that you don’t accidentally make any breaks or cracks that would require additional steps for repair. By utilizing patience and care as you go about this process, you can ensure that your efforts result in a properly installed shower.
4. Install Your New Shower Walls
Installing shower walls and doors can be a difficult task, but with the right tools and materials, it can be done quite easily. Wood screws or nails may be used to secure these items in place and you’ll want to ensure that they both are level and plumb so that your shower is stable and sound when installed. I
t’s important to take extra precautions when installing a shower in the basement since concrete usually needs to be broken through. Use a masonry drill bit to create pilot holes to reduce the amount of material being taken out, making the installation a much simpler process. With careful consideration, installing a shower in the basement can be just as achievable as any other area of your home.
5. Connect the Plumbing Fixtures
Installing a shower in the basement can seem like an intimidating task, but with the right planning and knowledge, it can be done safely and securely. Before attempting to connect any plumbing fixtures, make sure to clearly outline your access points by double-checking that all necessary outlets are available.
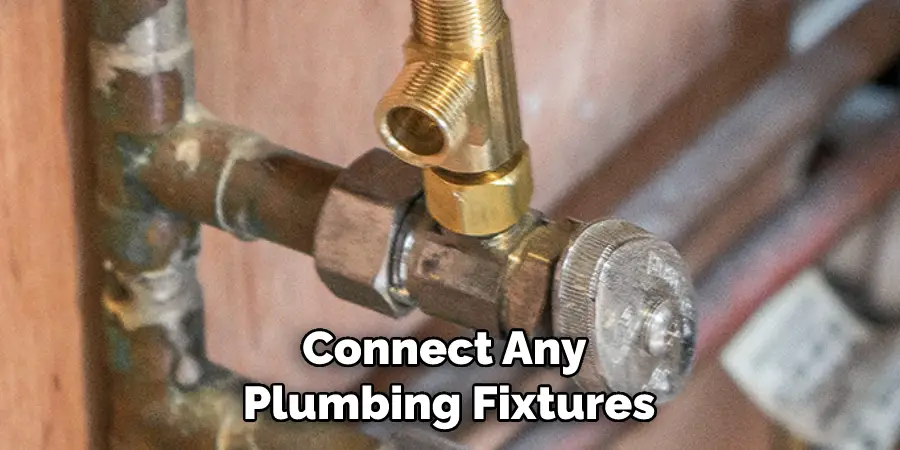
Once you have determined these areas, it is important to hire a skilled professional to make connections between the access points and the hot/cold water supply lines as well as the drains. Incorrect connections could cause costly damage and lengthy fixes. While working with professionals isn’t always ideal for a DIY project when it comes to plumbing, it is essential for proper installation and to minimize long-term problems.
6. Seal and Waterproof Your New Shower Walls
Installing a shower in the basement without breaking concrete is an arduous yet rewarding DIY project. The final step before rocking in the shower of your dreams is to seal and waterproof the new walls and doors.
Achieving this can be accomplished by applying multiple layers of silicone caulk, as it is specially formulated for use in damp locations and has unique qualities that make it very flexible, durable, and water-resistant.
Doing this will ensure that the job can withstand years of usage, giving you confidence going forward that your newly installed shower will remain functional while looking great.
Congratulations, you have successfully installed a shower in your basement without breaking any concrete! Now you can enjoy the convenience of having a battery in your basement without all the mess. Happy building!
Tips to Install a Shower in the Basement Without Breaking Concrete
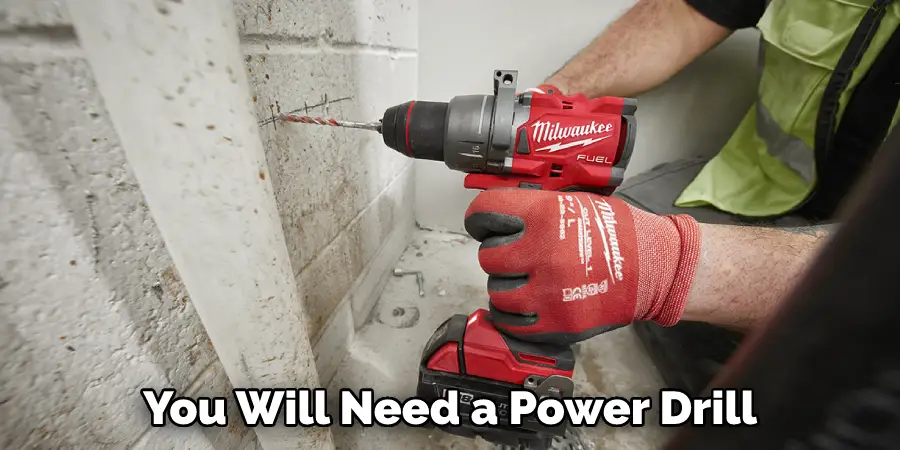
- The first step in installing a shower in your basement is to gather the necessary tools and materials. You will need a power drill, a hammer, a cold chisel, a masonry bit, a concrete saw, a wet saw, a wet vacuum, a level, a plumber’s putty, silicone caulk, and tile adhesive.
- Once you have gathered all of the necessary tools and materials, you will need to plan the layout of the shower. You will need to determine where the drain will be located and how large you want the shower to be. It is also important to make sure that there is enough space for the door or curtain.
- After you have planned the layout of the shower, you will need to mark the location of the drain. Use a pencil or chalk to mark the center of the drain on the floor. Then, use a cold chisel and hammer to make a small hole in the center of the mark. This hole will be used to locate the drain when you are ready to install it.
- Once you have marked the location of the drain, you will need to cut through the concrete to install it. First, use a masonry bit to drill holes around the perimeter of the marked area. Then, insert a concrete saw into one of the holes and cut through the concrete along your marked line.
- After you have cut through the concrete, you will need to install the drain. First, apply the plumber’s putty around the outside edge of the drain’s flange. Then, place the flange over the hole in the center of your marked area and press it into place. Next, use screws to secure the flange in place. Finally, attach the drainpipe to the flange and tighten it with pliers.
- Waterproofing After you have installed the drainpipe and secured it in place, you will need to waterproof the area around it to prevent leakage into your basement. To do this, simply apply a bead of silicone caulk around the edge of the newly installed drain pipe and allow it to dry for 24 hours before proceeding.
How to Create an Inviting Bathroom in Your Basement Without Breaking Concrete?
Creating an inviting bathroom in your basement does not have to be a daunting or costly endeavor. If you’re looking to update your basement bath without breaking concrete, there are some simple and budget-friendly steps you can take. Start by making sure the walls are freshly painted with bright colors that will help to liven up the space. Consider adding wainscoting or tiling to add texture and sophistication. Lastly, bring in plenty of natural light with mirrors, sconces, and recessed lighting throughout. With smart use of color, texture, and natural light in a few creative ways you’ll be on track toward having an inviting bathroom in your basement before you know it!
How To Cut Through Concrete for Indoor Plumbing Projects: An Expert’s Advice?
Cutting through concrete to install indoor plumbing can seem like a daunting task. However, with the right tools and a few expert tips, anyone can do it. Protective eyewear is essential when taking on this kind of job, as concrete dust produces particles that are hazardous to your vision. Before drilling or cutting into concrete, make sure to dress in durable clothing that you don’t mind getting dirty.
Once these precautions have been taken, a masonry drill bit should be used for any holes made in the concrete slab. For making straight lines or curves in the slab, an angle grinder with a blade specifically designed for cutting concrete is best suited for the job. After completing your cutting and drilling projects, use a vacuum with a HEPA filter to remove any remaining debris or dust created by working with the concrete slab.
With these tools and tips, anyone can complete their indoor plumbing project and create beautiful plumbing displays in their home!

Conclusion
Although it may seem like a daunting task, installing a shower in your basement doesn’t have to be complicated or expensive. You should carefully determine how to install a shower in the basement without breaking concrete.
With some know-how, you can easily install a shower in your basement without breaking any concrete. So what are you waiting for? Get started today and enjoy the benefits of having an extra shower in your home.