
Are you looking for an energy-saving way to stay comfortable during the winter months? Installing a second thermostat upstairs can be an excellent way to save money while still consuming heat efficiently. If you’re not sure where to start, this blog post is designed to guide homeowners on how to install a second thermostat upstairs whether they are experienced DIYers or complete novices.
From researching compatible models and purchasing necessary tools all the way through connecting wires and programming your device – we will discuss it all in detail here! So pull up a chair, grab your toolbox, and let’s get started on this exciting project!
Can I Add a Second Thermostat Upstairs?
Yes, you can add a second thermostat upstairs to control the temperature of a specific area. This is especially useful if your home has more than one floor or you have multiple rooms with different heating and cooling needs.
Installing an additional thermostat upstairs can help save energy by providing precise temperature control in each living space. It can also help ensure that the temperature in each space stays comfortable.
To install a second thermostat upstairs, begin by selecting the right model for your home’s heating and cooling system. You’ll need to consider features such as Wi-Fi connectivity, zoning capabilities, and programmability.
Once you’ve chosen the best model for your home, it’s time to install the thermostat. You’ll need to turn off your home’s power at the circuit breaker before starting. Once that is done, you can begin mounting and wiring the new thermostat according to the manufacturer’s instructions.
Once the thermostat is installed, you can program it for each area of your home. You can also connect it to Wi-Fi so you can control the temperature from your phone or other electronic devices.
Installing a second thermostat upstairs is not only possible but it is also easy to do if you have the right knowledge and tools. With a little time and effort, you can ensure that each part of your home stays comfortable and energy-efficient. You can even save money on your utility bills in the long run!
10 Methods How to Install a Second Thermostat Upstairs
1. Choosing the Right Location
The first step in installing a second thermostat upstairs is to choose the right location. The thermostat should be placed in a spot that is not subject to drafts or direct sunlight.
Additionally, it should be placed away from any heat-generating appliances, such as furnaces or air conditioners. If the thermostat is too close to these appliances, it may not be able to accurately measure the temperature of the room.
2. Mounting the Thermostat
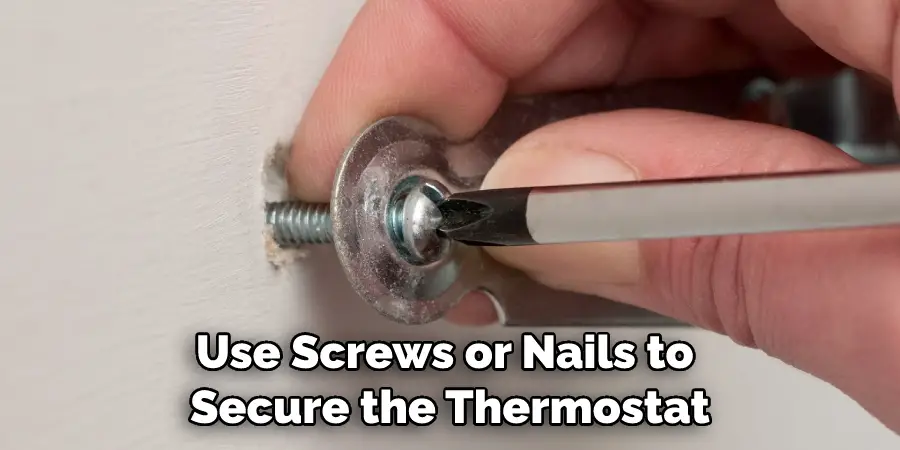
Once you have chosen the ideal location for your thermostat, the next step is to mount it. Most thermostats come with mounting hardware, so simply follow the instructions that come with your specific model.
In general, you will need to use screws or nails to secure the thermostat to the wall. Although the exact steps may vary depending on the model, most thermostats will require you to drill two holes in the wall and then insert screws or nails into the holes to secure the thermostat.
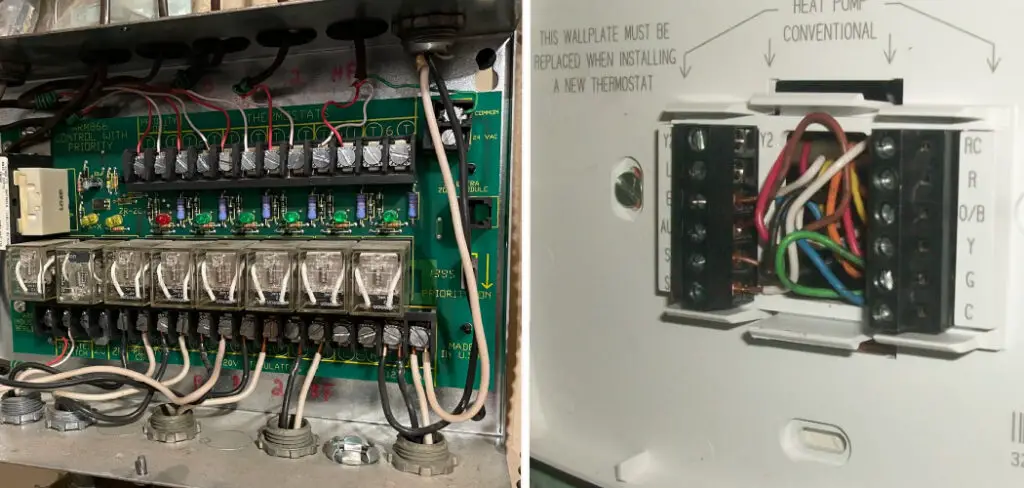
Once you have secured the thermostat to the wall, it’s time to connect it to the wiring. This is one of the most important steps in the process, and it’s essential that you follow the instructions carefully to ensure that everything is installed correctly. Most thermostats come with a wiring diagram that you can use to ensure that the wires are connected properly.
3. Connecting the Wires
After the thermostat has been mounted, the next step is to connect the wires. Once again, consult your thermostat’s instructions for specific guidance. In most cases, you will need to connect the black wire to the “C” terminal and the red wire to the “R” terminal.
The green wire, if present, should be connected to the “G” terminal. Connect any remaining wires as indicated by your thermostat’s instructions.
Once the wires are connected, turn your circuit breaker back on and test the thermostat to make sure it works correctly. If the thermostat is still not working, go back and make sure all of the wires have been connected properly and that your circuit breaker is in the on position.
4. Installing Batteries
If your thermostat uses batteries, the next step is to install them. Simply remove the battery compartment cover and insert batteries according to your model’s instructions. Once the batteries have been installed, replace the battery compartment cover.

If your thermostat is hard-wired, you can skip this step. Although you won’t need to install batteries, you may want to keep a few on hand in case of power outages. Make sure you use the appropriate size and type of batteries for your thermostat.
5. Programming the Thermostat
The final step in installing a second thermostat upstairs is programming it. This will likely involve setting the time and date, as well as selecting your desired heating and cooling temperatures. Consult your model’s instructions for specific guidance on how to program your thermostat.
Once your thermostat is programmed, you should test your system to make sure the upstairs and downstairs both start heating and cooling at the appropriate times. If you notice any discrepancies, check the wiring and other connections to make sure everything is connected properly. You may need to adjust your thermostat’s settings or ask a professional to take a look at the entire system.
6. Adjusting the Temperature Range
If your thermostat has adjustable temperature ranges, you may need to customize these for your specific needs. To do this, adjust the range by pressing the up and down arrows. Consult your model’s instructions for guidance on how to determine optimal temperature ranges.
Once you’ve set the temperatures, press “enter.” Your thermostat should now be ready to use in its new location. You may need to wait a few minutes for your thermostat to adjust itself to the new location and temperature range.
7. Setting Fan Settings
Many thermostats allow you to set the fan settings so that your heating and cooling system runs more efficiently. Consult your model’s instructions for specific guidance on how to do this. Make sure to set the fan settings for both your upstairs and downstairs thermostats the same. This will ensure that the air conditioning system is running at the same level for both floors.
While setting the fan settings, you should also make sure to check for any obstructions blocking air flow to and from the vents. If there are any blocked vents, try to unblock them as much as possible.
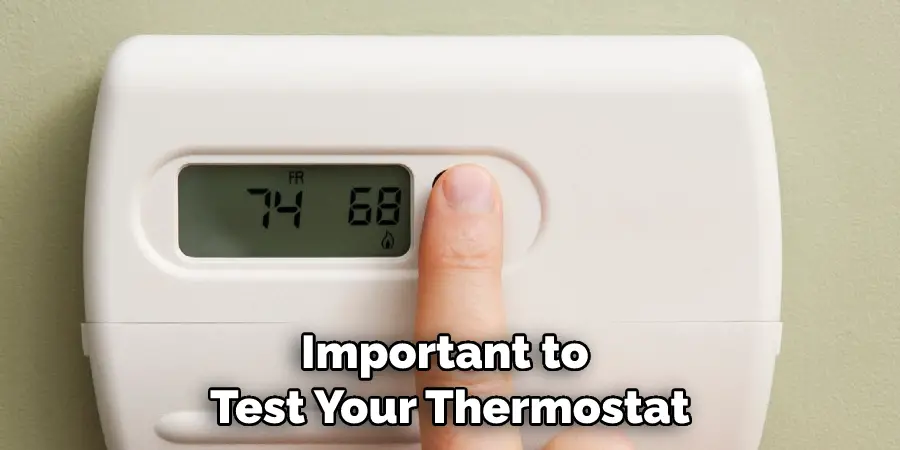
8. Testing the Thermostat
Once all of the above steps are complete, it is important to test your thermostat to ensure that it is working properly. To do this, simply adjust the thermostat’s settings and make sure that your heating or cooling system responds accordingly.
If all seems to be working correctly, you are done! If not, there may be a wiring problem that needs to be addressed. In this case, it is best to contact a professional for assistance. Congratulations on successfully installing your second thermostat upstairs! Enjoy the comfort and convenience of having two thermostats in your home.
9. Replacing Filters
If you have a forced-air heating or cooling system, it is important to replace the filters in your unit on a regular basis. This is especially important when installing a new thermostat, as old or clogged filters can affect the temperature accuracy of your system.
Be sure to follow the manufacturer’s instructions when replacing the filters. Most systems require replacement every one to three months, depending on local environmental conditions and how often you use your system.
10. Scheduling Maintenance
The final step in installing a second thermostat upstairs is to schedule regular maintenance. This will ensure that any issues with your heating or cooling system are addressed promptly and prevent major problems in the future.
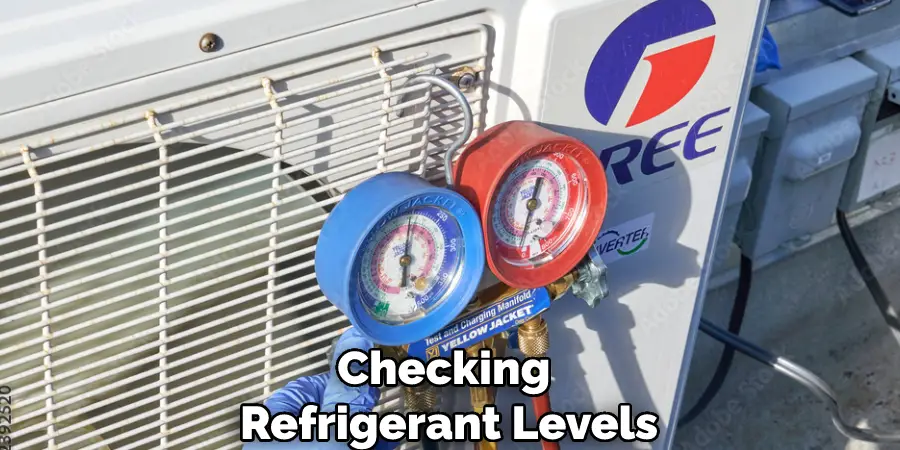
Regular maintenance may include changing air filters, inspecting ducts, checking refrigerant levels, and calibrating thermostats. If you’re unsure of what needs to be done, contact a professional HVAC technician for help.
Can I Install Two Thermostats?
Yes, it is possible to install two thermostats in one home. This can be done to control different temperatures on separate levels of the home, such as upstairs and downstairs. Installing two thermostats will allow you to regulate the temperatures in each individual level of the home for maximum comfort.
When installing two thermostats, it is important to choose models that are compatible with one another. If possible, try to find thermostat models from the same manufacturer that can communicate and interact with one another. This will ensure that the two thermostats can work in tandem to maintain a comfortable temperature throughout the home.
Conclusion
Now that you understand the basics of how to install a second thermostat upstairs, it’s time to get started. With just a few tools, some easy-to-find materials, and some careful attention to detail, you’ll soon have full temperature adjustability—giving you total control over your home’s environment no matter where in the house you are. So don’t hesitate; take the first step towards comfortable temperatures at multiple locations in your home today!