If you are looking for a way to heat your home that is efficient and cost-effective, a pellet stove may be the perfect solution. Pellet stoves can be installed in almost any room in your home, including the basement.
This blog post will walk you through how to install a pellet stove in a basement. We will discuss the necessary steps and give you tips on making the process as easy as possible.
We will also provide tips on how to stay safe while working with pellet stoves. So, if you consider adding a pellet stove to your home, keep reading!
Why Should You Install a Pellet Stove in a Basement?
Basements are often cooler than the rest of the house, which can be a winter problem. If you have a pellet stove in your basement, you can use it to help heat the entire house.
Basements are also a great place to put a pellet stove because they are usually out of the way and not in a high-traffic area. Installing a pellet stove in your basement can save you money on your heating bill and add another layer of warmth to your home.
Pellet stoves are also a great way to heat a basement because they are very efficient. Pellet stoves use wood pellets as fuel, which are made from sawdust and other wood waste. As a result, they burn very hot and produce very little smoke. This makes them a very clean and efficient way to heat your home.
Pellet stoves are also very easy to install. Most models come with all of the necessary parts and instructions. You will need to have a chimney or flue installed to vent the stove, but other than that, the installation process is very straightforward.
Few Things to Keep in Mind Before Installing a Pellet Stove in a Basement
Make Sure the Area is Large Enough
Basements can vary greatly in size. Some are very small, while others are quite large. Before purchasing a pellet stove, ensure that the area where you plan to install it is large enough. Most pellet stoves require a minimum of four square feet of space. This also helps prevent the stove from being too close to combustible materials.
Check for Obstructions
Once you have chosen the location for your pellet stove, check for any potential obstructions. This includes fuel lines, electrical wiring, and ductwork. If there are any obstructions, you will need to make sure they are moved or replaced before proceeding with the installation.
Get Proper Permits
Depending on your local laws and regulations, you may need to obtain a permit before installing a pellet stove in your basement. This is typically required if the stove will be vented through an exterior wall. Check with your local building department to see if a permit is required in your case.
Cap off Any Gas Source
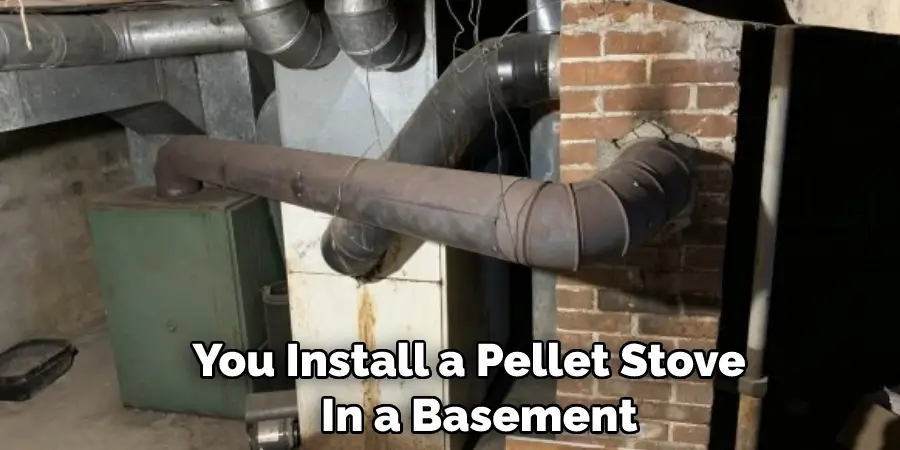
If your basement has a gas line running through it, you must have it capped off before installing a pellet stove. This is to prevent any potential dangers from having an open gas line in the same room as the stove. You should also ensure that any other flammable materials are removed from the stove’s area.
You Can Also Check It Out to Repair Basement Walls Crumbling
Ensure Enough Ventilation
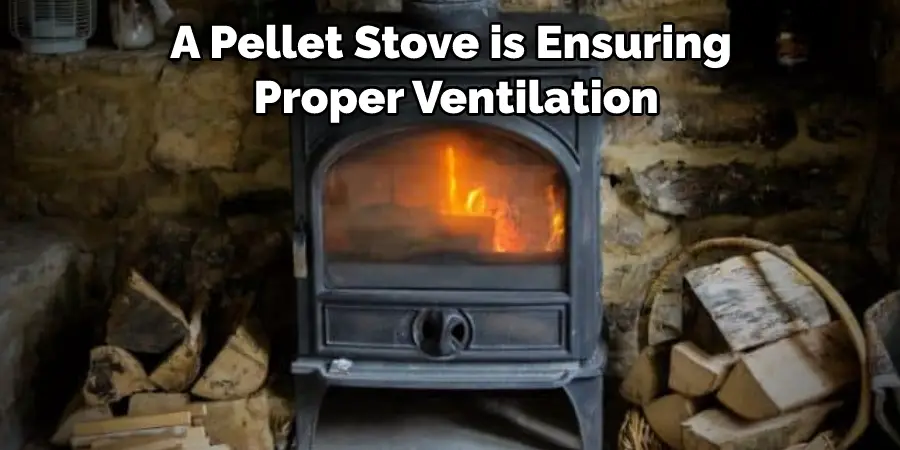
Basements can often be quite damp and musty. This is due to the lack of ventilation in most cases. Before installing a pellet stove in your basement, you should make sure that there is enough ventilation.
Otherwise, the stove may not operate correctly or could pose a safety hazard. In addition, make sure that the area around the pellet stove is clear of any clutter and that there is a clear path to an exterior vent system.
Get a Professional Opinion
If you’re unsure whether your basement is suitable for a pellet stove, it’s always best to get a professional opinion. Ask a certified installer to come and take a look at your space to see if it meets all the requirements. They can also help you to determine the best location for the stove and install it properly.
Step by Step Guide: How to Install a Pellet Stove in a Basement
Now that you know what to keep in mind before installing a pellet stove in your basement, follow the steps below to get started.
Step 1: Choose the Location for Your Stove
The first step is to choose the location for your stove. As we mentioned above, basements are a great place to put a pellet stove because they are usually out of the way and not in a high-traffic area. However, you will need to ensure that the area is large enough and that there are no obstructions.
Step 2: Prepare the Area
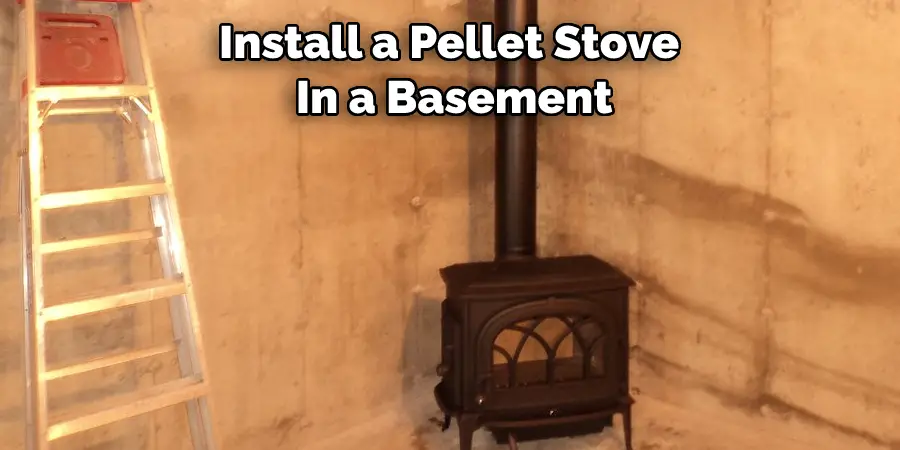
Once you have chosen the location for your stove, the next step is to prepare the area. This includes clearing any clutter and ensuring the area is clean. You will also need to measure the area to ensure that your pellet stove will fit. If the area is not level, you may need to use shims to level it out.
Step 3: Ensure Proper Ventilation
One of the most important steps in installing a pellet stove is ensuring proper ventilation. This step is often overlooked, but it is essential to preventing problems down the road.
The first step is to install a chimney liner if you do not already have one. This will ensure that the fumes from your stove are properly vented outside. You will also need to install an exhaust fan. This will help to remove any smoke or fumes that may escape from your stove.
Step 4: Cut Holes to Exhaust Waste Air
The next step is to cut holes in the floor and walls to allow the waste air to escape. You will need to make sure that these holes are big enough for the air to flow freely but small enough so that they are not a safety hazard. You may also need to cut holes on the roof and upper ceilings to allow the air to vent properly.
Step 5: Install the Floor Protector
The next step is to install the floor protector. This is a specially designed mat that will protect your floor from the heat of the stove. Most pellet stoves come with a floor protector, but if yours does not, you can purchase one at your local home improvement store.
Step 6: Install the Stove
Once you have prepared the area and installed the necessary ventilation, the next step is to install the stove. Most pellet stoves are designed to be installed on an exterior wall, but if you install yours in a basement, you will need to take extra precautions.
The first thing you need to do is install a non-combustible base for the stove. This can be anything from a concrete pad to a metal or stone platform. Once the base is in place, you can then install the stove according to the manufacturer’s instructions. Remember to follow all local building codes when installing your stove.
Step 7: Connect the Stove to the Ventilation System
The final step is to connect the stove to the ventilation system. This is usually done with a flexible pipe from the stove to the chimney or vent. Make sure that the connection is tight and secure to prevent any leaks. Once everything is installed, you can turn on the stove and enjoy its warmth.
You Can Check It Out to Install a Trap Primer
Some Safety Precautions and Advice:
- Read and follow all the instructions that come with your pellet stove.
- Hire a professional to install your pellet stove if you are not comfortable doing it yourself.
- Make sure the area around the pellet stove is clear of flammable materials.
- Do not operate the pellet stove if it is not functioning properly.
- Do not leave the pellet stove unattended while it is in use.
- Keep children and pets away from the pellet stove while it is in use.
- Inspect the pellet stove regularly to ensure it is in good working condition.
- Have working smoke and carbon monoxide detectors in your home.
Can a Pellet Stove Be Vented Straight Through a Wall?
Yes, a pellet stove can be vented straight through a wall. However, you will need to purchase a special pellet stove pipe rated for this installation. If you decide to vent your pellet stove through the wall, follow all local building codes and have a professional install the stove pipe.
Also, you need to consider drilling holes through the basement, upper ceiling, and top of the roof. You also need to ensure that the wall you’re going to vent through is structurally sound enough to support the weight of the stove and pipe. Again, if you’re not sure about any of this, it’s best to consult with a professional before proceeding.
Final Words
Installing a pellet stove in your basement is a great way to heat your home and save money on your heating bills. Pellet stoves are very efficient and can heat your home for pennies per hour.
If you are considering installing a pellet stove in your basement, it is important to take into account the space you have available as well as the type of fuel you will be using.
By following these simple steps on how to install a pellet stove in a basement, you can install a pellet stove in your basement and enjoy all the benefits that come with this type of heating system.
Just make sure to follow the local regulations and precautions for a safe and successful installation. Have you installed a pellet stove before? What tips would you add? Let us know your thoughts in the comments below!
You can check it out to Finish a Basement Bathroom with Rough-In Plumbing
