
Framing a basement is no easy task. Especially when you have ductwork or other plumbing in your way, the challenge can seem daunting. But with the right know-how, it’s possible to get around even the trickiest of obstacles – and that includes routing framing around difficult ductwork.
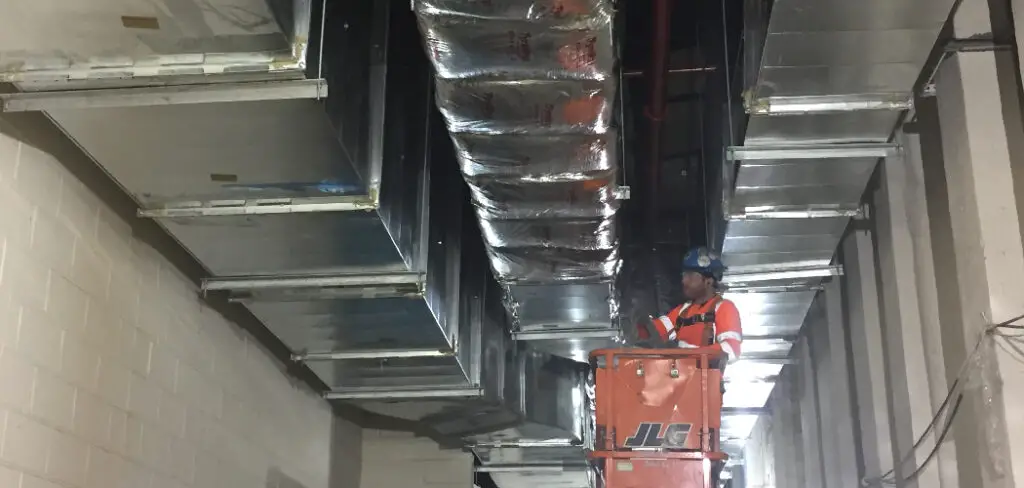
In this blog post on how to frame around ductwork in basement, we’ll be discussing everything you need to know about how to frame around ductwork in your basement, including tips on measuring pipes accurately and effectively. So if you’re ready to start tackling those challenging projects down below, read on for all of our best advice!
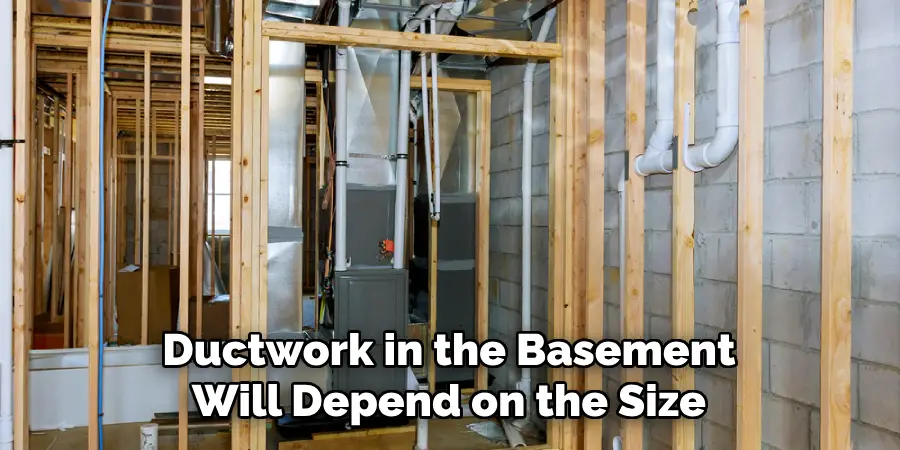
11 Step-by-step Guidelines on How to Frame Around Ductwork in Basement
Step 1: Measure Out the Ductwork Accurately
Before you start framing, make sure that you take accurate measurements of all of the pipes and ducts in your basement. This will help ensure that you don’t have to redo any measurements later on during construction. It’s also a good idea to record the sizes and locations of any pipes you may not be able to access after the framing is complete.
Step 2: Create a Plan for Framing Around Ductwork
Once you have all of your measurements, it’s time to create a plan for how you want to frame around the ductwork. This should include where the framing will need to be installed and how it needs to be routed around the pipes and ducts. Make sure that you take into consideration any obstacles, such as walls or columns, that may impede your plans.
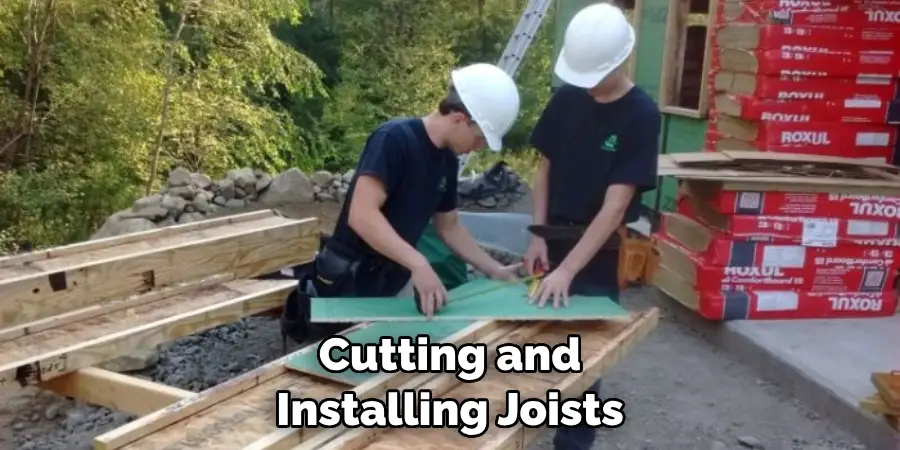
Step 3: Cut and Install Joists
Now that you have a plan in place, it’s time to start cutting and installing joists. When doing this step, remember to keep safety in mind – wear eye protection when using power tools and use safety ladders or scaffolding while working at higher levels. It’s also important to use the right type of joists for your framing based on your local building codes and the weight you want to support.
Step 4: Measure Out Wall Framing
After you have your joists in place, the next step is to measure out and install wall framing. This will make it easier for you to correctly frame around the ductwork. As with joist installation, take all necessary safety precautions while working on this step. It’s also important to use the right type of wall framing based on your local building codes.
Step 5: Mark Out and Cut Holes for Pipes
Once you have your basic wall framing in place, use a saw or other cutting tool to mark out and cut holes in the walls where the pipes need to go through. Make sure that these holes are just big enough for the pipes to fit through – if they’re too large, they won’t provide adequate support for the walls.
Step 6: Install Framing Around Ducts
Now it’s time to start installing the framing around the ductwork. This may require you to cut additional pieces of wood or use special brackets in order to secure the frames correctly. Make sure that all of these supports are properly secured before continuing with the next step. But before you move on, take a moment to double-check that everything is level and flush against the walls.
Step 7: Secure Wall Framing Around Pipes
Once you have your framing in place, use nails or screws to secure them firmly into place. This will help ensure that the walls stay stable and don’t move when exposed to vibration from nearby pipes or ducts. If you’re using screws, make sure that they’re galvanized so they don’t corrode over time.
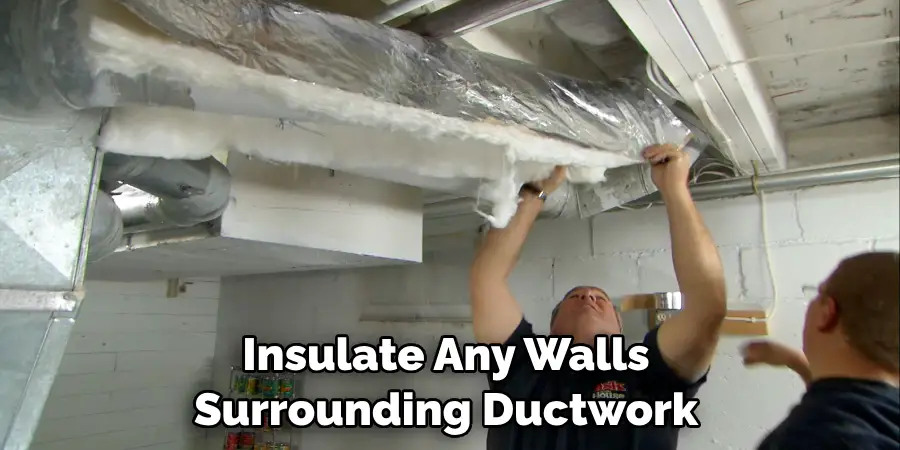
Step 8: Insulate Walls Around Ductwork
In order to effectively control temperature and reduce energy costs, make sure that you insulate any walls surrounding ductwork. When doing this step, use a vapor barrier to help prevent moisture build-up and condensation. This will help keep your walls from becoming moldy or wet. It’s also important to use the right type of insulation for your local climate, as this will help reduce heat loss in the winter and keep cool air in during the summer.
Step 9: Install Drywall or Other Finishing Materials
Now that the framing is in place and insulated, it’s time to add any finishing touches. This may include applying drywall, painting walls, or adding other materials to make the space look and feel complete. It’s important to make sure that all materials are properly secured and sealed so they don’t come loose over time.
Step 10: Test for Leaks
Before you consider your project finished, make sure to test for any leaks around your ductwork. If there are any, it’s important to fix them before continuing with any other work – otherwise, they could lead to dangerous situations down the line. If all tests come back negative, you can rest assured that your work is complete.
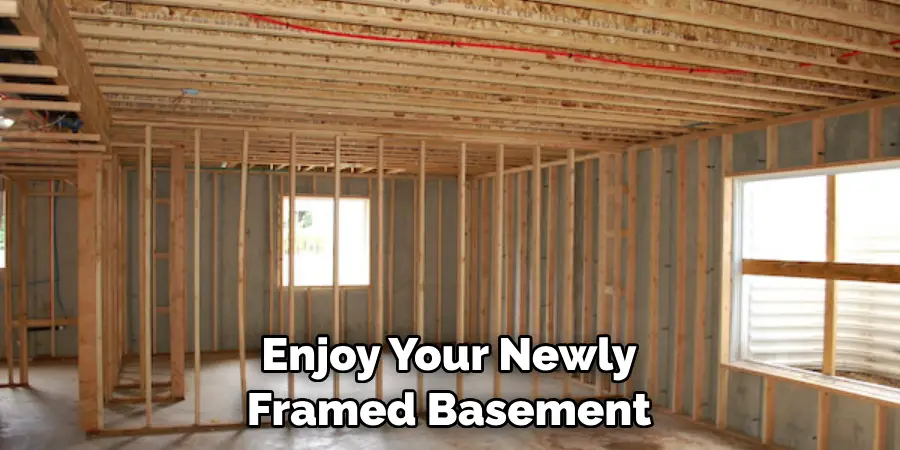
Step 11: Do the Final Clean-Up and Enjoy Your Space!
Once you have tested for any leaks and addressed them appropriately, it’s time to do a final clean-up and enjoy your newly framed basement! Make sure to follow all of the above steps carefully in order to ensure that your framing job is done correctly and safely. It’s always better to be careful and take your time when tackling any home improvement project.
We hope that this post on how to frame ductwork in the basement was helpful to you. If you still feel uncertain about tackling this project yourself, don’t hesitate to contact a professional contractor or building inspector for help.
Do You Need to Use Professionals?
The answer to this question depends on how confident you feel taking on a framing job alone. If you are an experienced DIY-er with extensive knowledge of construction, you may be able to tackle the project yourself. However, if you are not familiar with framing or have any doubts about your abilities, it’s best to hire a professional who can complete the job safely and efficiently.
Thanks for reading our blog post on how to frame around ductwork in basement! We hope that these tips will help make your next framing project easier and more successful. Best of luck!
How Much Will It Cost?
The cost of framing around ductwork in a basement will largely depend on the size and complexity of the job. In most cases, materials such as joists, wall framing, drywall, insulation, and other supplies can usually be purchased for an affordable price at any local hardware store. However, if you decide to hire a professional contractor to do the work for you, be prepared to expect higher costs due to labor fees.
If you have any further questions about how to frame around ductwork in basement or need help with your project, don’t hesitate to reach out! We’d love to answer any questions you may have and provide assistance if needed.
Frequently Asked Questions
Q: How Do I Know if My Framing Around Ductwork is Secure?
A: The best way to determine if your framing is securely in place is to test it for leaks. If any gaps or holes are present between the frames and pipes, use caulking or other materials to fill them in and make sure that the area is sealed tightly. Additionally, you can also use a level or stud finder to double-check that everything is level and properly aligned.
Q: Should I Insulate Walls Around Ductwork?
A: Yes! Insulating walls surrounding ductwork will help you control temperature more effectively and reduce energy costs over time. When doing so, make sure to use a vapor barrier in order to prevent moisture build-up and condensation.
Q: How Long Does It Take to Frame Around Ductwork in Basement?
A: The time it takes to frame ductwork in the basement will depend on the size and complexity of your project. On average, most projects can take anywhere from a few hours to a few days to complete.
Q: Can I Do This Project Myself?
A: If you are an experienced DIY-er with knowledge of construction, you may be able to tackle the project yourself. However, if you are not familiar with framing or have any doubts about your abilities, it’s best to hire a professional who can complete the job safely and efficiently.
age of your project. On average, most projects can take anywhere from a few hours to a few days to complete.
Conclusion
As demonstrated, creating a good system of framing out ductwork in a basement is not as daunting a task as it may seem. Now that you have the necessary tools and information on how to frame around ductwork in basement, it’s time to take the plunge and start remodeling your basement.
Consider what shape works best for your space when framing or use adjustable bracing to create customized sizes around your ductwork.
Recessing your ductwork into the wall can add extra visual impact to the design of the space, making it aesthetically pleasing. Take advantage of what’s possible, utilize these tips on how to frame around ductwork in a basement, and make your vision come to life! Good luck with all of your projects!