
Do you have an unfinished basement that’s screaming out for a facelift? Are you looking to add a bedroom or extra living space down there but don’t know where to start? Installing walls is one of the best ways to transform your basement into a usable and tidy area.

Framing walls in the basement may seem intimidating at first, as it involves all types of measurements, cuts, tool use, and manpower – however, with our easy step-by-step guide on how to frame a wall in basement you’ll be able to frame up those new walls which will help get any remodeling project started off on the right track! Let’s take a look at how we can quickly and easily frame those walls in your basement.
Can I Frame it against the Basement Wall?
Yes, you can frame a wall against an existing basement wall. To do this, make sure that the wall is strong enough to hold your new framing and that there is adequate insulation behind it. If not, you may need to add insulation or replace the existing wall with a stronger one before beginning.
Once you’re ready to frame your wall, you’ll need a few supplies. You’ll need studs, screws, or nails for fastening the studs to the existing wall and other materials, such as drywall and trim that will depend on the look you are going for.
When it comes to actually framing the new wall, start by measuring the area of the wall against which you plan to build it. Make sure that all measurements are double-checked before cutting any sections. Cut your studs according to the measurements and place them in position against the existing wall. Secure each one with screws or nails, and then use drywall panels or plywood sheets at 16 inches intervals across the length of your new walls’ length.
Attach the drywall or plywood to the studs with screws. Make sure that each panel is securely attached and that there are no gaps between them. Once this step is complete, you can then move on to adding insulation and other finishing touches as desired.
Finally, when all of your framings is completed and secure, don’t forget to paint or apply trim to give it a finished look. It may be a bit more work than just building a wall from scratch but framing against an existing basement wall can be done if you follow these steps!
10 Methods How to Frame a Wall in Basement
1. Plan Your Wall
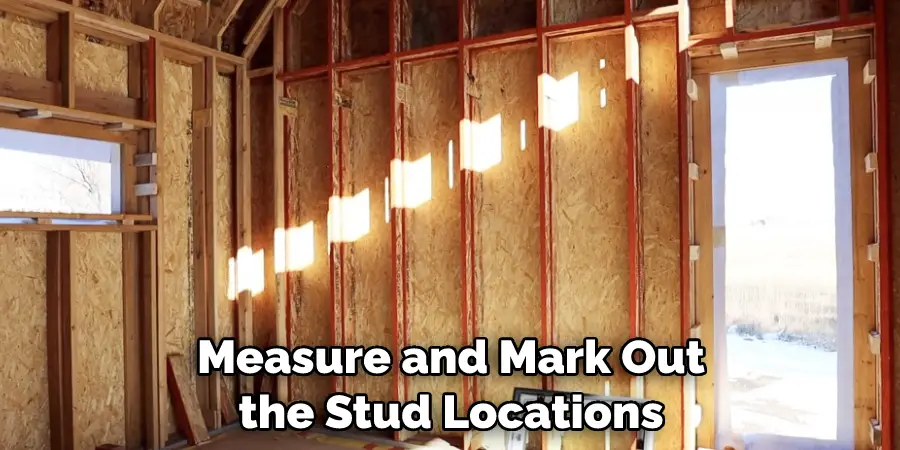
The first step in framing a wall in a basement is to plan your wall. Determine the length, height, and thickness of your wall, and mark the location on the floor using chalk or tape. If you are using studs, measure and mark out the stud locations as well.
While planning, you may also choose to add additional supports such as headers or cross beams. Although it is not necessary to use them for shorter walls, you may want to consider using them for longer or higher-load walls.
2. Gather Materials
Next, gather the necessary materials for your wall-framing project. You will need framing lumber, such as 2×4 or 2×6 boards, nails, screws, and a saw. You may also need a level, a framing square, and a drill.
It’s a good idea to have a few extra nails, screws, and boards on hand, just in case. To build a wall in your basement, you will also need insulation and drywall.
Once you have all of the necessary materials, it’s time to get started. Start by cutting your boards to the desired length. Use a saw and measure twice to make sure the cuts are accurate. It’s important to double-check your measurements before you cut, as it can be difficult to fix mistakes after the fact.
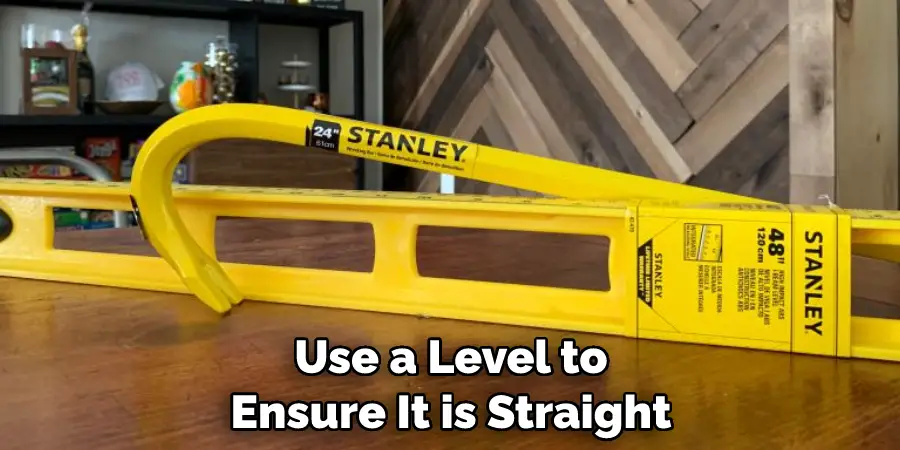
3. Install the Bottom Plate
The bottom plate is the first piece of lumber that you will install. Cut the bottom plate to the correct length and use a level to ensure it is straight. Nail the bottom plate to the floor using concrete nails or screws.
Make sure to keep the bottom plate flush with the floor. Once you have secured the bottom plate, continue by installing the studs. If you are framing an interior wall, you will need to install a double bottom plate. This involves placing two pieces of lumber side by side and nailing them together. This will give the wall more stability and support.
4. Install the Top Plate
The top plate is the second piece of lumber that you will install. Cut the top plate to the correct length and position it on the ceiling joists. Use a level to ensure it is straight, and nail it into place.
If there are any gaps between the ceiling joists and the top plate, fill them in with shims or other materials. If you are installing multiple walls, make sure that the top plates line up correctly and secure them together with nails or screws. Once the top plate is secure, you are ready to install the studs.
5. Install the Studs
The studs are the vertical pieces of lumber that connect the bottom plate to the top plate. Cut the studs to the correct length and position them between the bottom and top plates. Use a framing square to ensure the studs are perpendicular to the plates, and nail them into place.
To further strengthen the frame, you can also add braces between the studs. While framing a wall in a basement, make sure to use galvanized nails that are resistant to moisture. However, if your basement has been waterproofed, regular nails should suffice.
6. Add Insulation
Once the studs are in place, you can add insulation to the wall cavity. Cut the insulation to fit between the studs and staple it into place. If you’re using batt insulation, cut it to fit snugly in between the studs and use a staple gun to secure it.
Make sure the insulation is facing the right direction. If you’re using spray foam insulation, use a spray gun to apply it in between the studs and along the edges of the wall. For added protection, use a vapor barrier to cover the insulation and keep moisture from penetrating it.
7. Install Electrical Wiring
If you plan to add electrical outlets or switches to your wall, you will need to install the wiring before finishing the wall. Consult with a licensed electrician for guidance on wiring codes and safety measures.
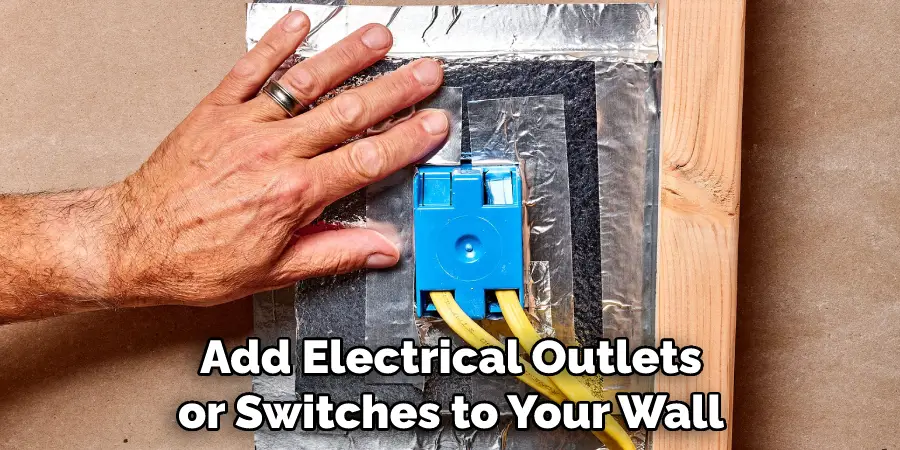
Secure the wiring along the top of the wall framing and then cover it with drywall. Finally, complete your electrical outlets or switches and test them for proper operation. With the wiring in place, you are ready to finish your wall and make it look great!
8. Install Drywall
Once the wiring is in place, you can install drywall on the framed wall. Cut the drywall to size and attach it to the studs using drywall screws. Be sure to leave space for any electrical outlets or switches. Cover the screws with drywall compound, and sand it smooth when it’s dry.
Now your basement wall is ready for painting or wallpapering. If you are uncertain of any step in the process, there are plenty of online tutorials to help guide you. Building a wall in your basement is an easy project that can add valuable living space to your home.
9. Finish the Wall
After the drywall is installed, you can finish the wall with joint compound and paint. Sand the joint compound to a smooth finish and apply paint to match the rest of the room. You may also want to apply a sealant to the wall before painting.
This will help keep moisture out and protect your new wall from water damage. Once the wall is finished, you have successfully framed a basement wall! Enjoy the extra space and have fun decorating it to create your own unique style.
10. Install Trim
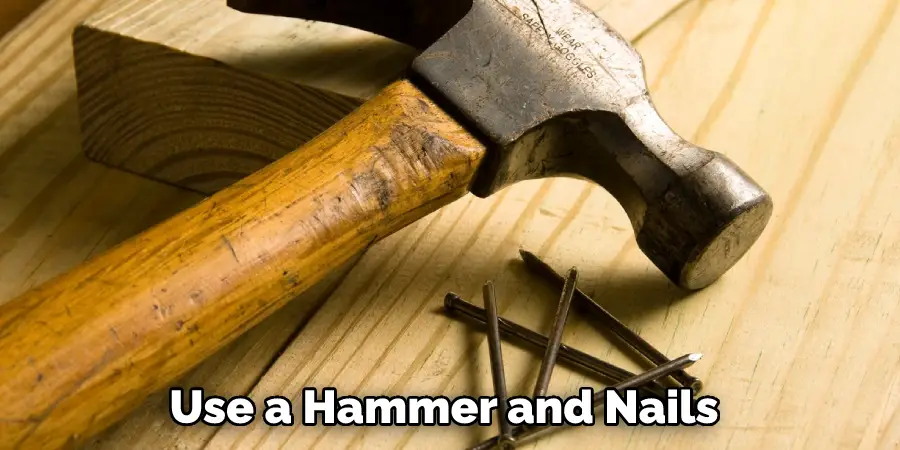
Finally, install trim around the edges of the wall to give it a finished look. Cut the trim to size and nail it into place using a finish nailer. You can also use a hammer and nails but it’s much slower. After the trim has been installed, fill in any holes with wood putty and sand it to a smooth finish. The wall is now ready for paint or wallpaper.
Conclusion
Framing a wall in a basement can be a complex and time-consuming project, but it is an essential step in any basement renovation or remodeling project. By following these methods, you can frame a wall that is sturdy, secure, and energy-efficient.
Remember to plan your wall carefully, gather the necessary materials, and install insulation and wiring before finishing the wall with drywall and trim. With patience and attention to detail, you can create a beautiful and functional space in your basement. Thanks for reading, and we hope this has given you some inspiration on how to frame a wall in basement!