Have you been thinking about sprucing up your basement? If you’re looking for a fast and easy way to upgrade your basement, epoxying the floor is a great option. It’s an affordable alternative to replacing the entire floor and can be done by anyone with basic DIY skills. Here’s how to epoxy your basement floor.
Can You Epoxy Your Basement Floor?
When looking for ways to improve a basement space, epoxying the floor is often an attractive and relatively cost-effective option. While some types of flooring are difficult to apply on one’s own, epoxy floors require only minimal DIY skills and can be applied directly to concrete without needing adhesives or grout.
Durable and low-maintenance, epoxied basement floors can provide extra protection from moisture, making them an excellent choice for home improvement projects. In addition to brightening up dark basement areas, epoxied basements can also add significant value to a property.
With so many advantages this one project offers, it’s worth considering whether your basement could use this inspiring update.
Why Should You Epoxy Your Basement Floor?
Epoxying your basement floor is a great way to improve the function and visual appeal of an otherwise dull, uninviting space. Epoxy is economical and easy to apply, but it can instantly turn your basement into a more resilient, water-resistant space for any activity.
It’s also easily clean and does not require periodic refinishing or waxing as traditional wood floors do. What’s more, epoxy comes in a wide range of colors and textures, so you can customize the look and feel of your basement to make it both comfortable and stylish.
This effect will remain intact for years with minimal maintenance. So if you’re looking to breathe new life into that dusty corner of your home, consider epoxying your basement floor today.
7 Steps to Follow on How to Epoxy Your Basement Floor
Step 1: Preparing the Basement Floor
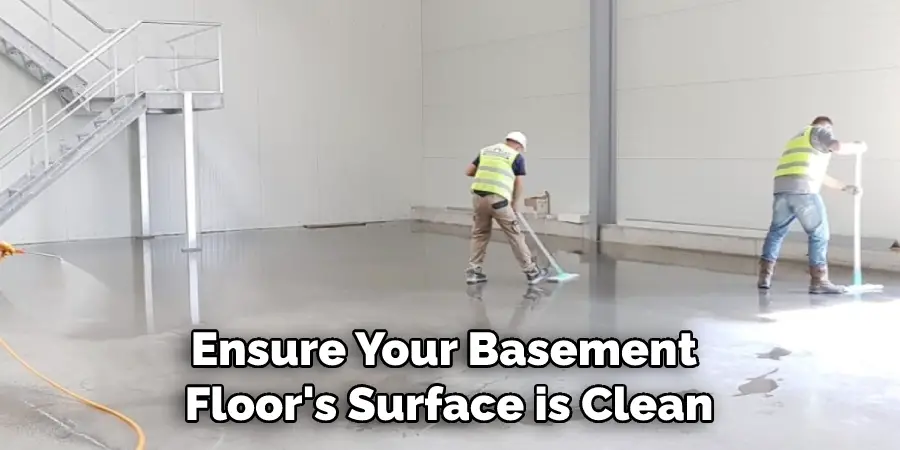
The first step is to ensure your basement floor’s surface is clean and free of dust, dirt, oil, grease, paint, or other debris. Next, you can use a broom or vacuum cleaner to remove any loose material on the floor.
Then use water and dish soap or a commercial cleaning solution specifically designed for concrete surfaces to remove any stubborn stains. Ensure all residue is gone before you start laying down the epoxy coating.
Step 2: Mixing and Applying Epoxy
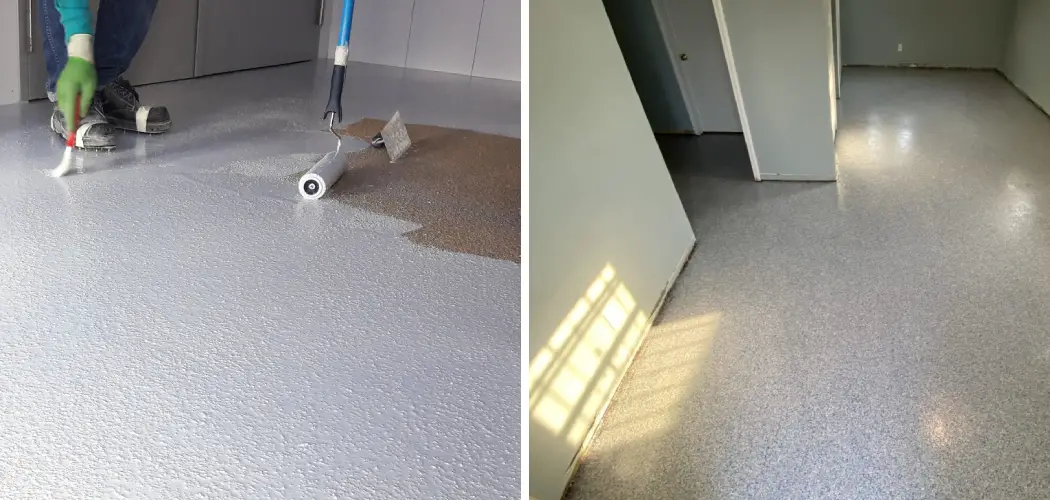
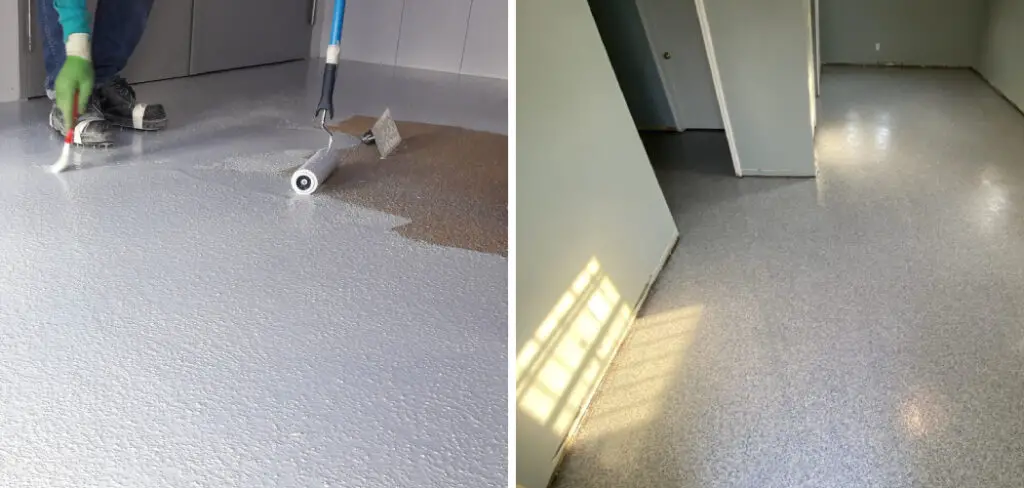
Once your basement floor has been thoroughly cleaned, it’s time to mix up some epoxy resin according to the instructions on the package. It’s best to mix it in batches so that you don’t end up with more than you need. When applying the epoxy, make sure you spread it evenly across the floor’s entire surface with a roller brush or paintbrush.
If you want more protection against staining, consider adding an anti-stain additive to your mixture before applying it to your floor. Then, allow ample time for drying between coats if needed.
Step 3: Curing and Finishing
It typically takes 24 hours for epoxy resin coatings to cure properly—the exact amount of time will depend on factors such as humidity levels in your area and temperature variations in your home or basement space.
Once cured, use a damp cloth to wipe away any excess material that may have dried on top of your newly installed epoxy coating. Finally, add some color accents by using paint chips or colored tiles if desired!
Step 4: Sanding and Sealing
At this stage, you need to sand down the epoxy surface closely and eliminate any bumps or ridges that may be present. After this is done, apply a clear sealer in thin coats over your epoxy floor.
This will help to protect it from dirt and other debris that can get embedded into the surface. Allow for adequate drying time before you begin using your newly epoxied basement floor!
Step 5: Applying a Non-Slip Coating
To ensure safety, you should consider adding a non-slip coating by combining two polyurethane parts with one acrylic part. This can be spread onto the epoxy floor with a roller brush, creating a textured surface that prevents slipping.
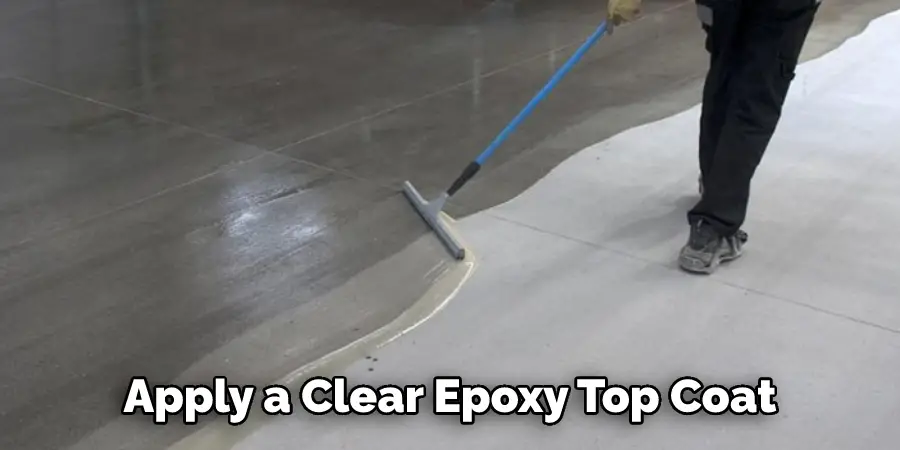
Step 6: Applying a Top Coat
This optional step is recommended if you want to give your epoxy floor an extra layer of protection. To do this, apply a clear epoxy top coat which should be allowed to dry for several days before use. This will help protect the surface from any potential damage that could come from foot traffic or other objects being dragged across it.
Step 7: Cleaning and Maintenance
To maintain the look of your epoxy floor, you will need to clean it regularly with a vacuum cleaner or broom. Use a damp mop to remove any dirt or debris that has accumulated over time on the surface. This will help keep your basement looking beautiful!
That’s it! You’ve now learned how to epoxy your basement floor. With these steps, you can transform your home’s appearance and provide a durable and long-lasting surface. So go ahead and get started today!
Things You Need to Know Before Epoxy Your Basement Floor
Before deciding to epoxy your basement floor, there are several things that you should take into account. Epoxy provides a much longer-lasting seal and improved look; however, it is also more expensive and requires more labor than other sealants or paints.
You’ll want to ensure the concrete has been sealed before epoxying, as unsealed concrete will trap moisture and weaken over time. Lastly, it’s important to choose a color that matches your style and has a non-slip texture, if desired. By being aware of these considerations, you can guarantee that your newly epoxied floor will last for years.
Benefits of Epoxy Your Basement Floor
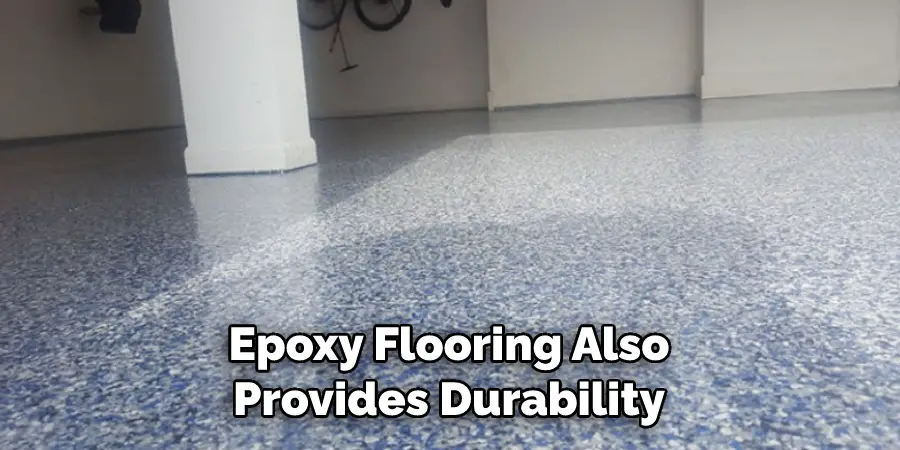
Epoxying your basement floor is an excellent way to upgrade and protect it. With epoxy, you can protect the surface from water damage, scratches, and dents and make it easier to clean and maintain. Epoxy flooring also provides durability that other kinds of flooring can’t matchmaker.
It is ideal for high-traffic areas or if you have pets in the house. You can get creative with the color choice, ensuring your basement complements the rest of your home’s décor or stands out according to your personal preferences. Epoxy is a great investment as not only does it look amazing, but it also adds value to your home.
6 Common Mistakes People Make When Trying to Epoxy Your Basement Floor
1. Not Preparing the Surface Properly
One of the most common mistakes people make when trying to epoxy their basement floor is not . Before applying the epoxy, the surface must be clean, dry, and free of any dirt, dust, or debris. If the surface is not prepared properly, the epoxy will not adhere correctly and will not provide the desired results.
2. Not Using the Correct Epoxy
Another common mistake people make is not using the correct epoxy. Different types of epoxy are available on the market, and each type has its specific uses.
For example, there are epoxies designed for concrete floors and others designed for wood floors. Be sure to select the correct epoxy for your specific needs in order to achieve the best results.
3. Applying the Epoxy Incorrectly
Once you have selected the correct epoxy, it is important to apply it correctly. Be sure to follow the manufacturer’s instructions carefully to achieve optimal results. Many people make the mistake of applying too much or too little epoxy, which can lead to an uneven finish or poor adhesion.
4. Not Allowing Enough Time for the Epoxy to Cure
Another mistake people often make is not allowing enough time for the epoxy to cure. It is important to allow ample epoxy time to set and harden before walking on it or placing any heavy objects on it. Depending on the epoxy type, this process can take anywhere from 24 hours to 7 days.
5. Not Caring for the Epoxy Properly
Once the epoxy has been applied and has had time to cure, it is important to care for it properly to maintain its longevity. Be sure to sweep or vacuum regularly to remove any dirt or debris that could potentially damage the flooring. Also, avoid using harsh chemicals or cleaners as they can damage the finish.
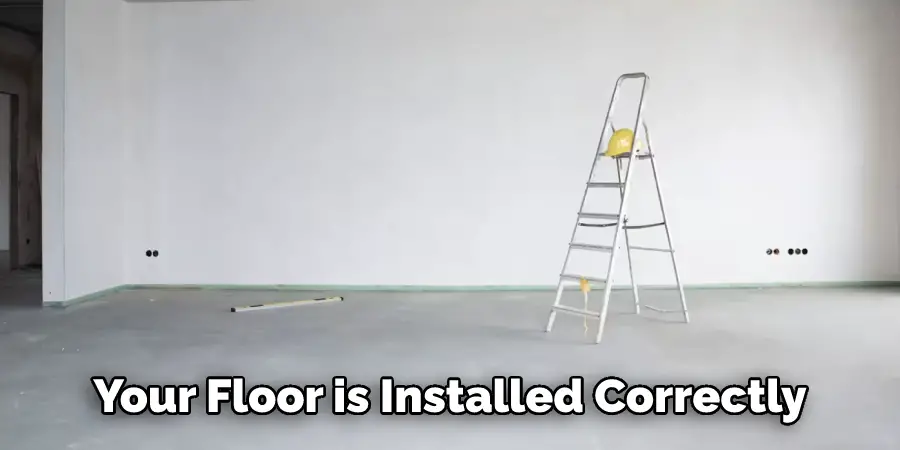
6. Trying to Do It Yourself
One of the biggest mistakes people make when trying to epoxy their basement floor is doing it themselves without professional help. While it is possible to do this project yourself, it is often best left to a professional with experience with this type of work. Hiring a professional will ensure that your floor is installed correctly and will look its best for many years to come.
Conclusion
Epoxying your basement floor is a project requiring little effort but yielding big results! By following these simple steps, you can easily transform your dull and drab basement into an inviting space that looks amazing!
Even if you don’t have much experience with DIY projects, this project should be easy enough for anyone willing to put effort and energy into making their home look great!
Plus, it won’t break the bank, either! So why not give it a try? You won’t regret it! Thanks for reading our post about how to epoxy your basement floor.