
Epoxy is a great way to protect your basement floor from water damage, staining, and wear and tear. But before you can enjoy the benefits of a beautifully epoxied floor, you’ll need to put in some work.
In this post, we’ll walk you through the steps of prepping and epoxying a basement floor, so you can get the job done right. So keep reading to learn more how to epoxy a basement floor.
Why Should You Epoxy a Basement Floor?
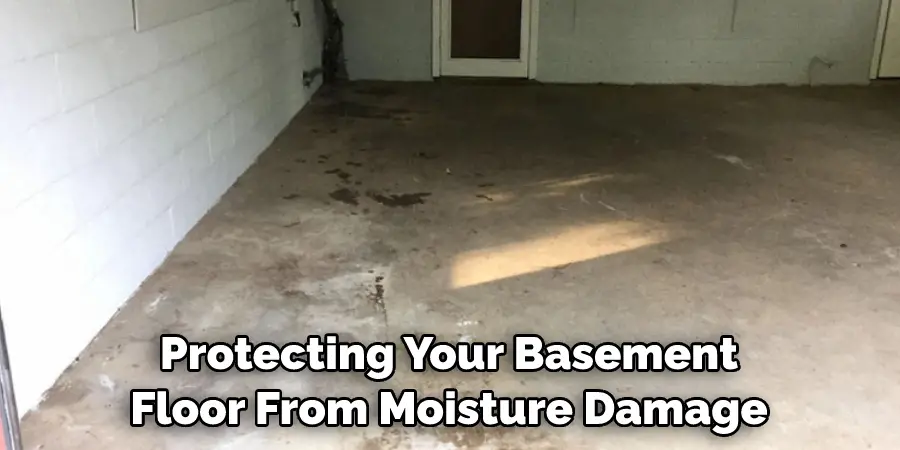
A basement is one of the most versatile areas in a home. It can be used as a storage space, workshop, playroom, or even an extra bedroom. However, many homeowners overlook the importance of having a durable floor in their basements.
A poorly protected floor can be subject to moisture damage, mold growth, and other problems. One way to safeguard your basement floor is to apply an epoxy coating. Epoxy is a durable resin that creates a protective barrier over the surface of your floor.
It is resistant to water damage, stains, and scratches and can also help insulate your basement from cold temperatures. In addition, epoxy coatings are available in a wide range of colors and styles to create a stylish and functional floor. So if you want to protect your basement floor, epoxy may be the perfect solution.
How to Epoxy a Basement Floor in 7 Steps
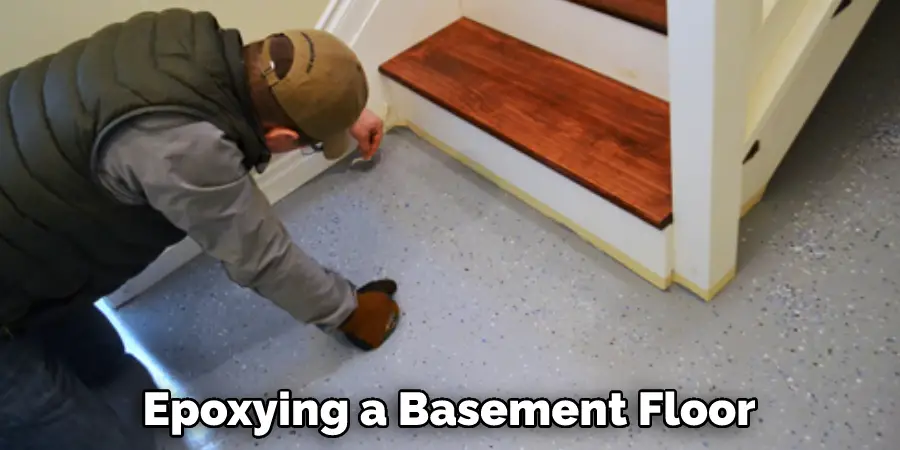
Step 1: Preparing the Basement Floor
The first step in epoxying a basement floor is to prepare the surface. This involves cleaning the floor thoroughly with a degreaser and then etching it with an acidic solution. This will help to ensure that the epoxy adheres properly to the floor.
Step 2: Mixing the Epoxy
Once the floor is prepared, the next step is to mix the epoxy. Again, this should be done according to the manufacturer’s instructions. Once the epoxy is mixed, it will need to be applied to the floor within a certain time frame, so it is important to be prepared before mixing.
Step 3: Applying the Epoxy
The third step is to apply the epoxy to the floor. This can be done with a roller or a brush. Once the epoxy is applied, it will need to be allowed to dry for the amount of time specified by the manufacturer.
Step 4: Adding the Chips
After the epoxy has dried, it is time to add the chips. This can be done by sprinkling them over the surface of the floor or by using a chip brush. Once all of the chips are in place, they will need to be swept into place with a broom.
Step 5: Applying the Second Coat of Epoxy
After all of the chips are in place, the second coat of epoxy should be applied. This coat should be thin and even. Once again, it will need to be allowed to dry for the amount specified by the manufacturer.
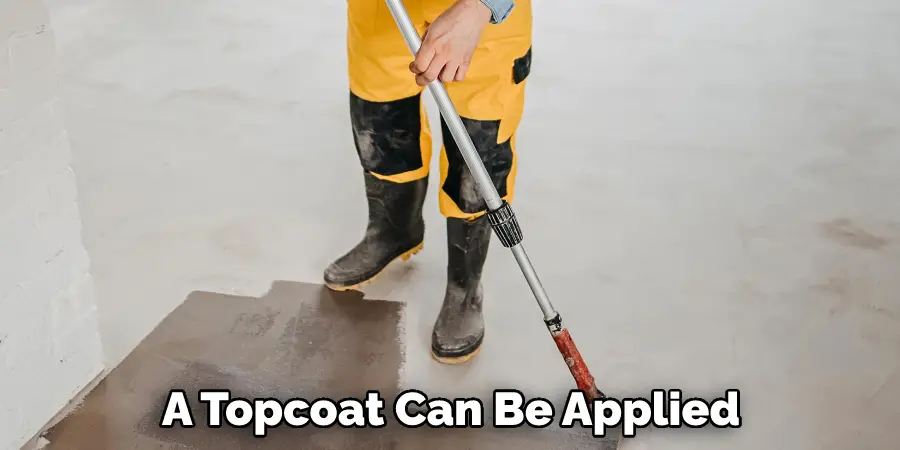
Step 6: Applying a Topcoat
After the second coat of epoxy has dried, a topcoat can be applied. This will help to protect the floor and give it a nice shine. The topcoat should be applied according to the manufacturer’s instructions and allowed to dry completely before walking on it.
Step 7: Finishing Touches
Once the topcoat is dry, you can add any finishing touches, such as trim pieces or decorative accents. Once all of the finishing touches are in place, your newly epoxied basement floor will be ready for use.Taking the time to epoxy your basement floor properly will ensure that it lasts many years.
By following the steps outlined above, you can easily transform your basement into a safe and beautiful space. So why wait? Get started on your epoxying project today!
Some Things You Need to Know Before Epoxy a Basement Floor
Epoxy your basement floor to prevent moisture damage and staining. Basement floors are typically made of concrete, which is a very porous material. This means that they are susceptible to moisture damage and stains. Applying an epoxy coating to your basement floor can help to protect it from these problems.
Epoxy is a resin that dries to a hard, durable finish. It is often used in industrial and commercial settings because it resists chemicals, heat, and abrasion. For example, when applied to a concrete floor, it creates a barrier that helps to prevent moisture from penetrating the surface.
In addition, epoxy is resistant to staining, making it an ideal choice for protecting your basement floor from spills and other accidents. Before epoxying your floor, be sure to clean the surface thoroughly and repair any cracks or imperfections. Once the epoxy has dried, you will have a durable, low-maintenance floor that will last for years to come.
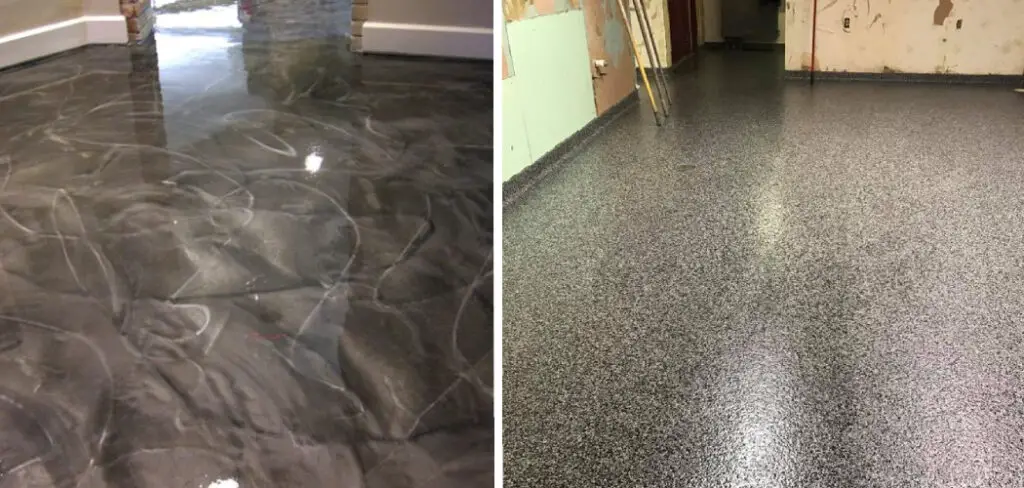
5 Benefits of Epoxy a Basement Floor
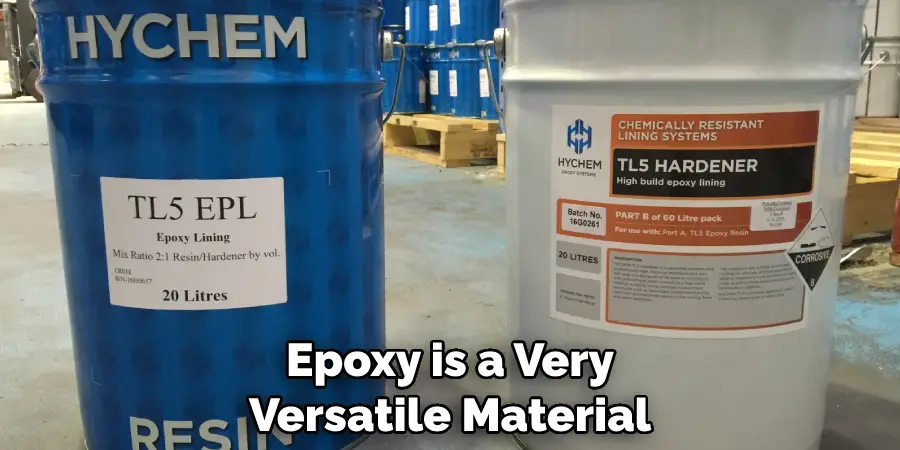
When most people think of epoxy, they immediately think of the clear coating that is used to protect surfaces like countertops and floors. However, epoxy is a very versatile material that can be used for many purposes. For example, epoxy can be used to coat concrete basement floors. This type of coating has several benefits, including the following:
1. Improved Durability
Basements are often subject to high foot traffic levels and potential impacts from dropped objects. An epoxy coating can help to protect the concrete from wear and tear, making it last longer.
2. Enhanced Aesthetics
Epoxy coatings are available in various colors and finishes. This means that you can create a unique look for your basement that will be sure to impress guests.
3. Increased Safety
A properly applied epoxy coating can help to make your basement floor slip-resistant, which is especially important if you have young children or elderly family members living in your home.
4. Improved Indoor Air Quality
Epoxy is a non-porous material, which means that it will not allow mold or mildew to grow on its surface. This can help to improve the indoor air quality in your home and reduce the risk of respiratory problems.
5. Easy Maintenance
An epoxy-coated basement floor is very easy to keep clean – simply sweep or mop as needed. In addition, epoxy coatings are resistant to staining, so you won’t have to worry about spills ruining your floor.
The Best Time to Epoxy a Basement Floor
Epoxy is a versatile and durable material that can be used to protect a variety of surfaces, including concrete floors. When applied properly, epoxy will resist scratching, staining, and ultraviolet light. It is also easy to clean and maintain. For all these reasons, epoxy is an excellent choice for finishing a basement floor.
The best time to apply epoxy is in the late spring or early summer when the temperature is warm but not too hot. This will help the epoxy cure properly and prevent it from becoming brittle in the cold winter months. In addition, it is important to ensure that the surface is clean and dry before applying the epoxy.
Any dirt or moisture can prevent the epoxy from adhering properly, so it is important to take the time to prepare the surface before beginning the project. However, with a little care and attention, epoxy can provide a long-lasting finish for your basement floor.
Choosing the Right Epoxy for Your Basement Floor
When it comes to protecting your basement floor from moisture damage, epoxy is an excellent choice. A well-applied epoxy coating will create a barrier that prevents water from seeping through while also providing a durable surface that can withstand heavy foot traffic.
However, not all epoxies are created equal, and choosing the right product for your basement floor is important. For instance, if you live in an area with high humidity, you’ll need an epoxy that is specifically designed to resist moisture.
If your basement floor is subject to frequent temperature changes, you’ll need an epoxy that can withstand extreme temperatures. And if you’re looking for an epoxy with a high level of shine, you’ll want to choose a product with a high percentage of solids.
By choosing the right epoxy for your basement floor, you can be sure your investment will pay off in the long run.
How Long Will My Epoxy Basement Floor Last?
When it comes to epoxy basement floors, you can expect them to last for many years. In fact, with proper care and maintenance, your floor can last a lifetime. The key to making sure your floor lasts is to ensure that it is properly cured.
Curing is the process of chemically bonding the epoxy to the concrete, and it needs to be done correctly for the floor to be durable. Once the epoxy is cured, it is incredibly resistant to wear and tear, making it an ideal choice for high-traffic areas. With proper care, your epoxy basement floor will be a lasting investment in your home.
Conclusion
That’s all there is to it! By following these seven simple steps, you can achieve professional-looking results that will last for years to come. Thanks for reading our post about how to epoxy a basement floor. So what are you waiting for? Get started on your project today!