Basements are a great way to add extra living space to your home. They can be used for storage, as a family room, or even as an apartment. If you’re thinking of adding a basement to your home, there are a few things you need to know first.
In this blog post, we will discuss how to build a multi level basement. We’ll talk about what type of foundation you need, how to frame the walls and floors, and how to install the plumbing and electrical. So if you’re ready to take on this DIY project, keep reading!
What Causes Basement Flooding?
There are a few different things that can cause basement flooding. One is if the foundation of your home is not properly waterproofed. This can allow water to seep in through cracks and gaps, causing the basement to flood.
Another cause of basement flooding is if the gutters around your home are not clean and clear. This can cause water to back up and seep into the basement through the walls or floor.
Additionally, heavy rains can also cause basement flooding. If there is a lot of rain, the ground around your home can become saturated, and the water can seep into the basement. The other primary cause of basement flooding is a failed sump pump.
A sump pump is responsible for pumping water out of the basement and preventing flooding. However, if the pump fails, water can quickly build up and cause the basement to flood. Lastly, melting snow can also cause basement flooding. The snow can seep into the basement through cracks and gaps as the snow melts.
You Can Chack It Out Add a Kitchen to a Basement
Why Should I Build a Multi-Level Basement?
There are several reasons why you might want to build a multi-level basement. One reason is that it can increase the value of your home. A finished basement can add square footage to your home, making it more valuable.
Additionally, a multi-level basement can give you more living space. If you finish the basement, you can use it as an extra bedroom, family room, or home office. You can also use the basement for storage.
Another reason to build a multi-level basement is that it can be used as an in-law suite or rental unit. If you have an in-law suite in the basement, you can generate extra income by renting it out.
Alternatively, a multi-level basement can be used as a mother-in-law suite or guest bedroom if you have a large family. Finally, a multi-level basement can be used as an apartment. If you build a basement apartment, you can rent it out to generate income.

Step by Step How to Build a Multi-Level Basement
1. Determine the Type of Foundation
The first step in how to build a multi-level basement is to determine the type of foundation you need. The most common type of foundation is a poured concrete foundation.
Poured concrete foundations are strong and durable, making them ideal for basement construction. However, they are also more expensive than other types of foundations.
If you’re on a budget, you may want to consider a block foundation. Block foundations are made of cinder blocks and are less expensive than poured concrete foundations.
However, they are not as strong as poured concrete and may not last as long. Avoid using a block foundation if you live in an area with high winds or earthquakes.
2. Choose the Right Location
The next step in how to build a multi-level basement is to choose the right location. When choosing a location, you need to consider the type of foundation you’re going to use.
For example, a poured concrete foundation needs a level surface on which to be built. Using a block foundation, you can build on a sloped surface. It would be best to consider the climate when choosing a location.
If you live in an area with a lot of rainfall, you need to choose a location that doesn’t flood. Additionally, it would help if you considered the snowfall in your area. If you live in an area with a lot of snow, you need to choose a location that’s easy to shovel.
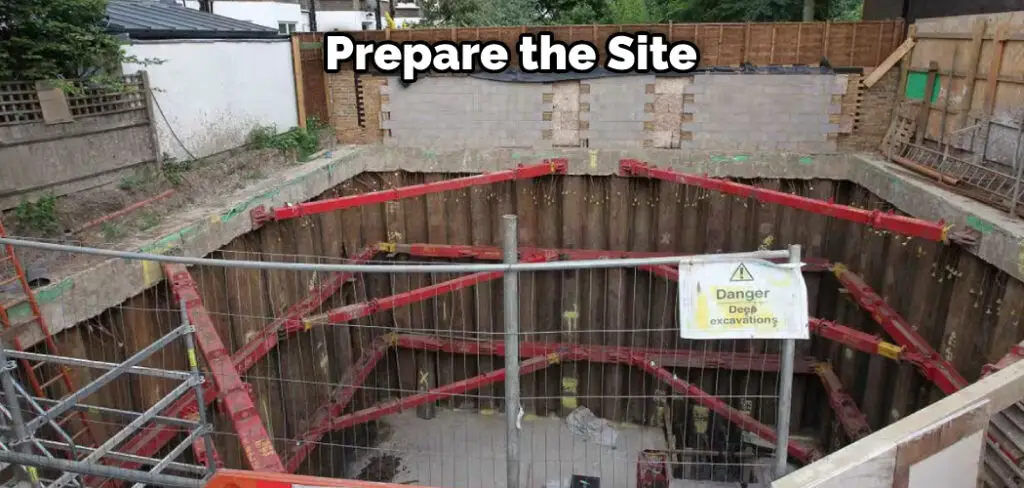
3. Prepare the Site
The next step in how to build a multi-level basement is to prepare the site. It would be best if you cleared the area where you’re building the basement. This means removing all the vegetation, trees, and shrubs. You also need to remove any large rocks or boulders. Once you’ve cleared the area, you need to level it off. You can do this with a Bobcat or by hand.
4. Excavate the Area
The next step in how to build a multi level basement is to excavate the area. You need to dig a hole that’s about eight feet deep and two feet wider than the foundation.
For a poured concrete foundation, you need to excavate an area that’s about 10 feet deep and four feet wider than the foundation. If you’re using a block foundation, you only need to excavate an area that’s about six feet deep and two feet wider than the foundation. Use a Bobcat or shovel to excavate the area.
5. Install the Footings
The next step in how to build a multi level basement is to install the footings. Footings are concrete pads that sit under the foundation and help support the weight of the house.
To install the footings, you will need to dig a 2 feet deep and 2 feet wide hole. Once the hole is dug, you will need to mix the concrete and pour it into the hole. After the concrete has dried, you will need to install the rebar.
The rebar is used to reinforce the concrete and helps prevent cracking. Once the rebar is in place, you will need to mix the concrete again and pour it over the rebar. After the concrete has dried, you will need to install the foundation.
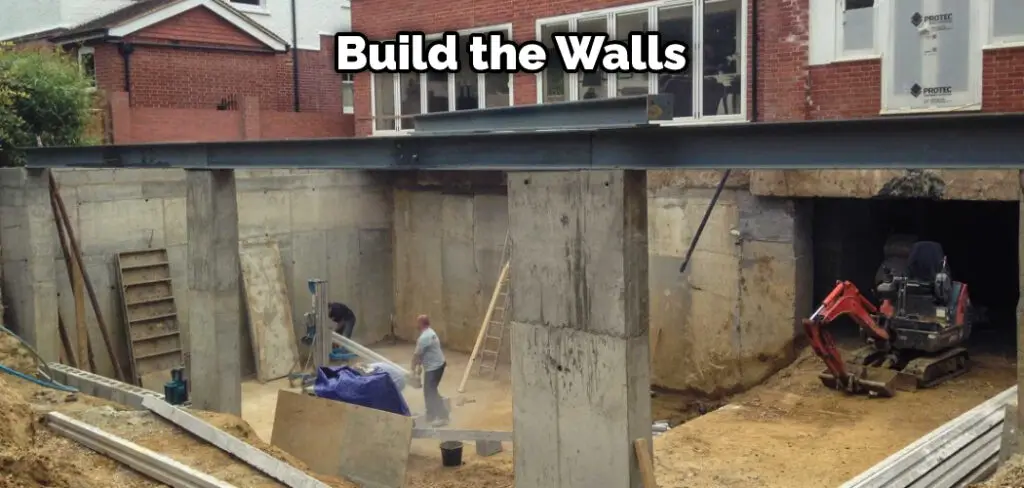
6. Build the Walls
The next step in how to build a multi level basement is to build the walls. The walls need to be made of concrete and should be at least six inches thick.
Once the walls are up, you must put in windows and doors. Ensure that the windows and doors are properly sealed so no water can enter the basement.
First, build the frame of the walls using 2x4s. Next, attach plywood to the outside of the frame. Then, apply tar paper to the plywood. Finally, mix concrete and pour it over the tar paper. Be sure to trowel the concrete, so it is smooth. Allow the concrete to dry for 24 hours.
You Can Also Check It Out to Prevent Basement Flooding During Heavy Rain
7. Install the Subfloor
The next step is to install the subfloor. The subfloor is a layer of plywood that goes over the joists. It provides a stable surface for the flooring. You will need to use screws or nails to attach the subfloor to the joists.
First, measure the thickness of the plywood. The common thicknesses are 1/2 inch and 3/4 inch. Next, calculate the number of sheets you will need to cover the floor. You can divide the total square footage by 32 (for 1/2 inch thick plywood) or 48 (for 3/4 inch thick plywood).
Once you have the plywood, cut it to size and then attach it to the joists. Start at one end of the room and work your way to the other. Make sure that the sheets are flush with each other. Use a level to make sure that the subfloor is level.
8. Install the Flooring
The next step is to install the flooring. You can choose from various options, including concrete, tile, wood, and vinyl. Whichever material you choose, make sure it is durable and can withstand the weight of the furniture and appliances. Once the flooring is installed, you can move on to the walls. If you are not sure how to install the flooring, you can hire a professional to do it for you.
9. Install the Electrical Wiring
The next step is to install the electrical wiring. You will need to run the electrical wiring through the walls and ceiling. A professional electrician should install the wiring. Once the wiring is in place, you can move on to the plumbing. Try to run the wiring in conduit to protect it from water damage.
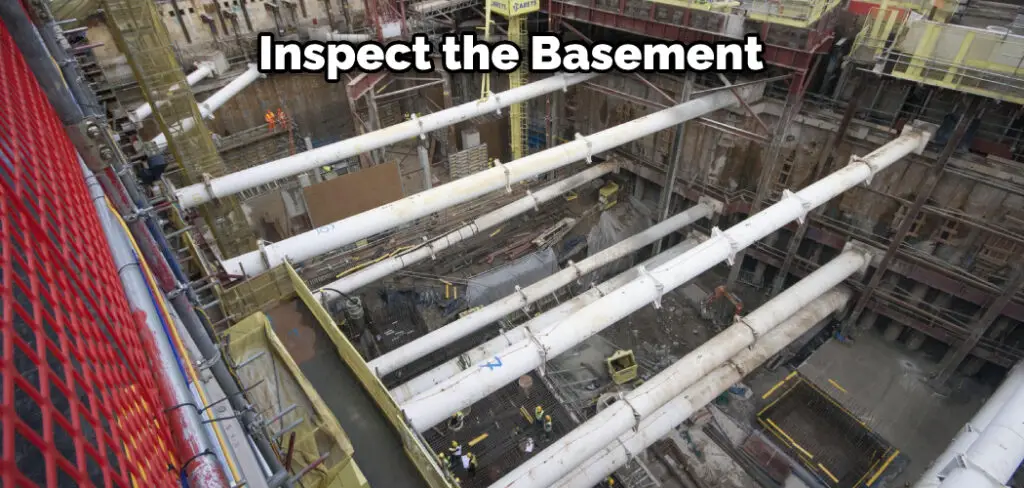
10. Inspect the Basement
After you have completed all the steps, you will need to inspect the basement. Ensure there are no leaks and the basement is properly insulated. If everything looks good, you can move on to the next project.
Try to keep the basement clean and free of clutter. This will make it easier to find things when you need them. Inspect the basement regularly to ensure that it is in good condition.
Conclusion
So there you have it—a complete guide on how to build a multi level basement. Follow these steps, and you will be able to build a basement that is both functional and stylish.
Remember to get the help of professionals and inspect the basement regularly. With a little bit of effort, you will be able to create a space that you and your family can enjoy for years to come.
You Can Also Check It Out to Finish a Basement Bathroom with Rough-In Plumbing